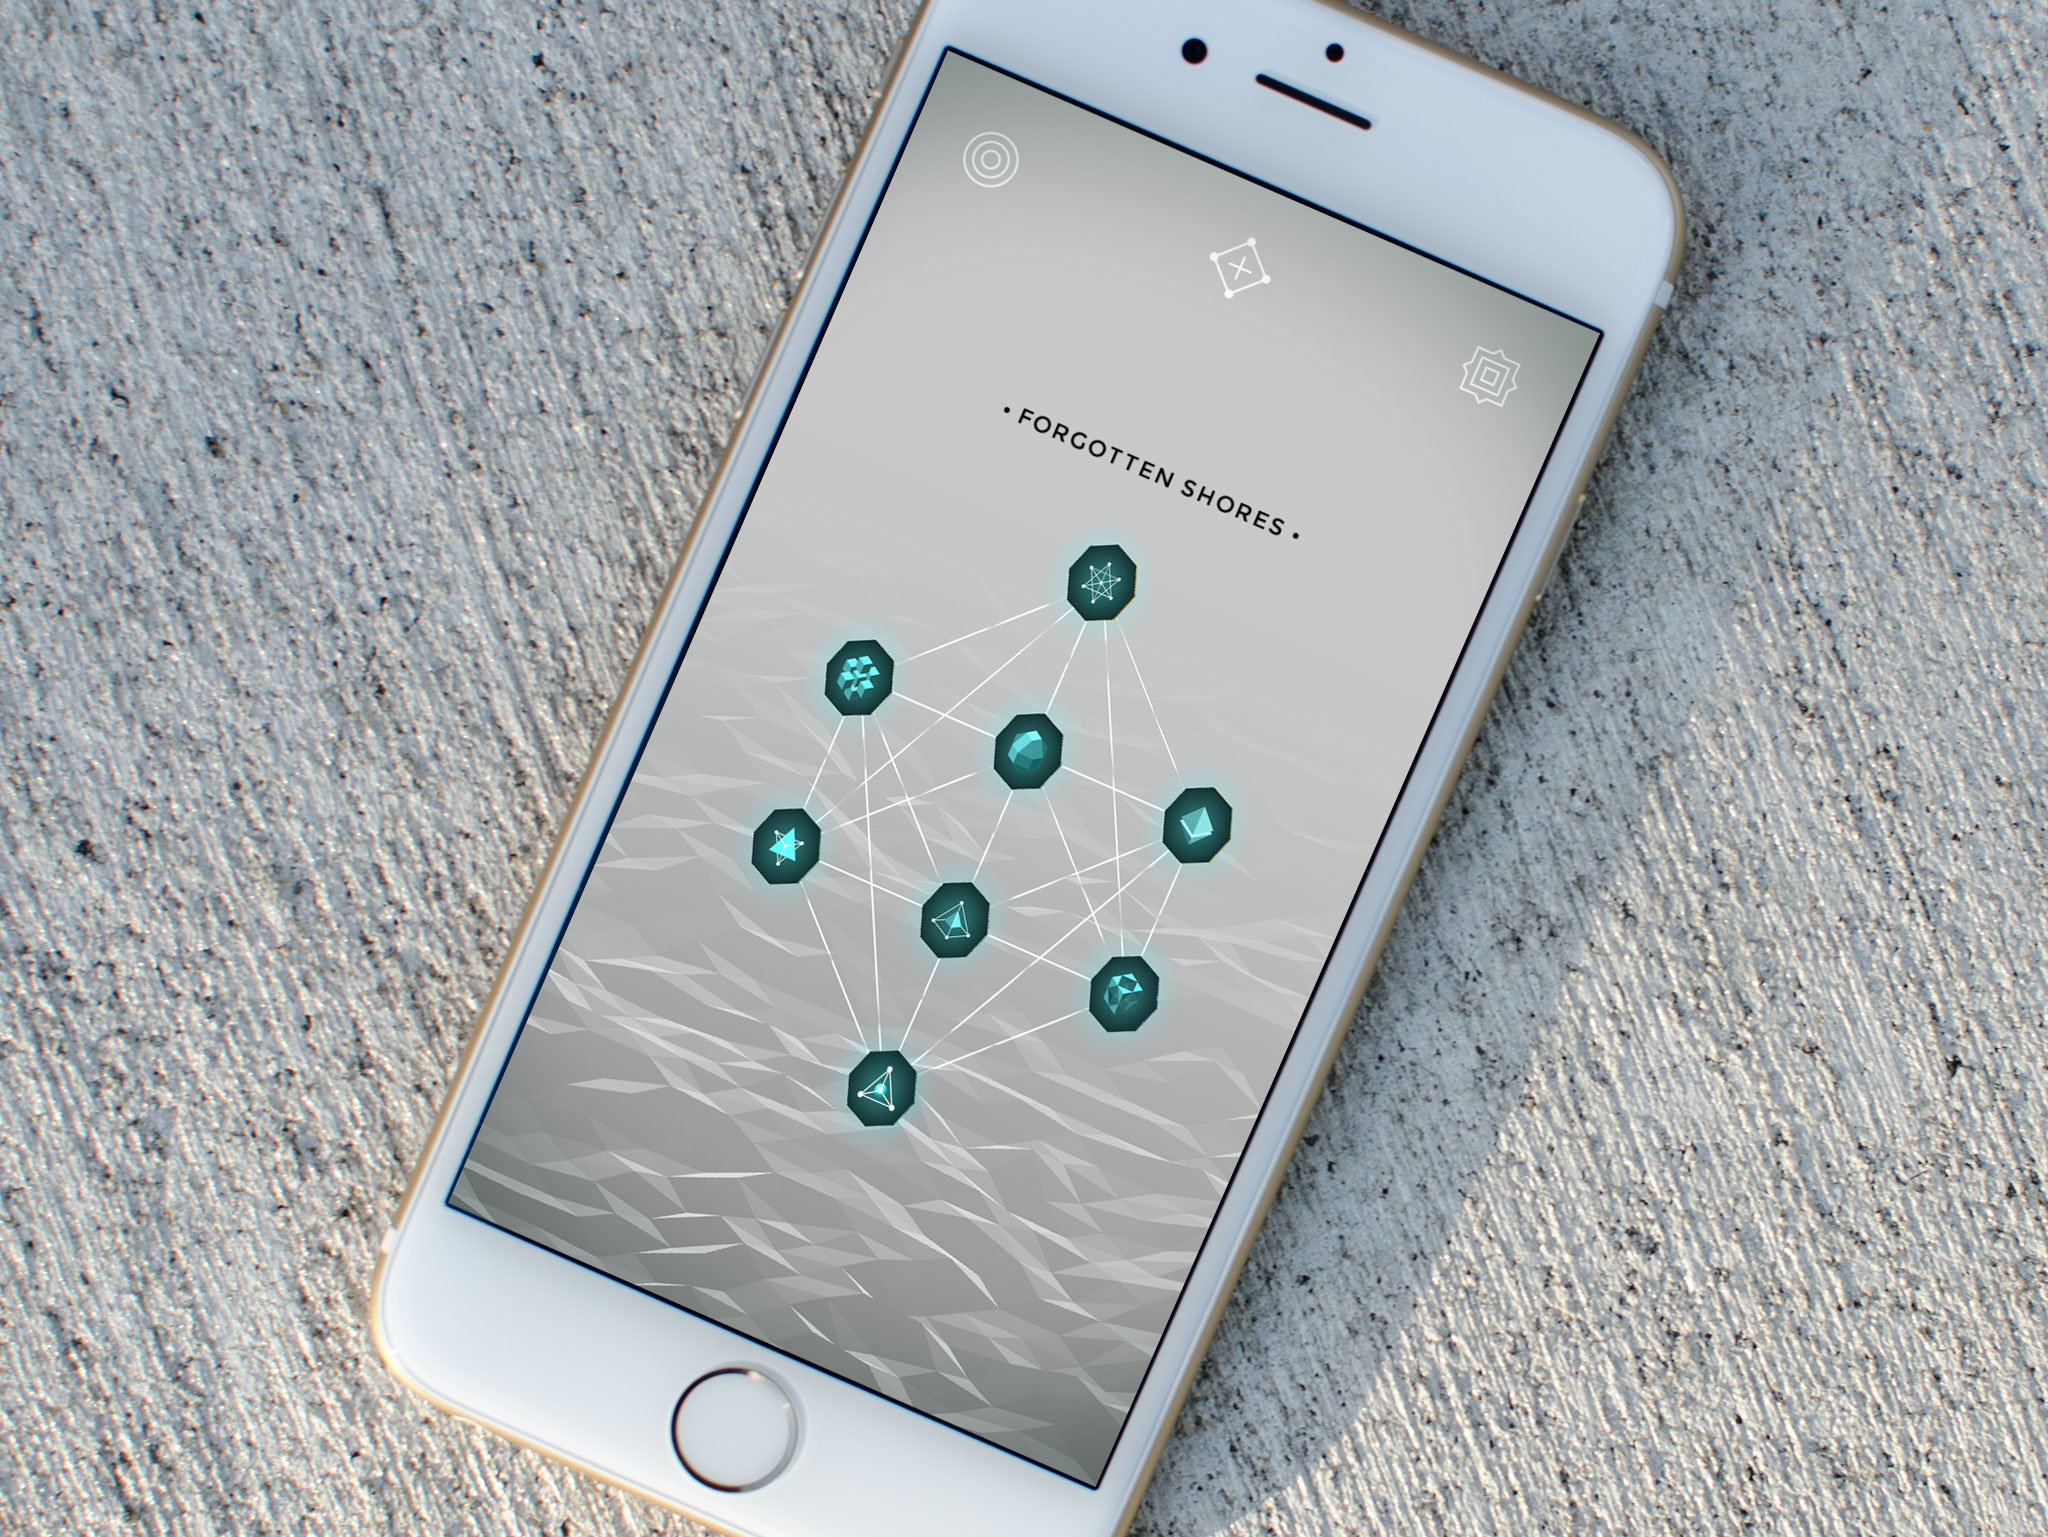
Forgotten Shores is the latest expansion pack to Monument Valley, a beautifully designed puzzle game in which you are in charge of guiding Ida, the silent princess, through many different lands. We've already walked you through the first four levels so here's the final walkthrough of Forgotten Shores for anyone who's gotten stuck along the way!
Monument Valley tips, hints, and cheats
The following guide is a complete walkthrough of the final four levels of Forgotten Shores. For those that either haven't tried getting through the levels on your own yet, or don't want a complete walkthrough, be sure to check out our Monument Valley tips, hints, and cheats first!
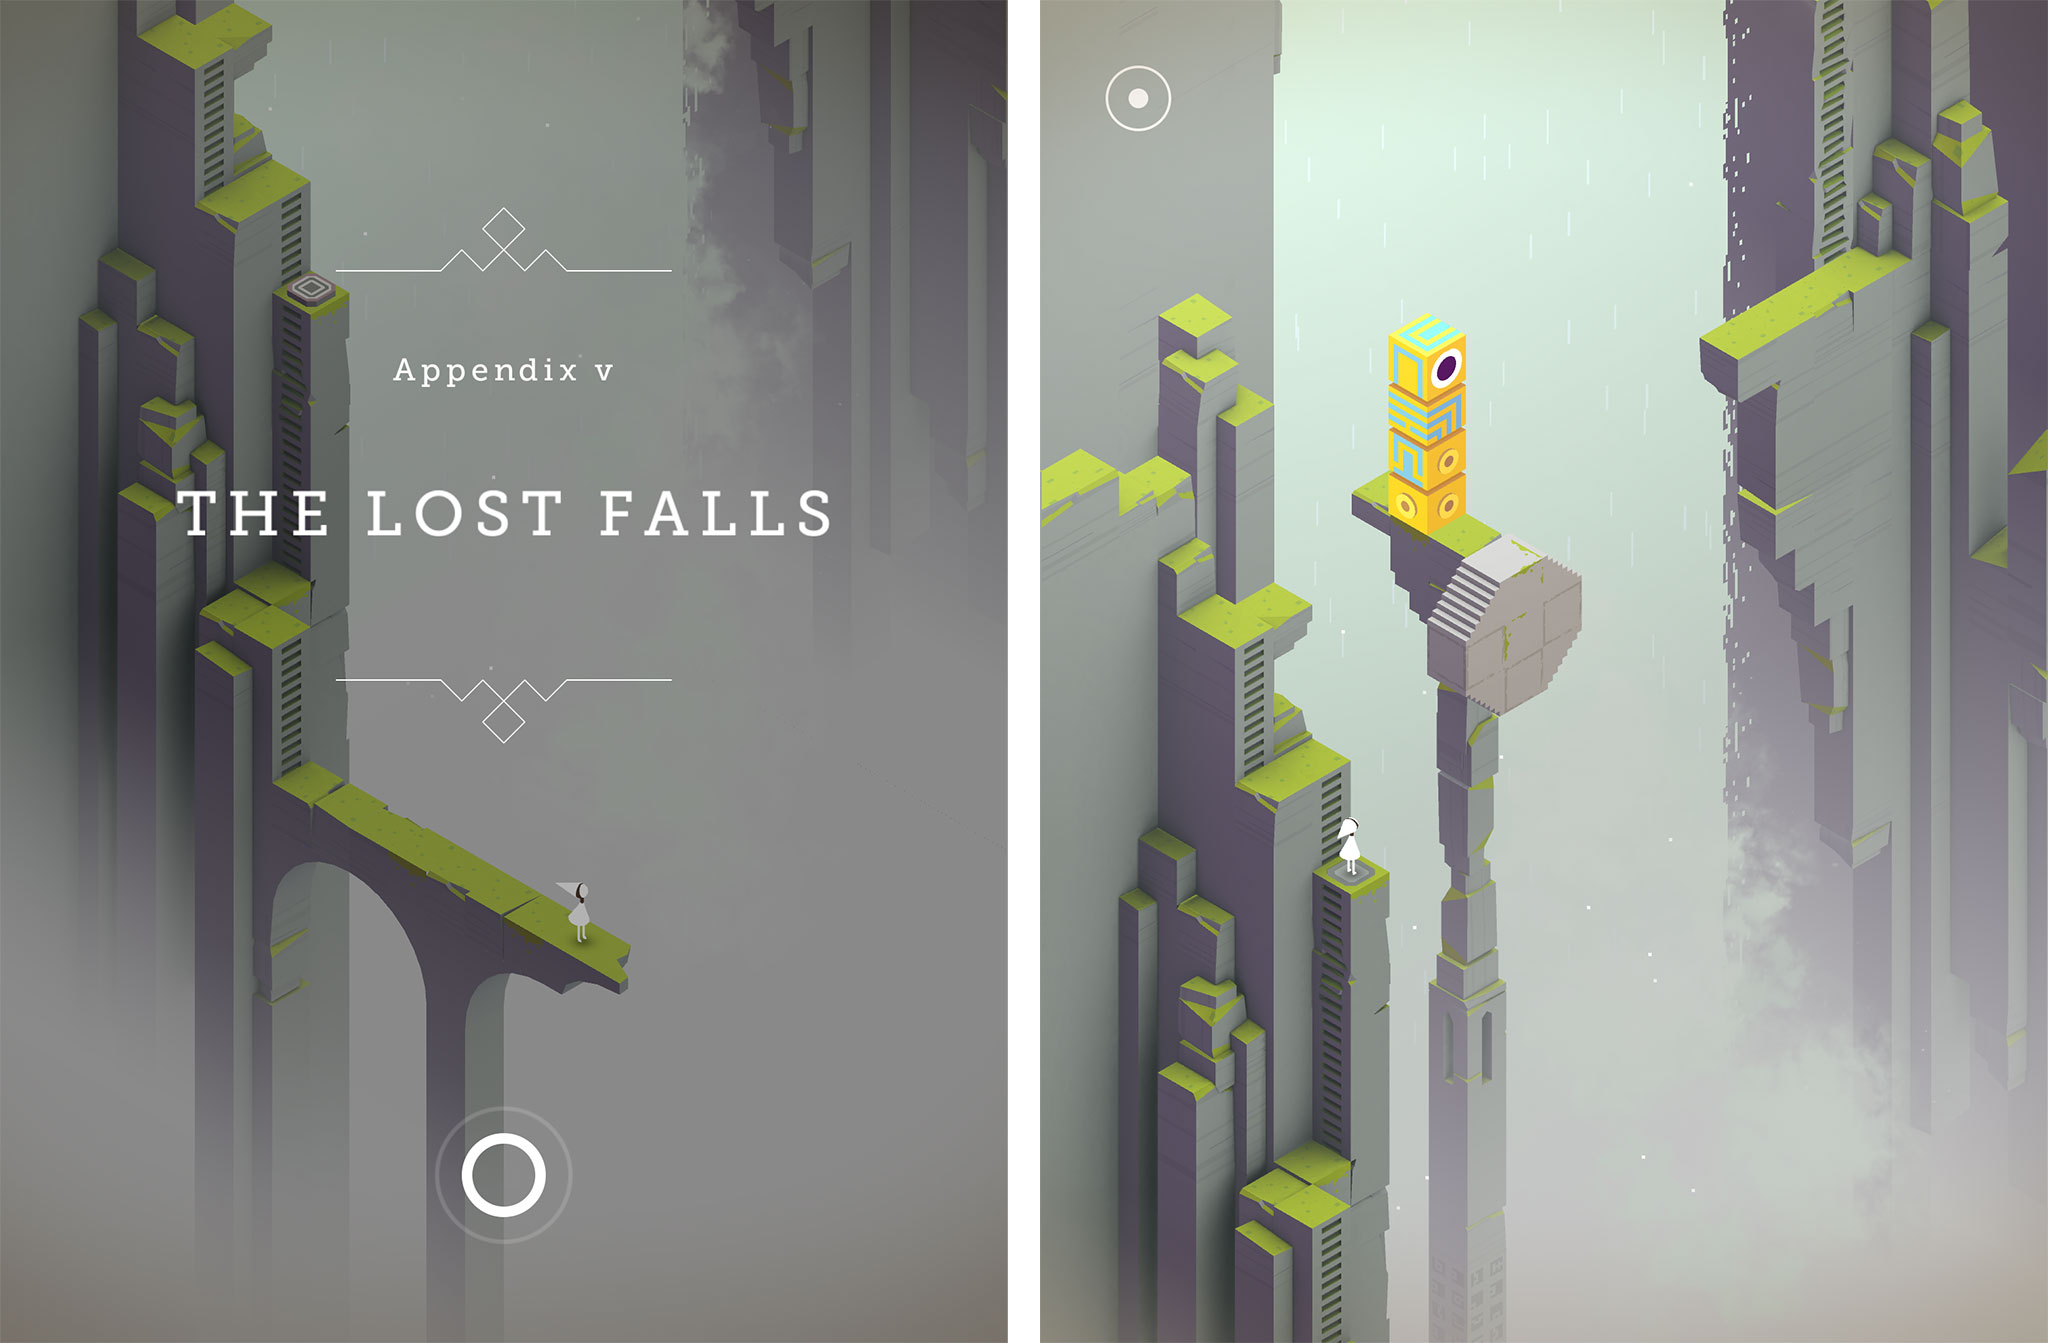
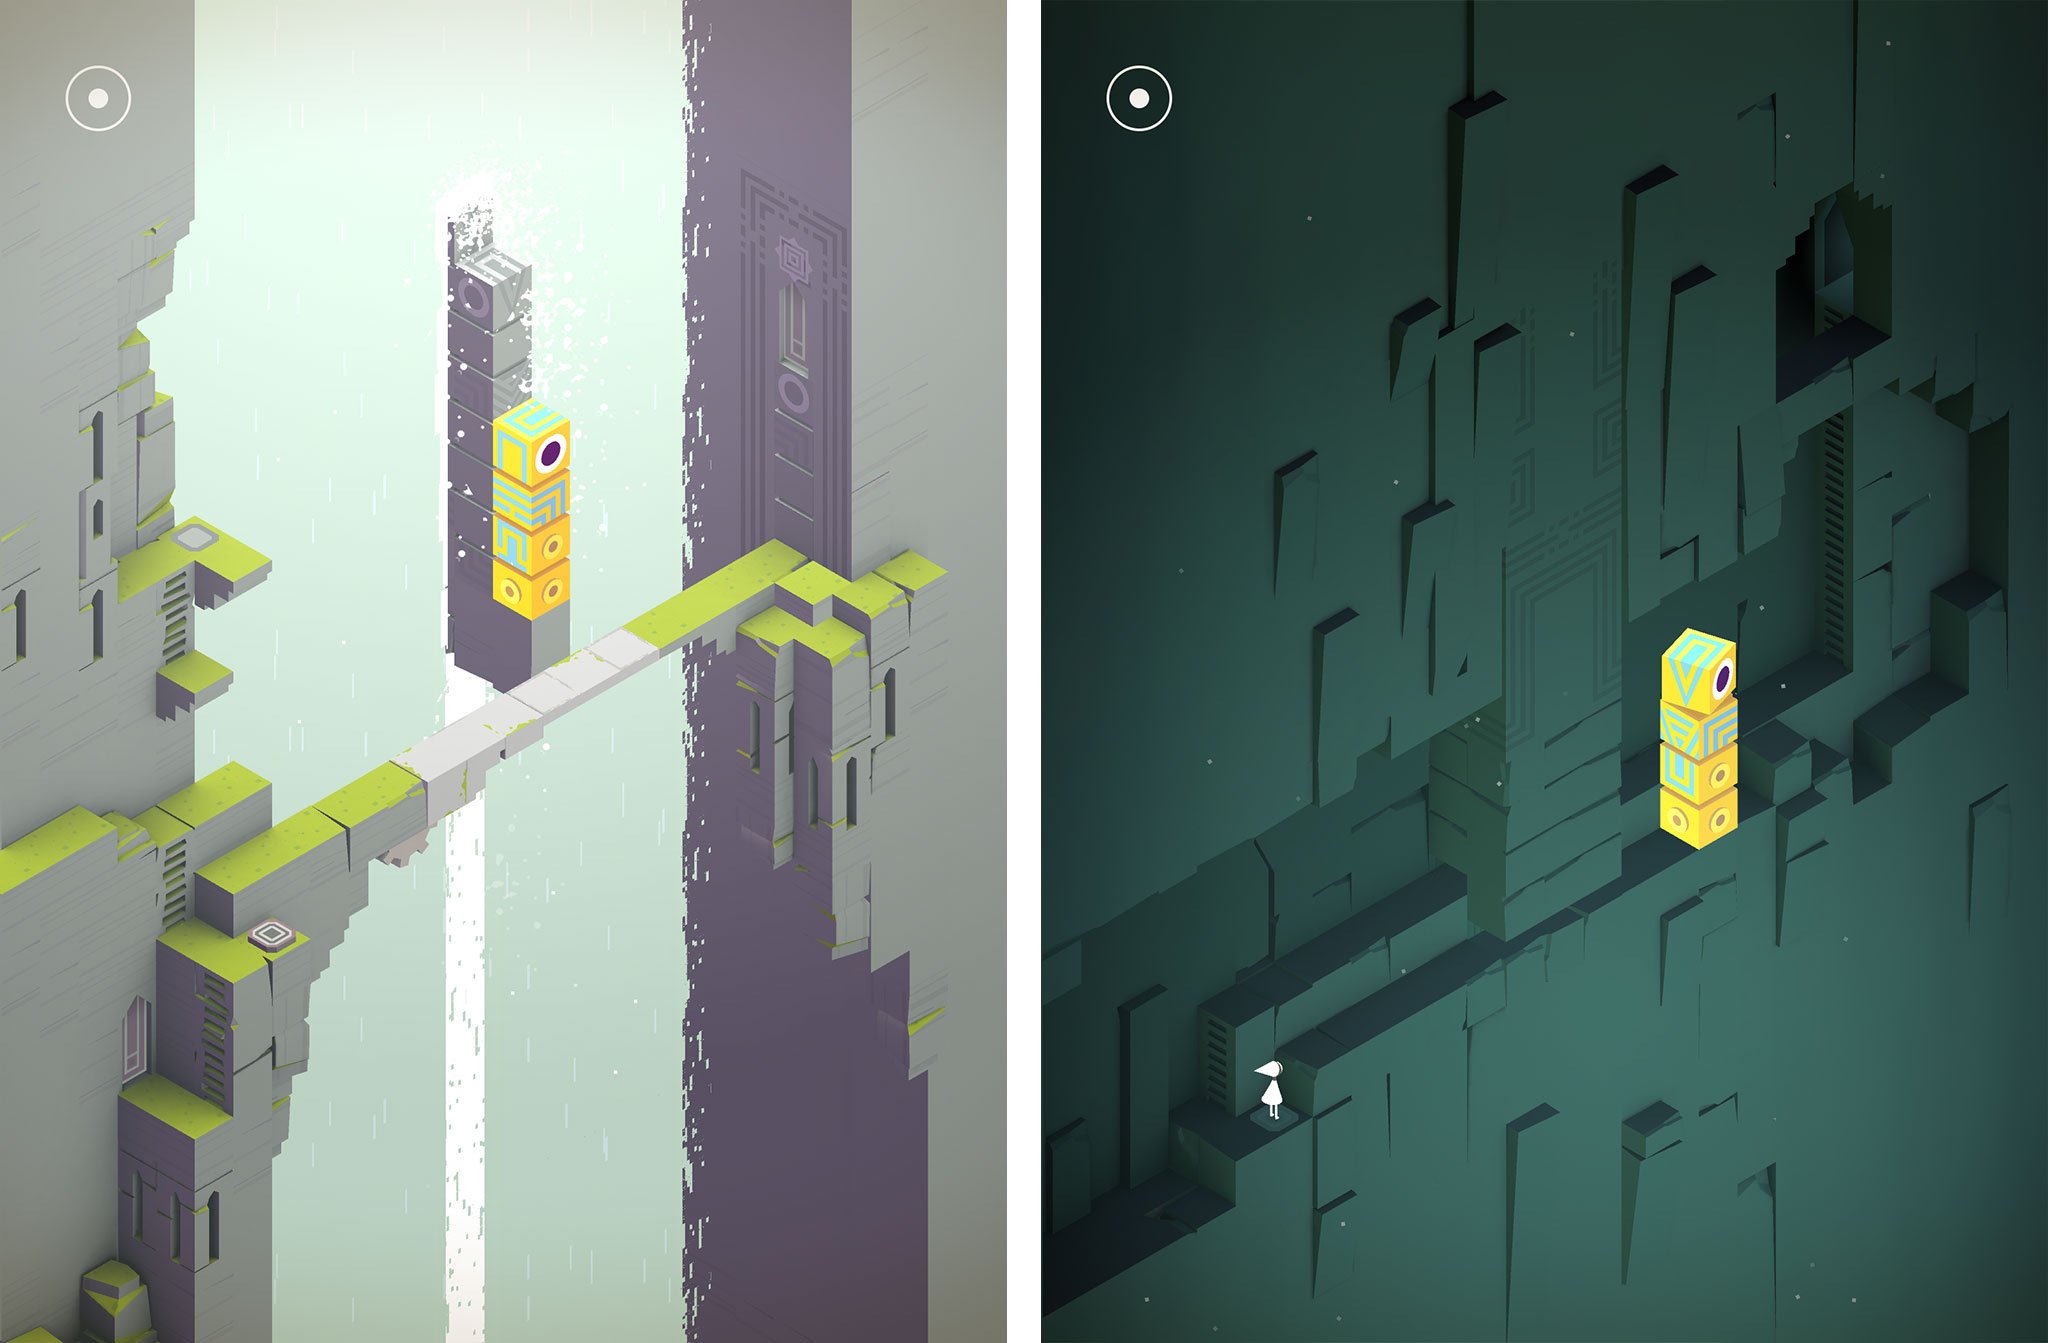
Appendix v: The Lost Falls
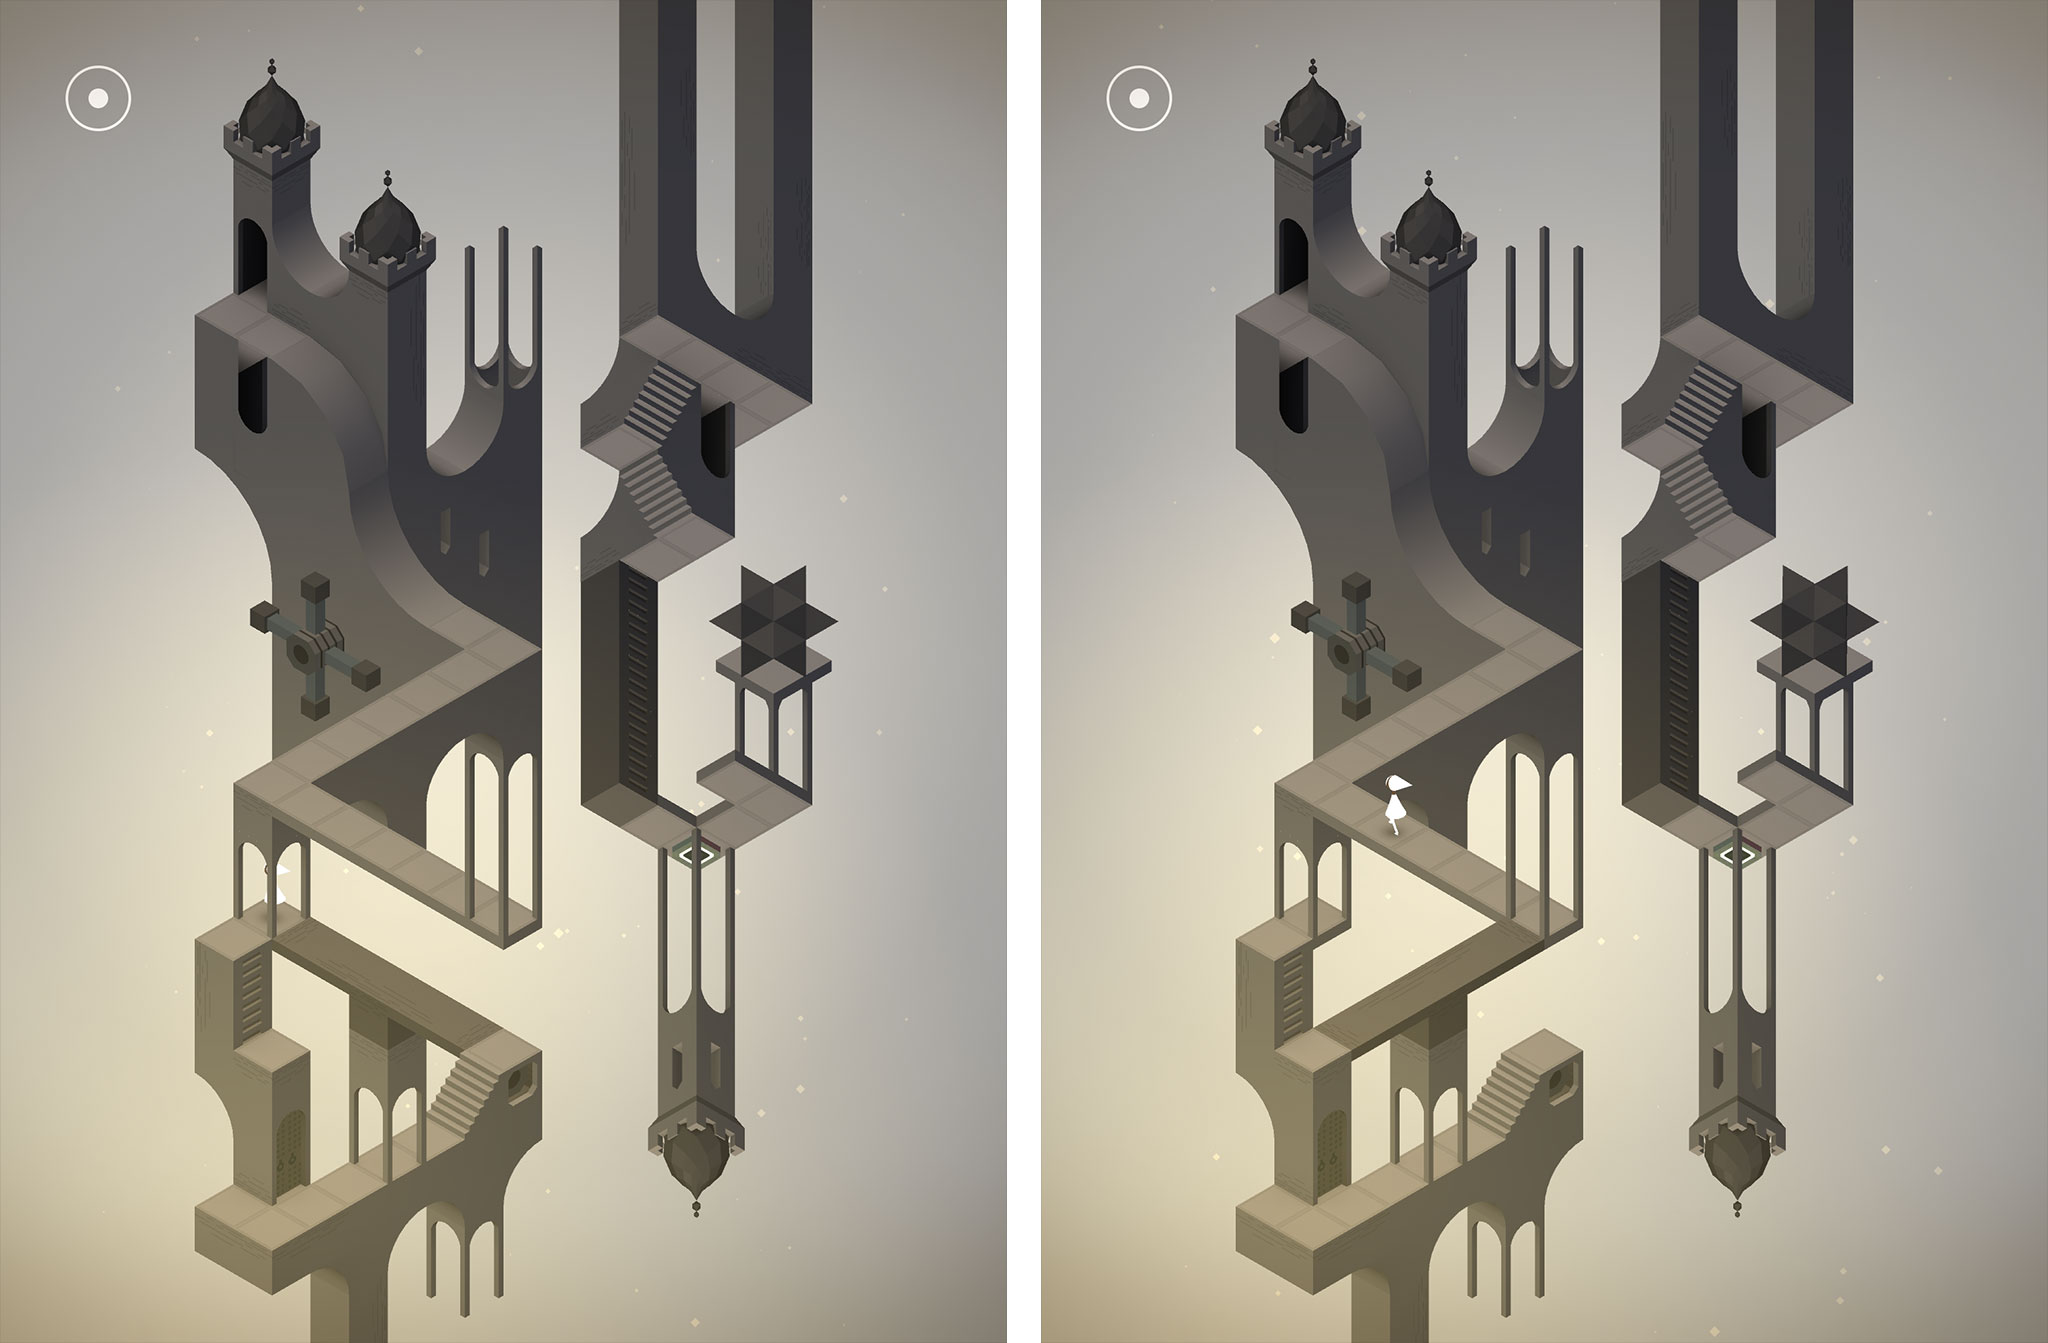
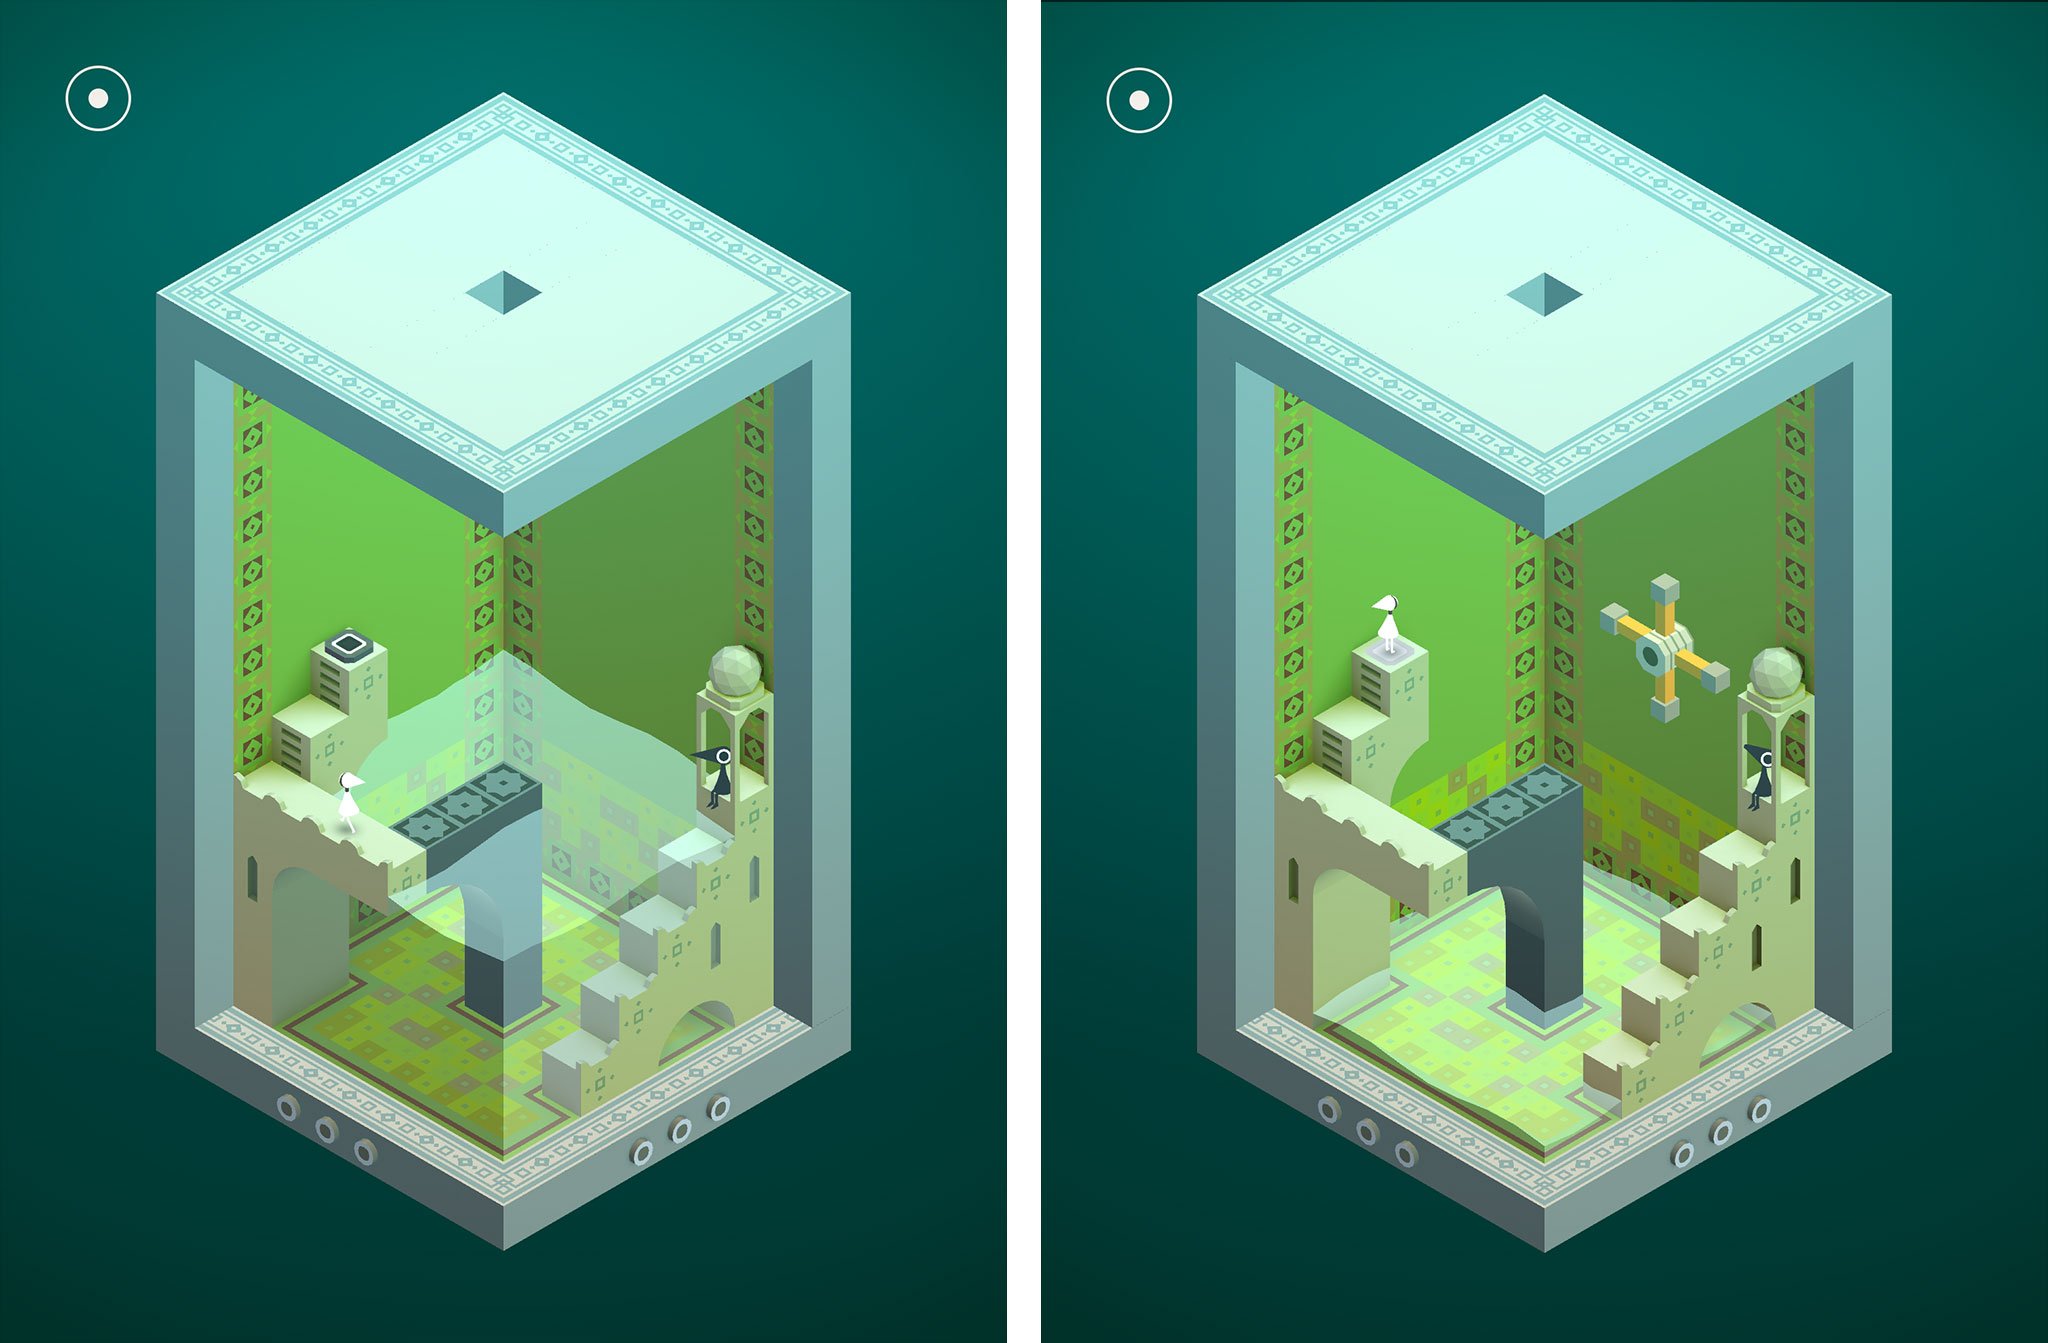
- Guide Ida to the first switch which will make the totem appear.
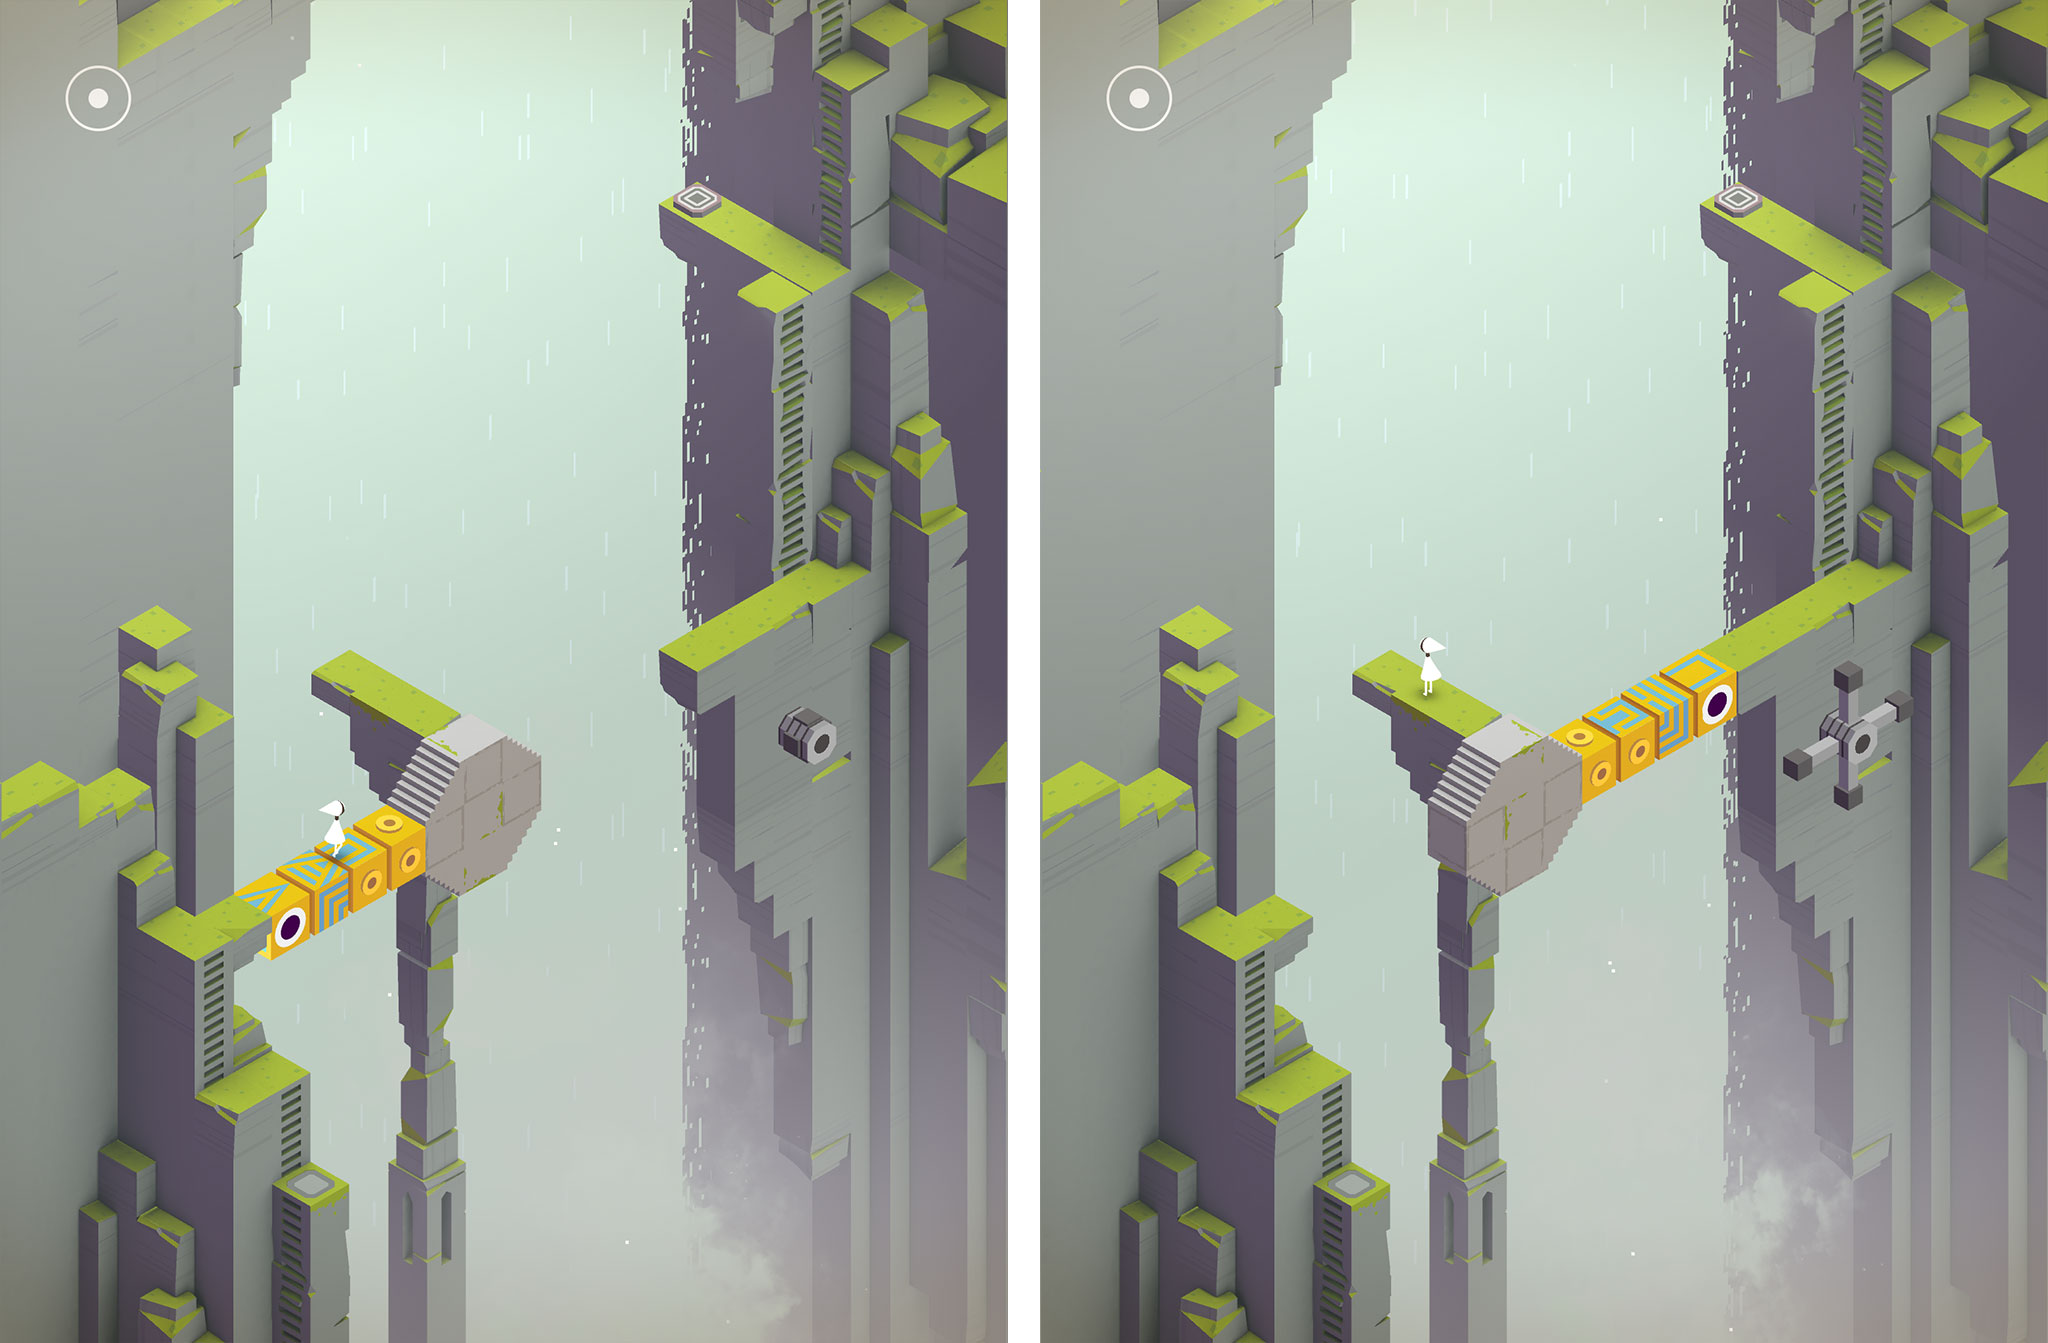
- Next use the lever to rotate the totem in order for Ida to walk to the other side. You'll have to move Ida to the grassy area to make the lever appear again in order to complete her walk across the falls. You can then reach the next switch.
- Use the totem to hit the next switch reveal the next part of the level. After that you can guide Ida up the stairs and to the next switch. The totem can then hit the switch at the top to open a door for Ida.
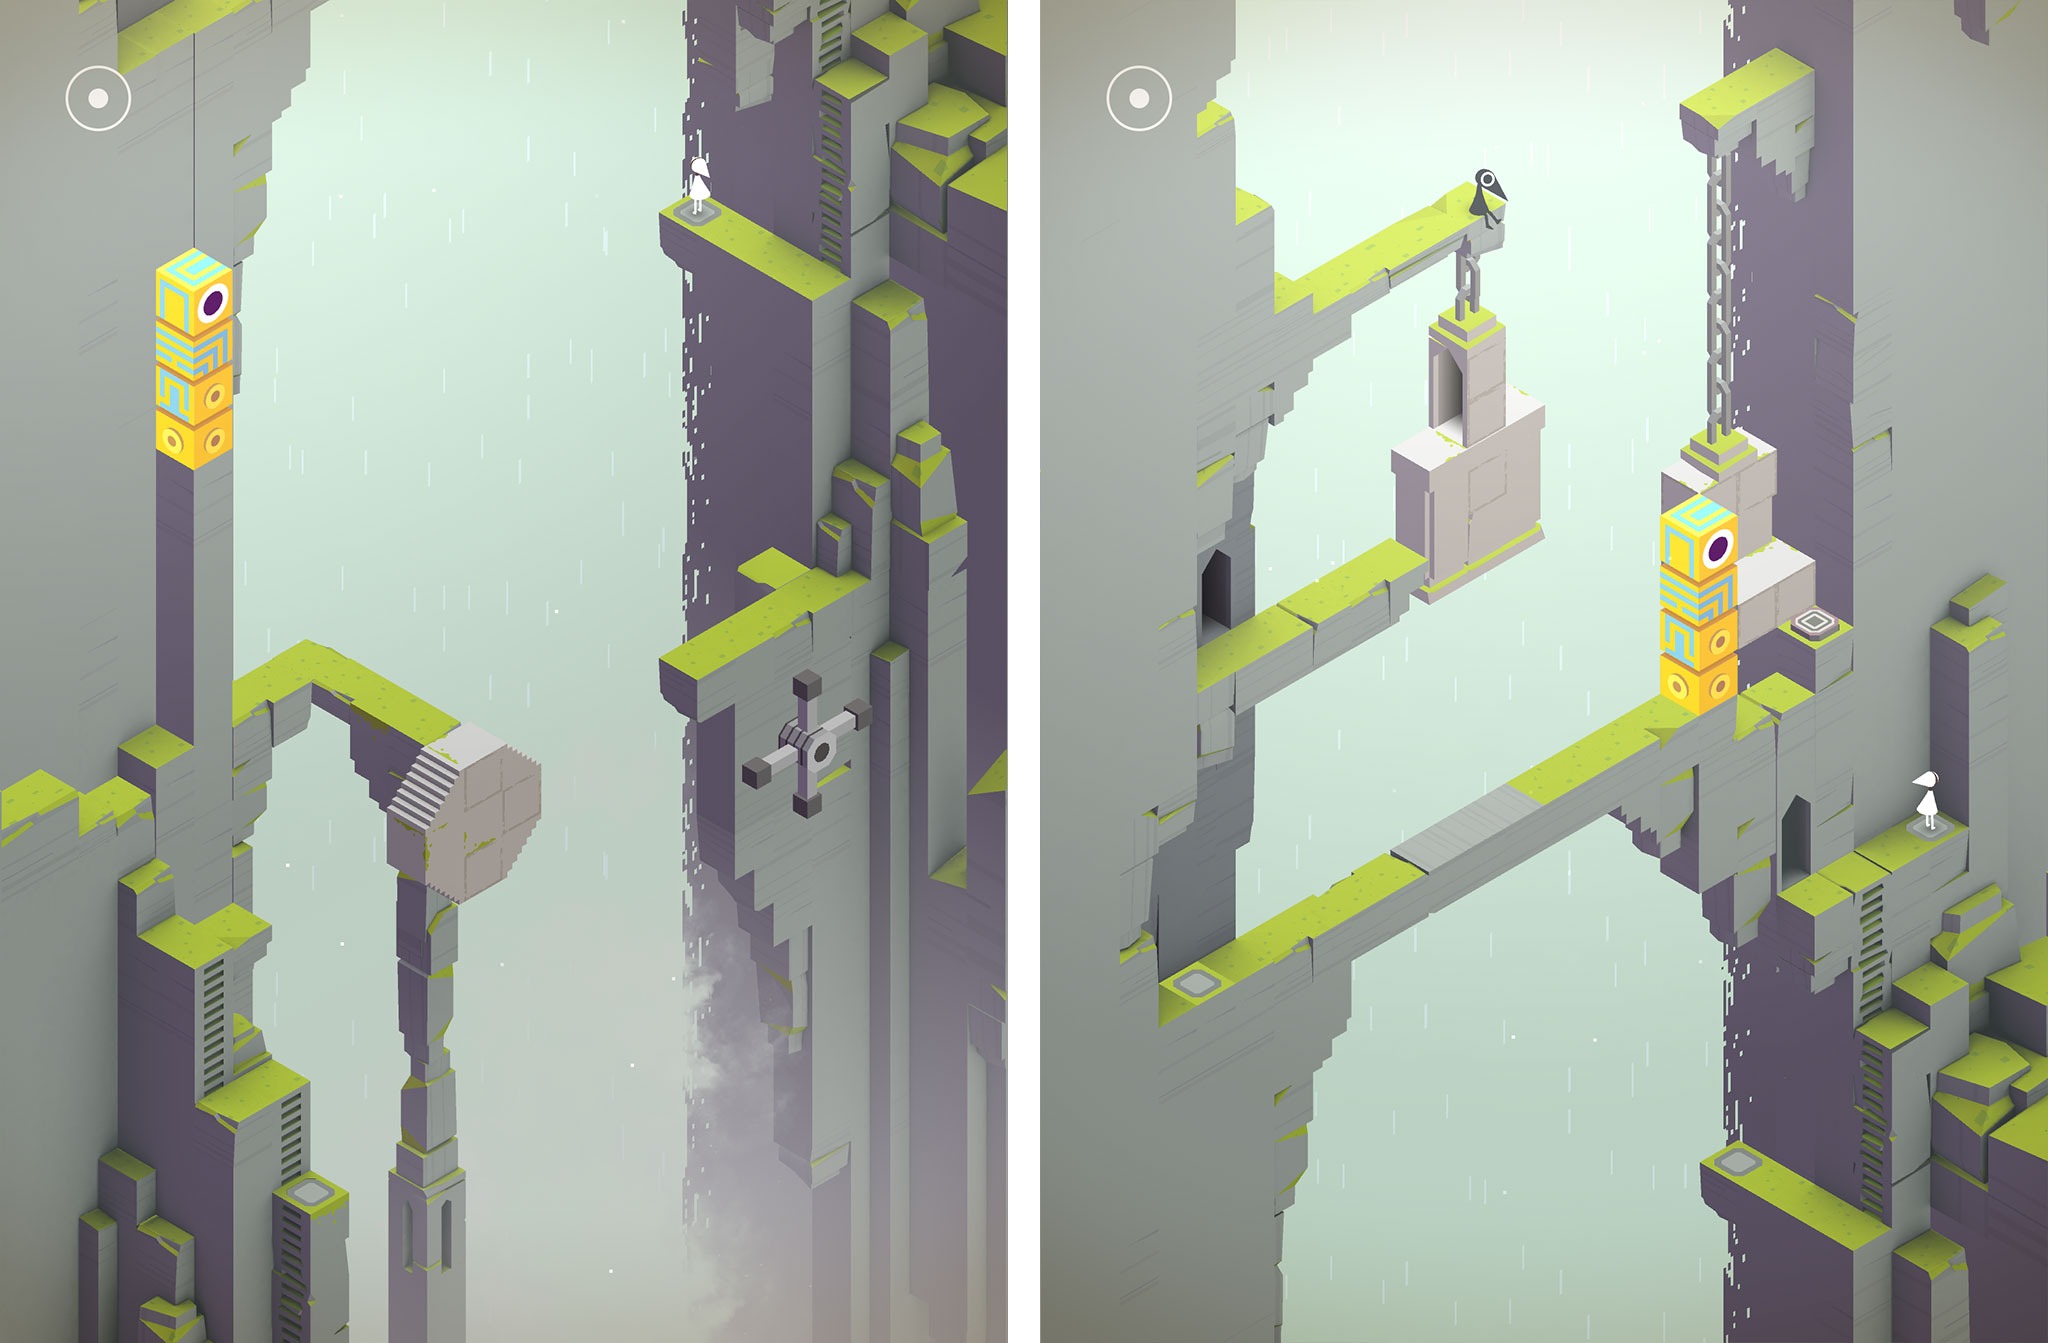
- Ida then appears at the top of the level. Walk back through the door after positioning the totem underneath the platform that contains the next door. Then tap the door for Ida to go back through. This time she will be able to access the door. The totem can then hit the last switch in order to rise up to the next portion of the level.
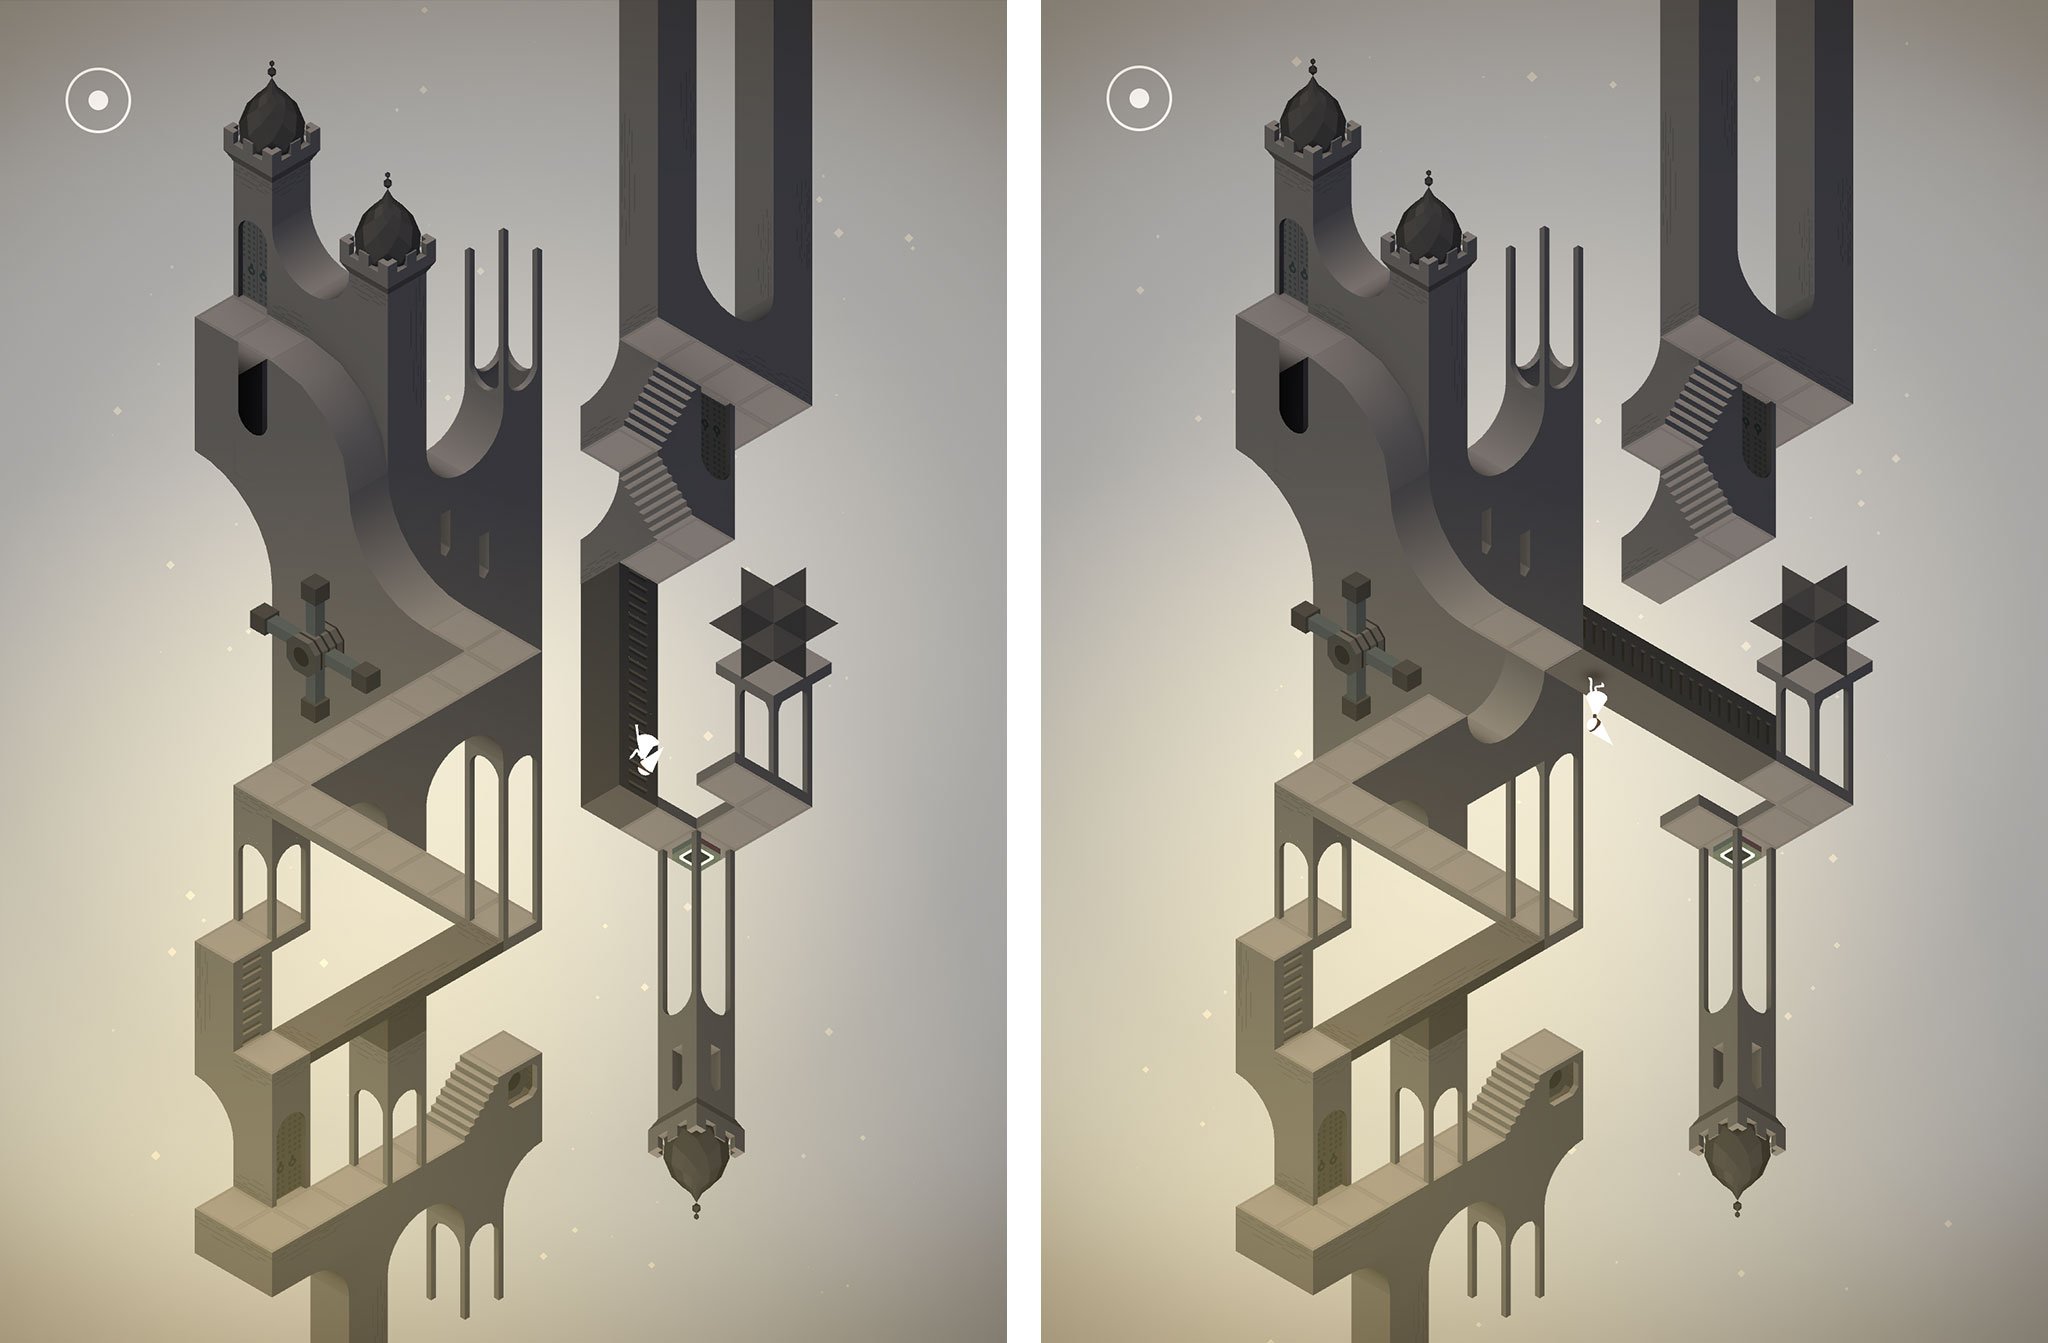
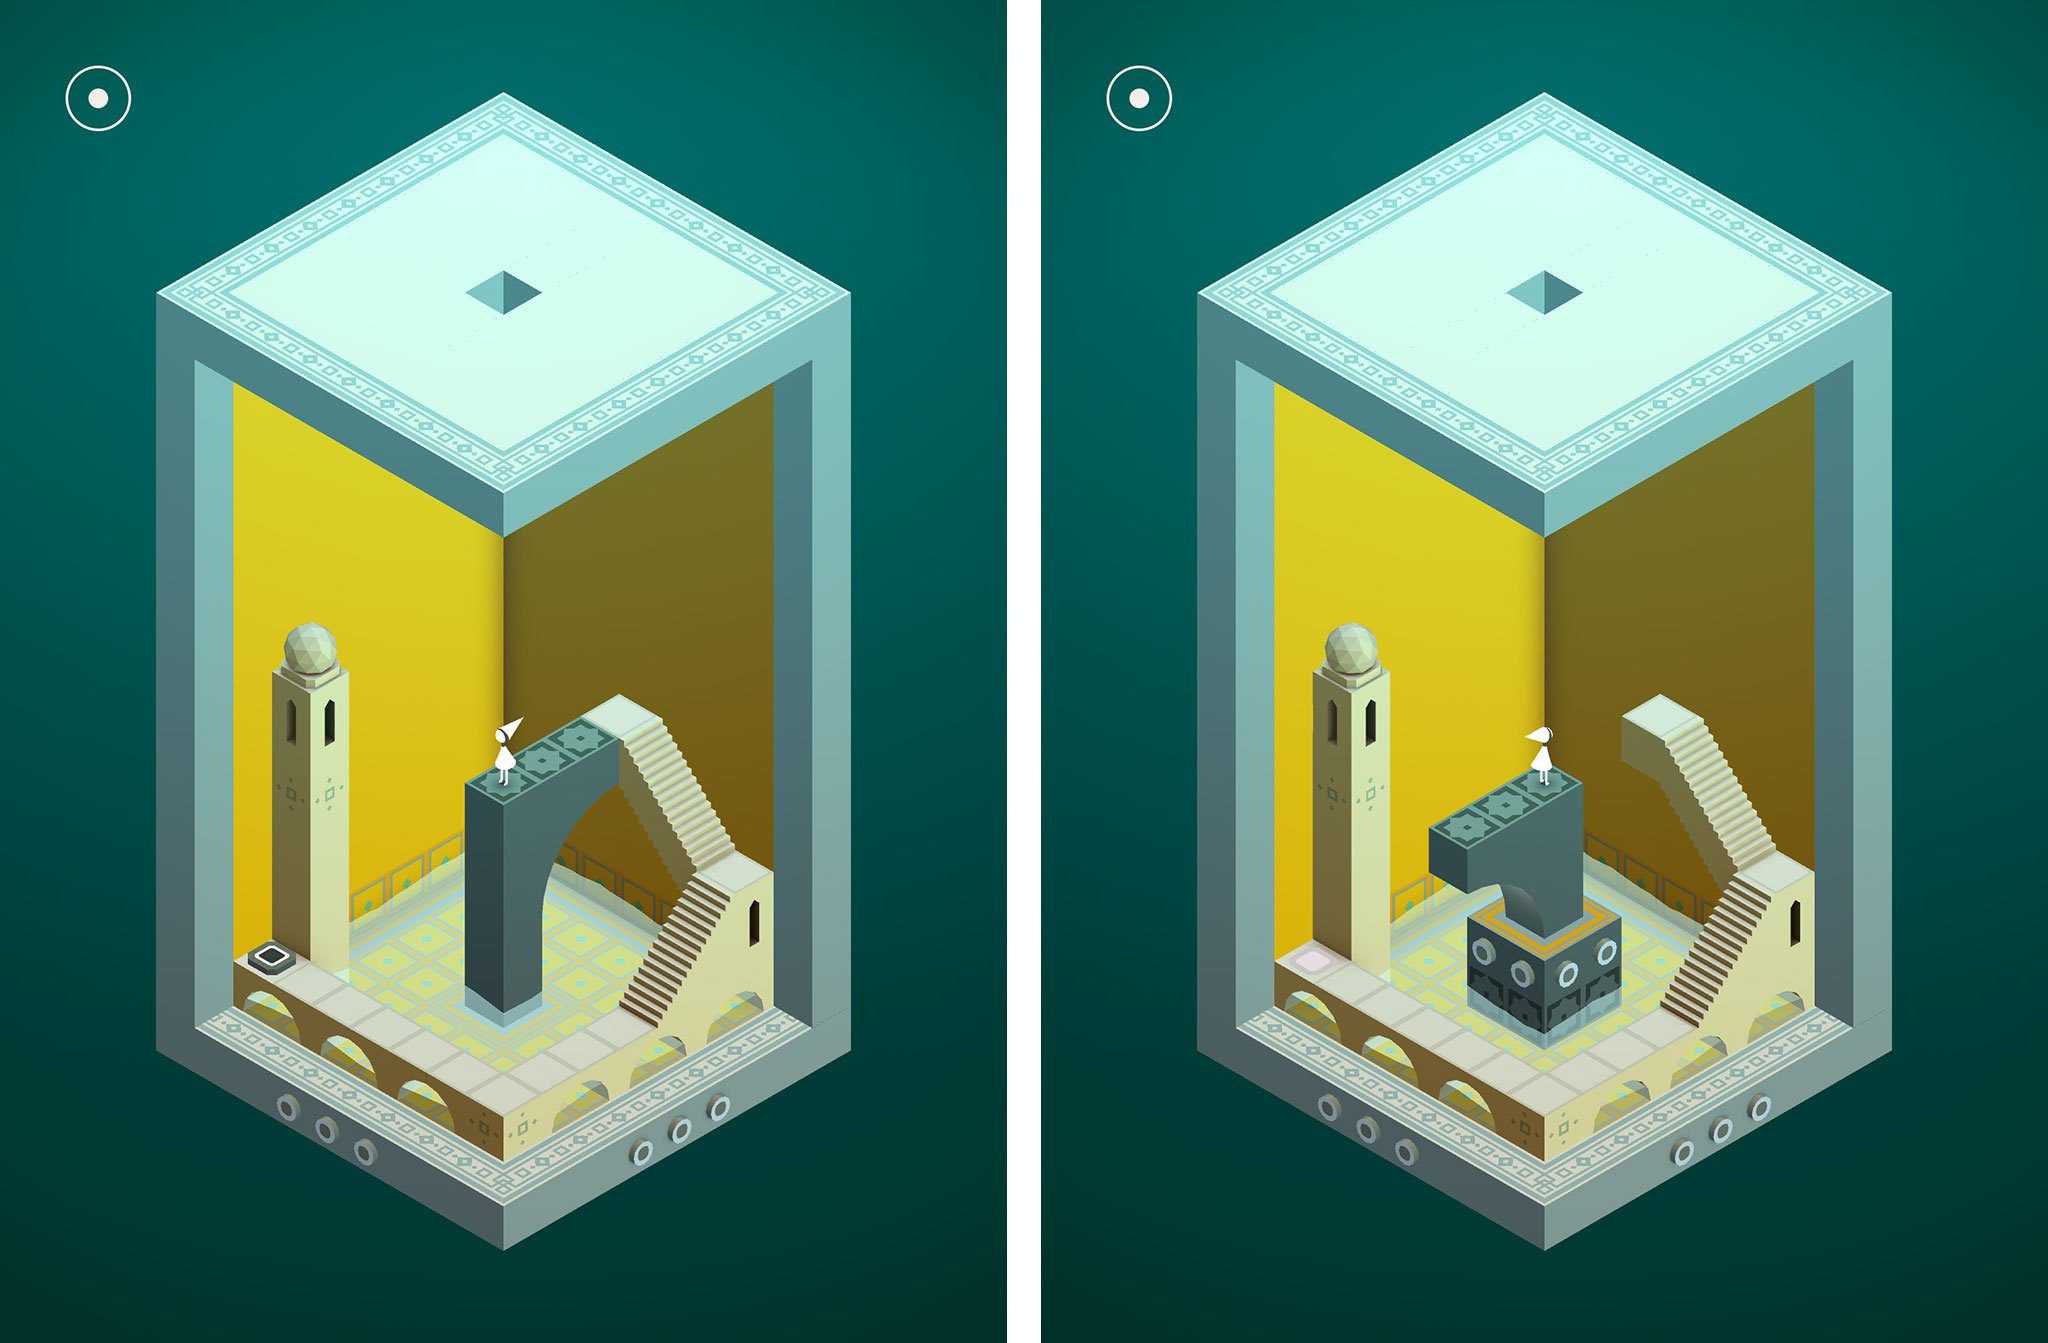
- Use the totem to weigh down the walkway so Ida can step onto it. Once she is on it, position the totem so she can walk on top of it once the lift pops back up.

- Ida can then walk onto the second lift. Place the totem on the first lift and the second one will raise for Ida to reach the door. Lastly, use the totem to activate the next switch.
- Once you activate the first switch with Ida, move the totem onto the platform before stepping off the switch. You can then slide the totem up and down on the platform in order to reach the next switch with Ida.
- Next use the totem in order to guide Ida to the next door. She can simply get on top of it using the second platform. Then slide the totem over to the door.
- Hit the next switch two switches using the totem. Ida will then appear and have easy access to the third switch.
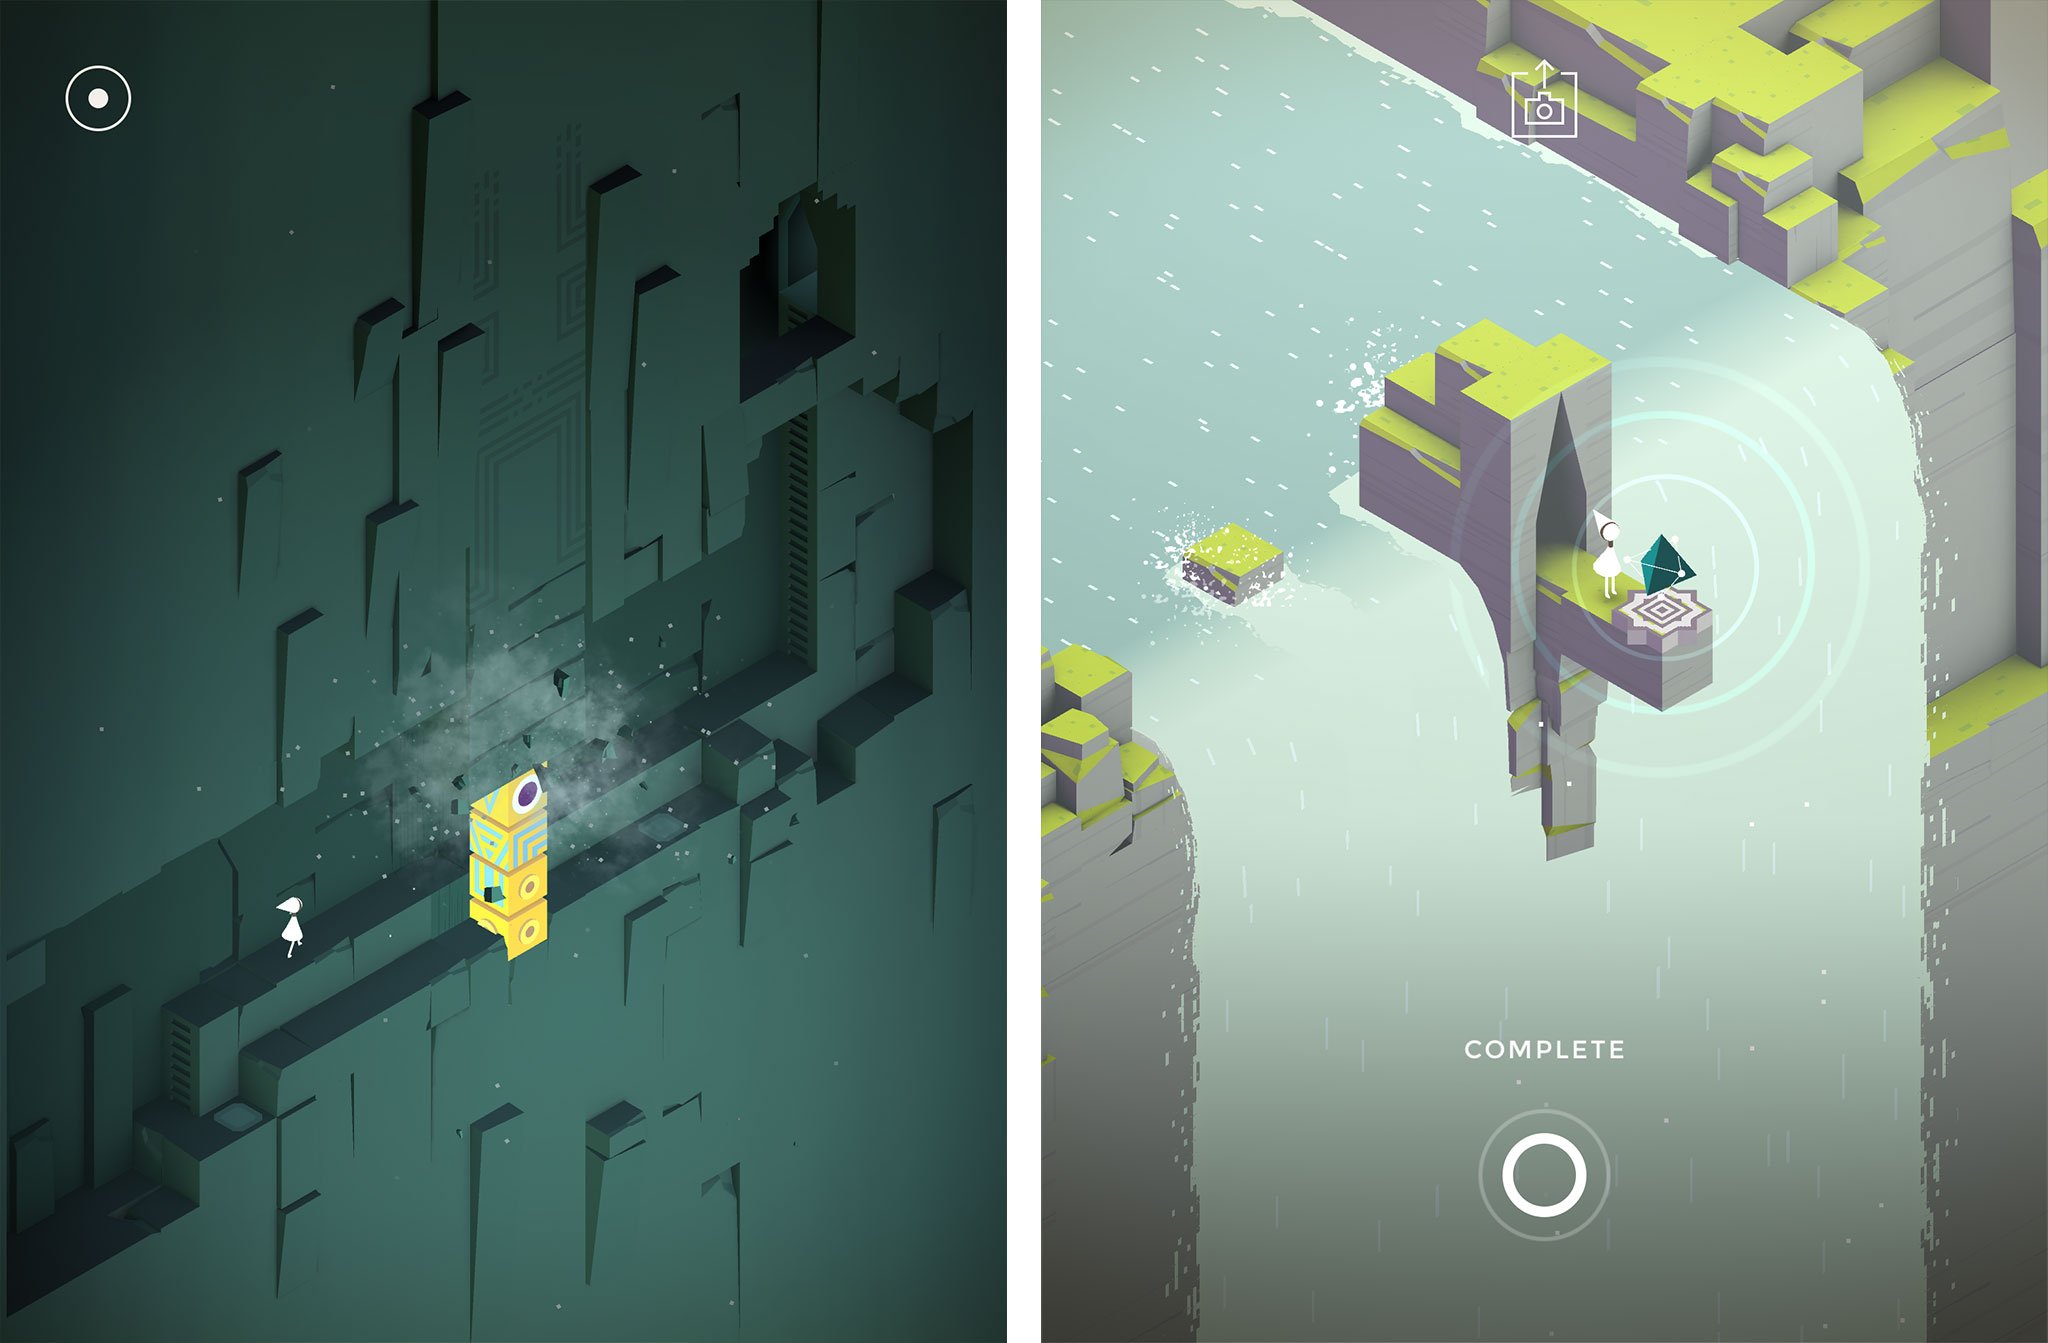
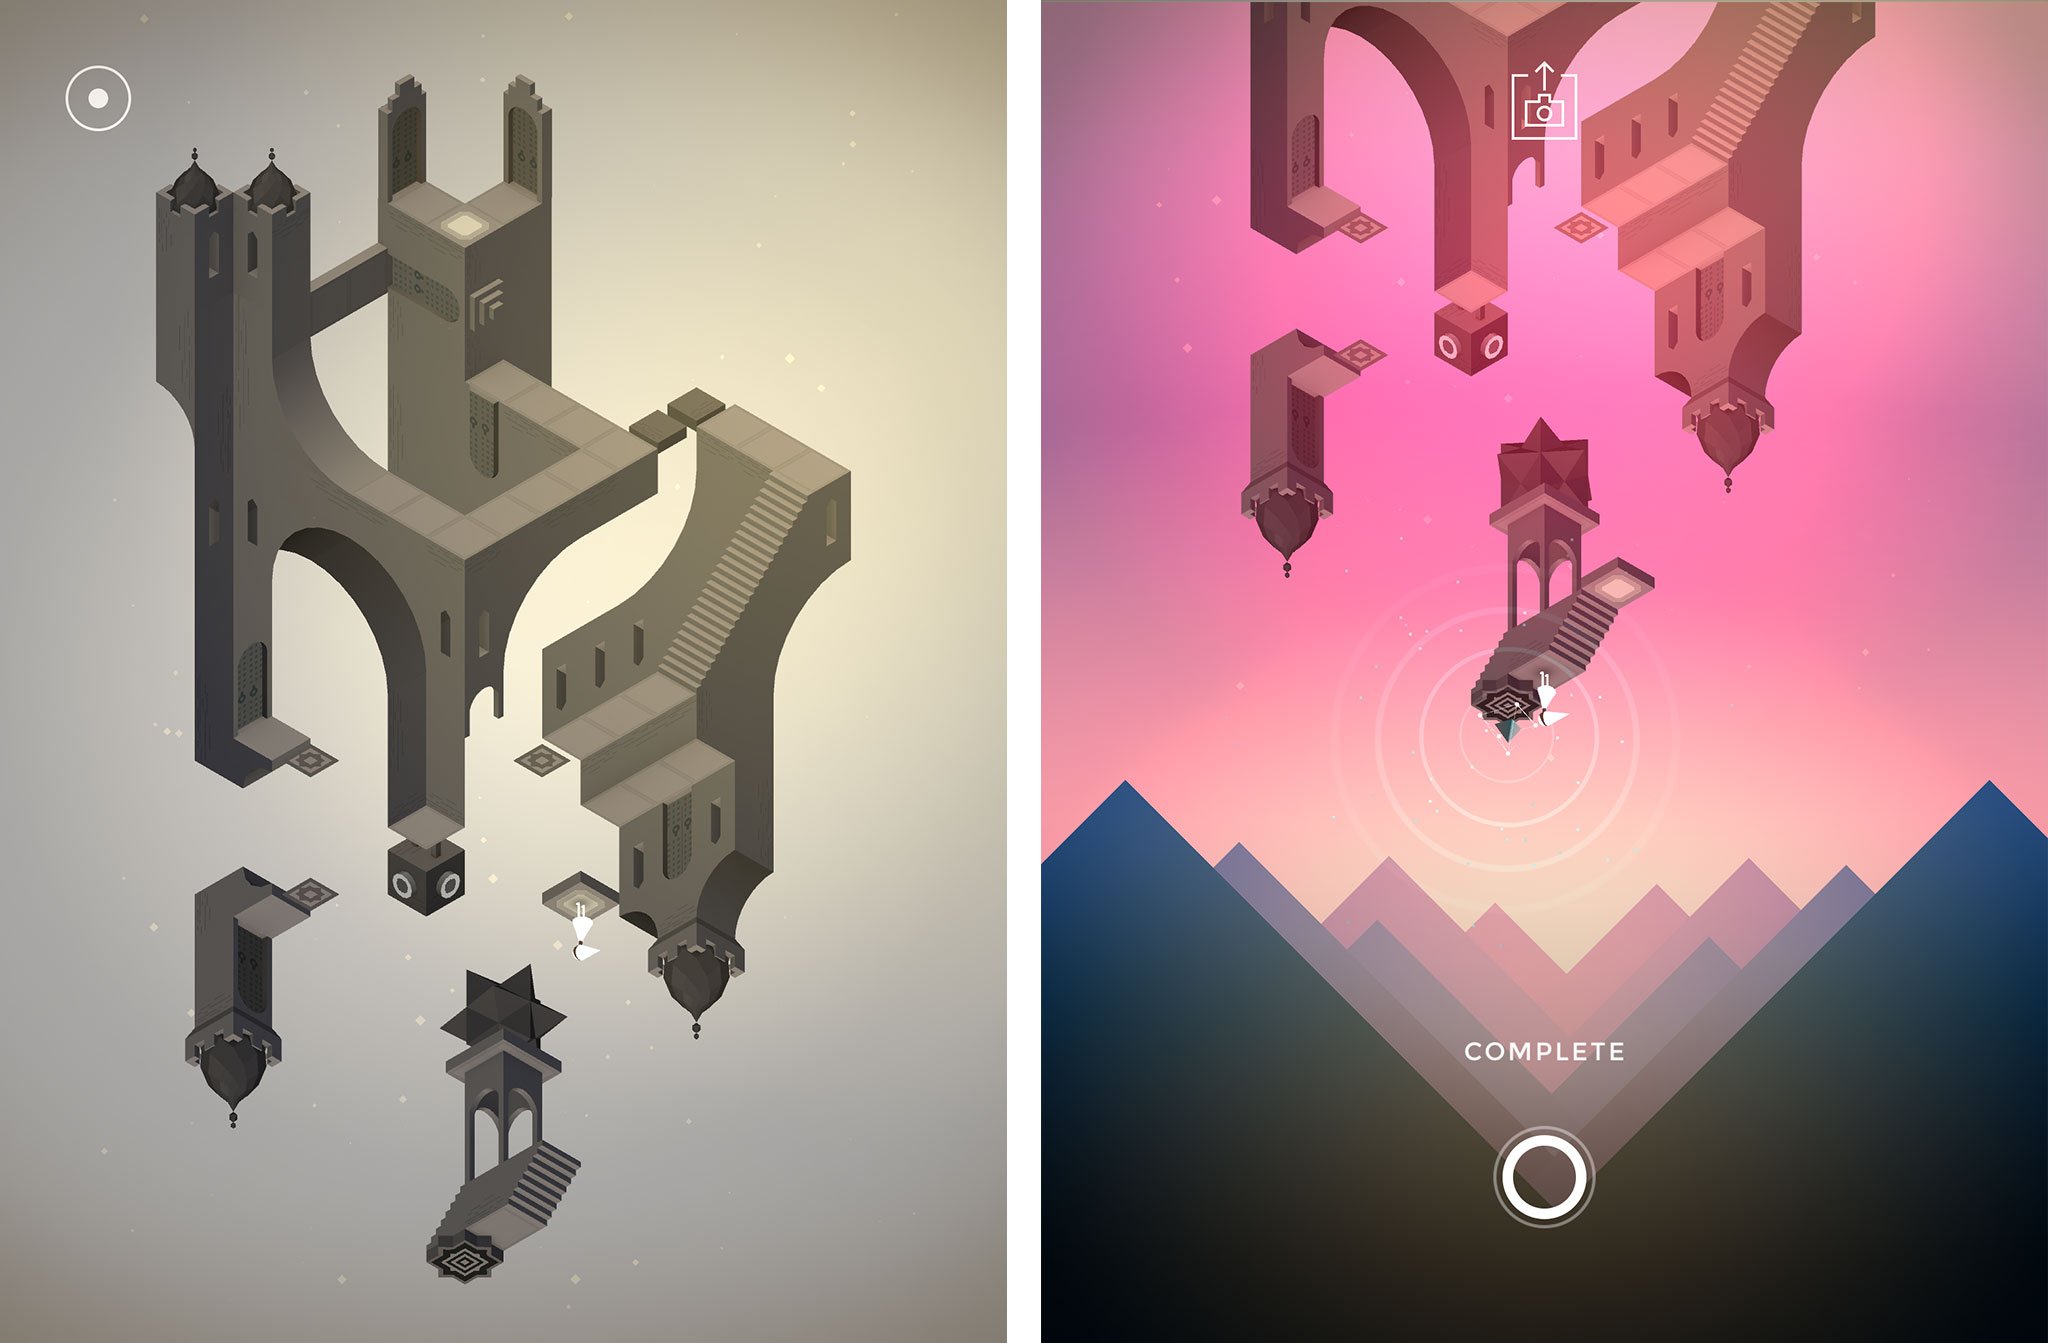
- Move the totem underneath where the rock lifted. You can then guide Ida to the next door while the totem prevents the rock from falling. This is the end of the level.
Appendix vi: The Citadel of Deceit
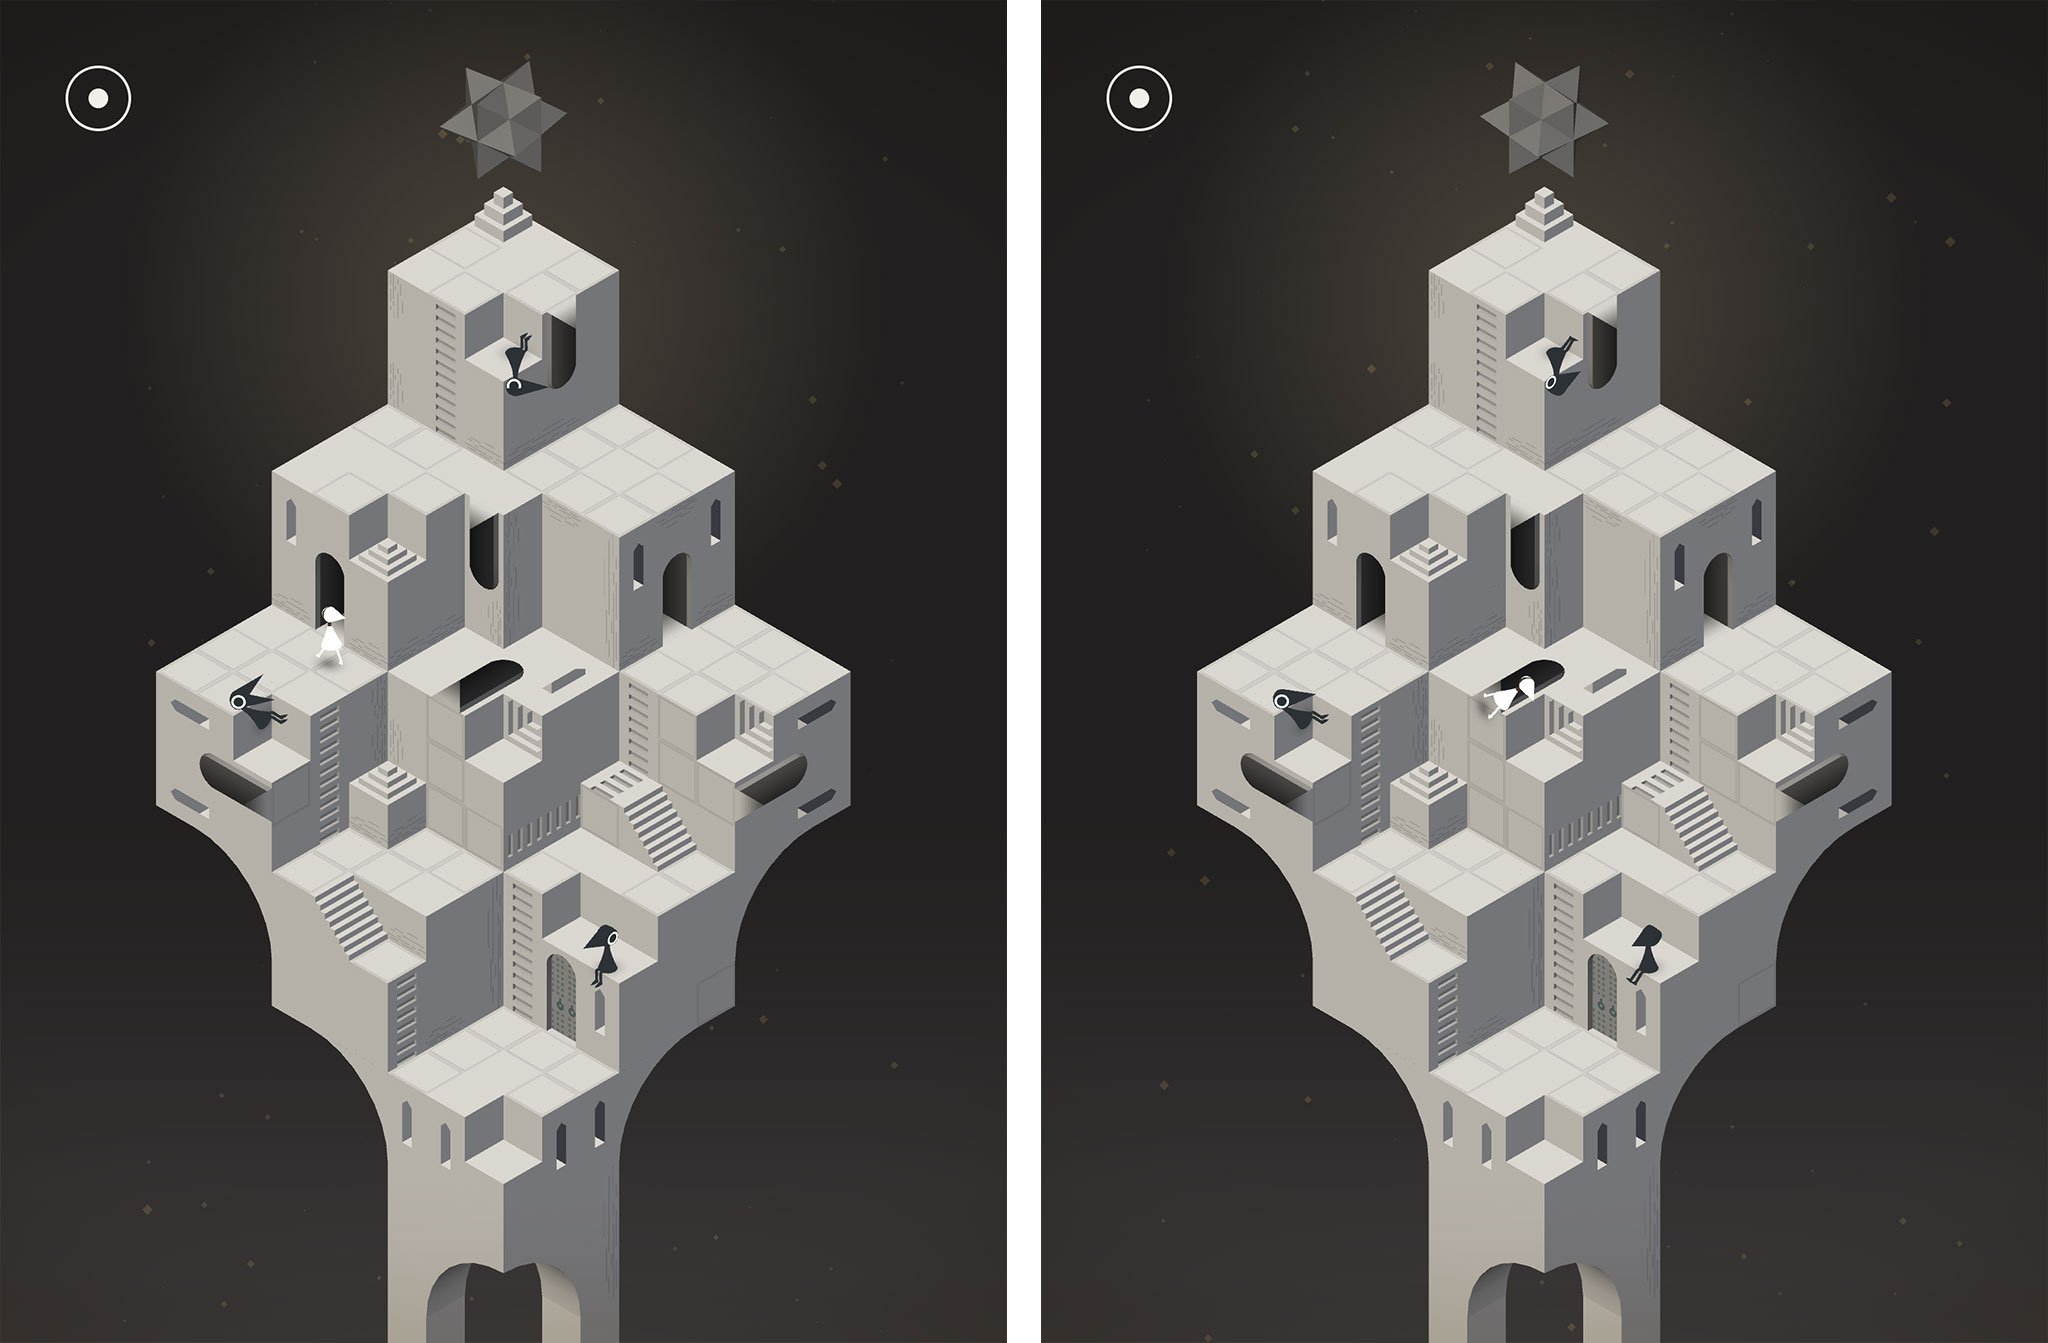
- Move Ida across by moving the middle walkway and going through the first door. After this you can repeat the same process sideways to hit the first switch.
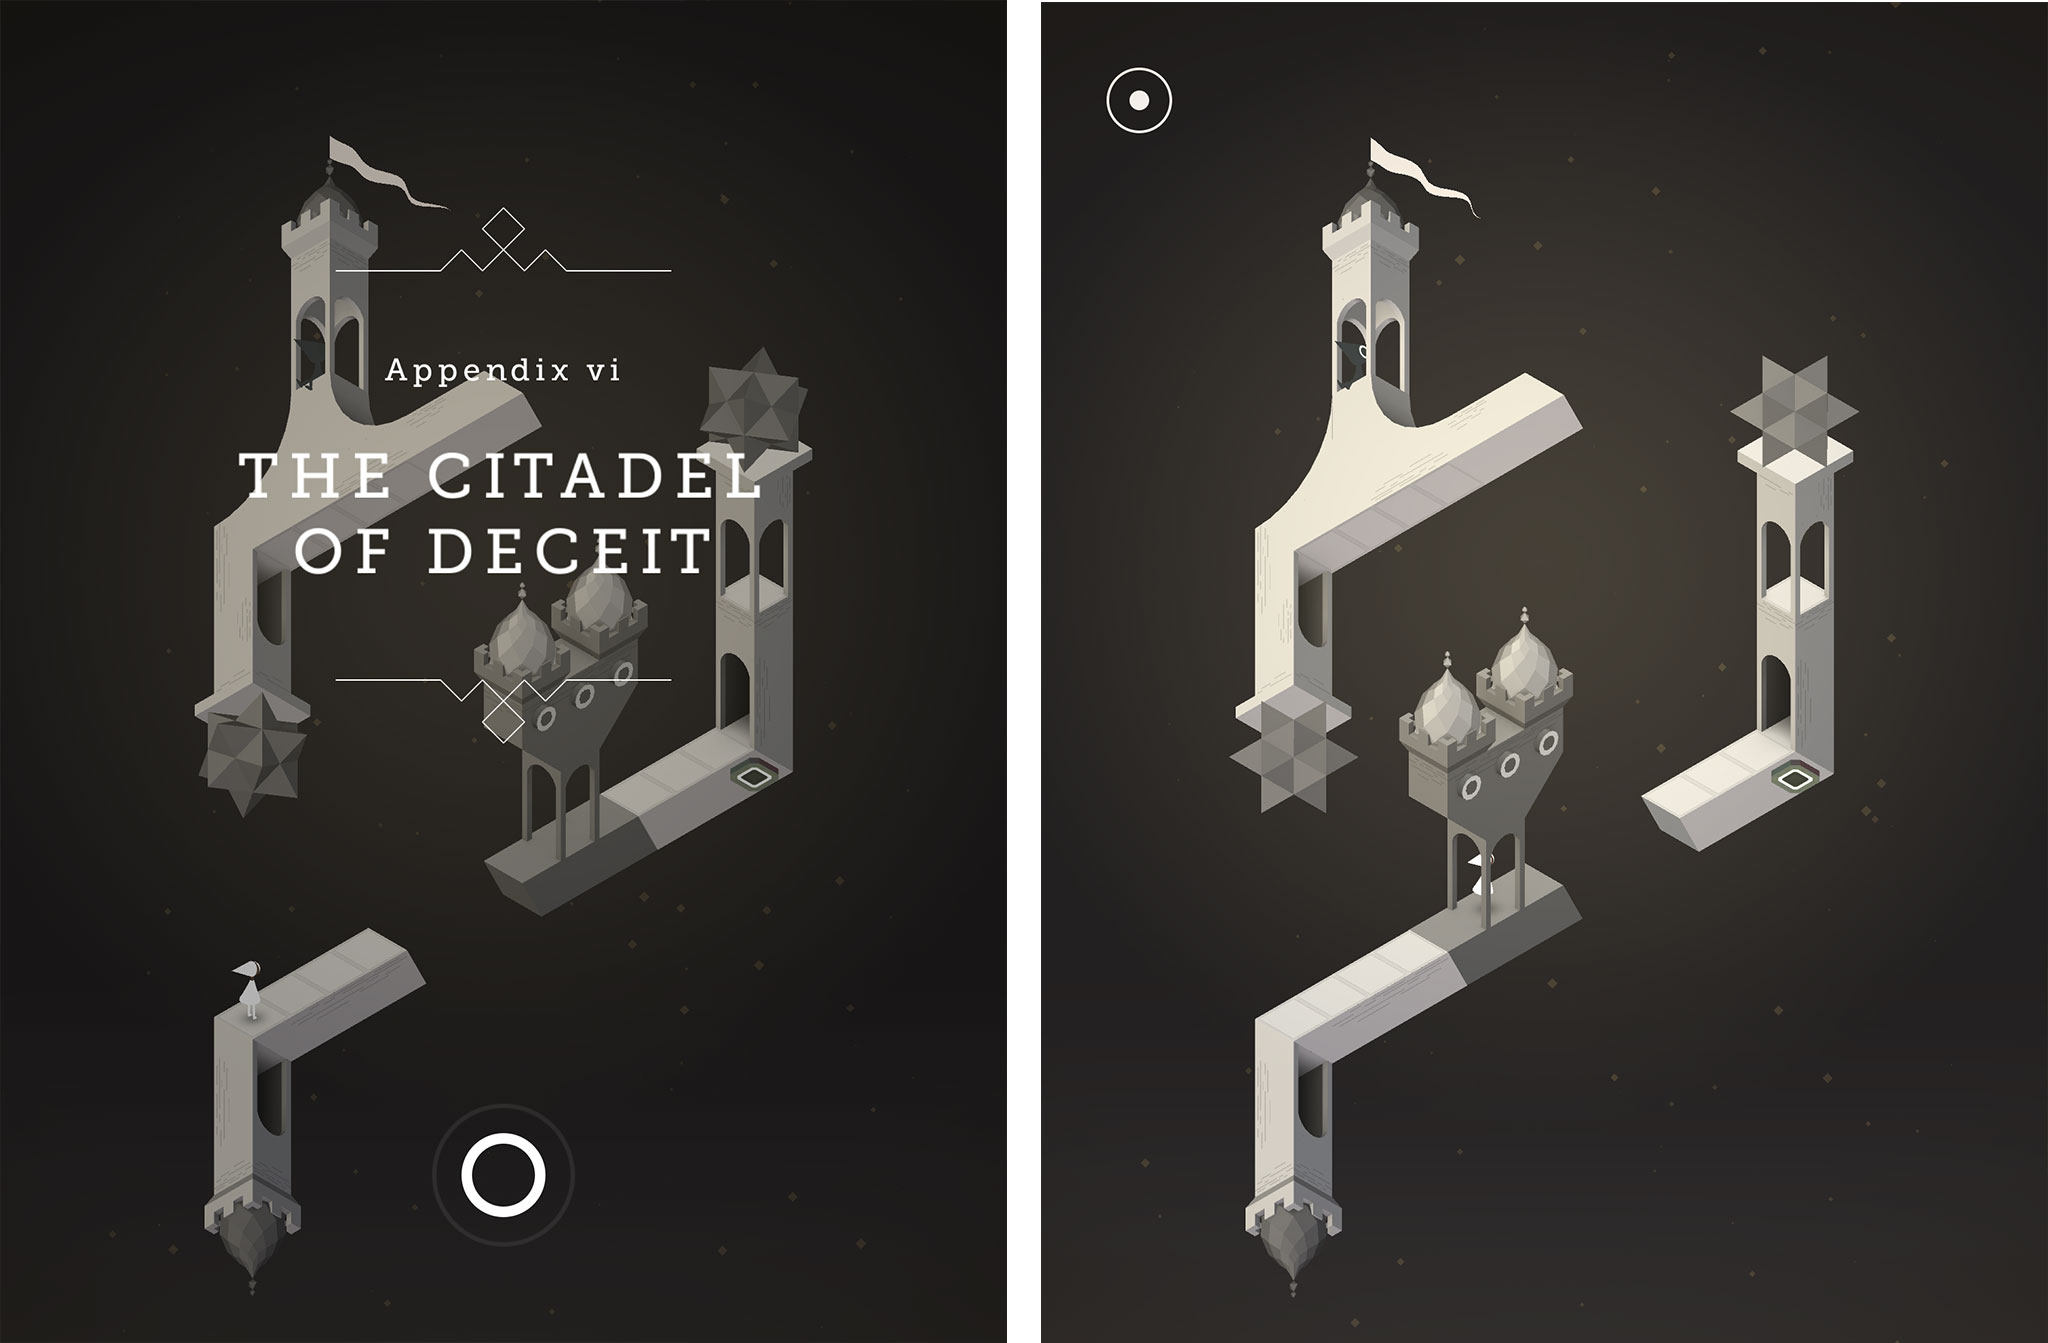
- This time move onto the middle walkway and raise Ida upwards to reach the next door.
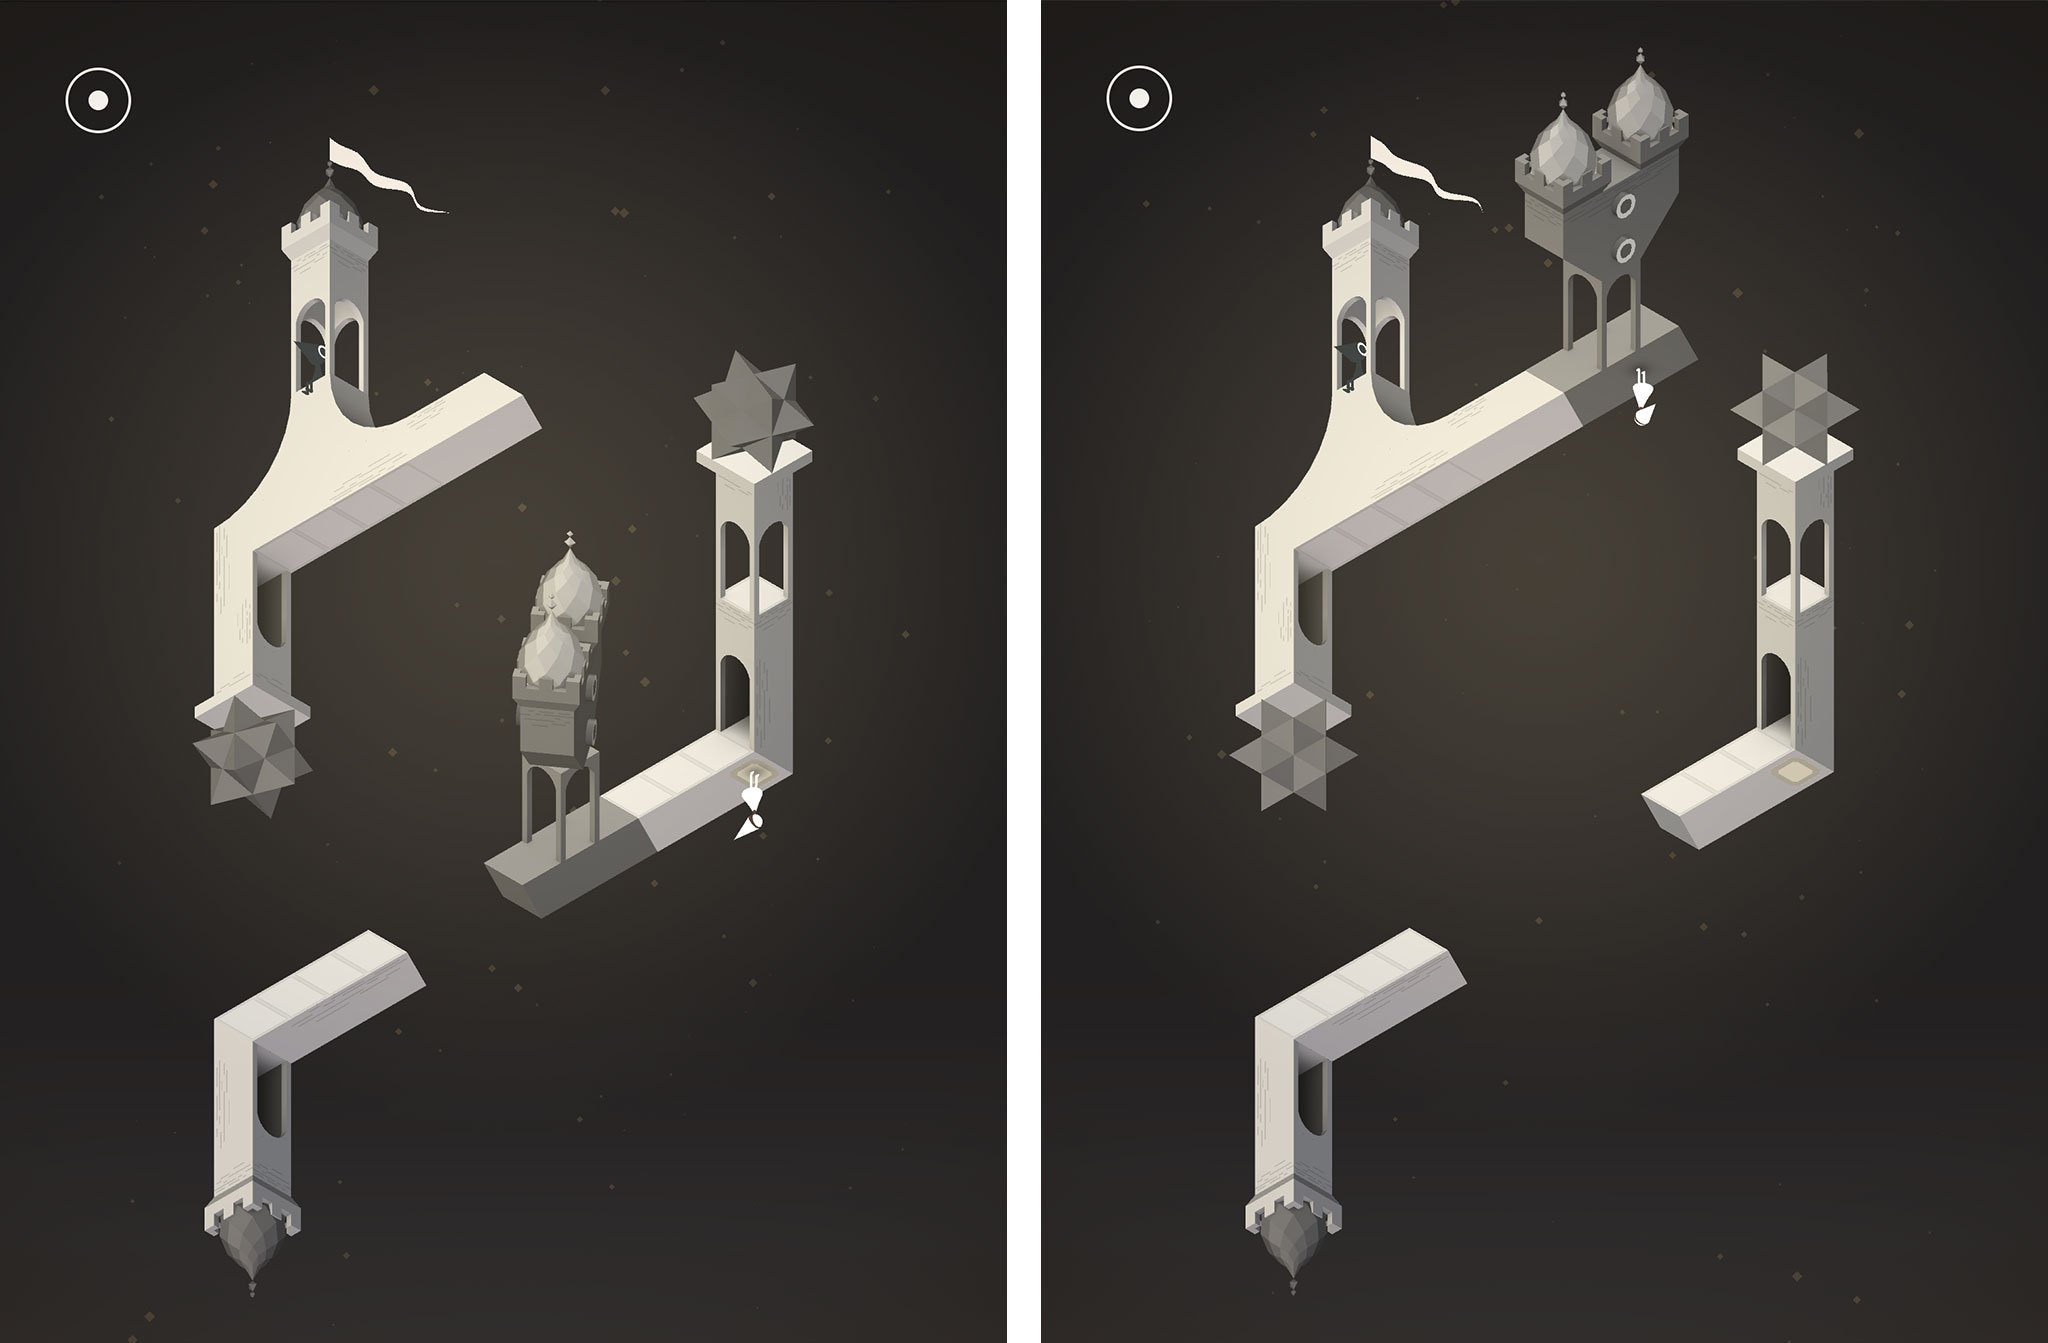
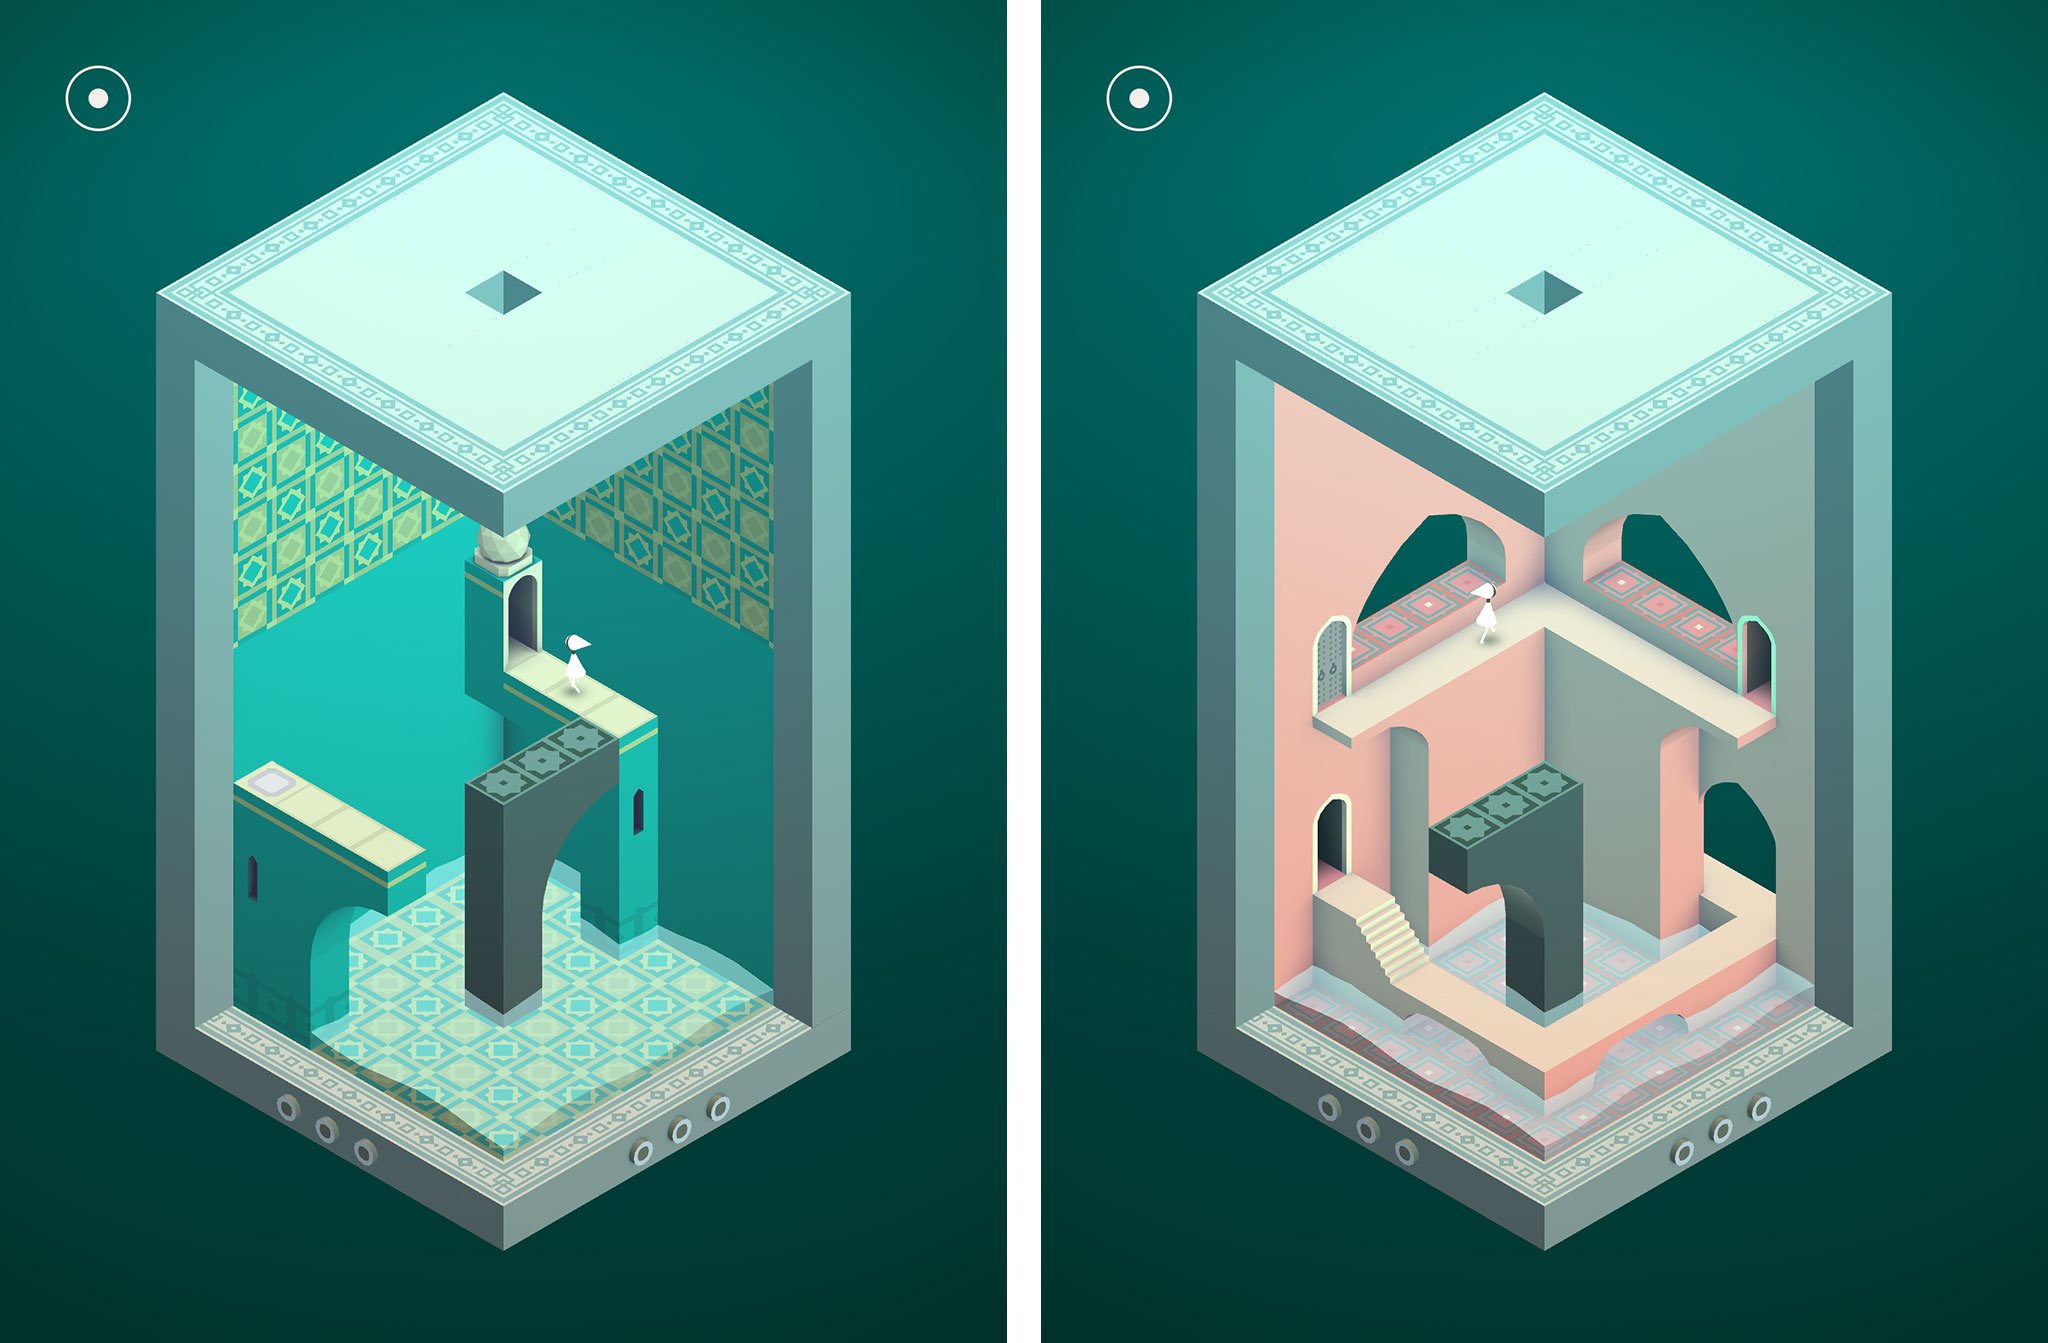
- Use the lever to rotate the walkway so Ida can reach where she is positioned in the first photo in the set below. You can then rotate the walkway again in order to reach the next door.
- Ida will now appear upside down where you can then hit the next switch. Another lever appears and you can spin it to move the stairwell you can down from. You can then reach the next door.
- Start off by guiding Ida to the top door on the left like shown in the first photo below. Ida can then reach the door shown in the second photo.
- Ida then appears at the top where she can access the upside down directly below her. This will take you to the next section. Head off to the right of the course where you can access the door shown in the second photo below.
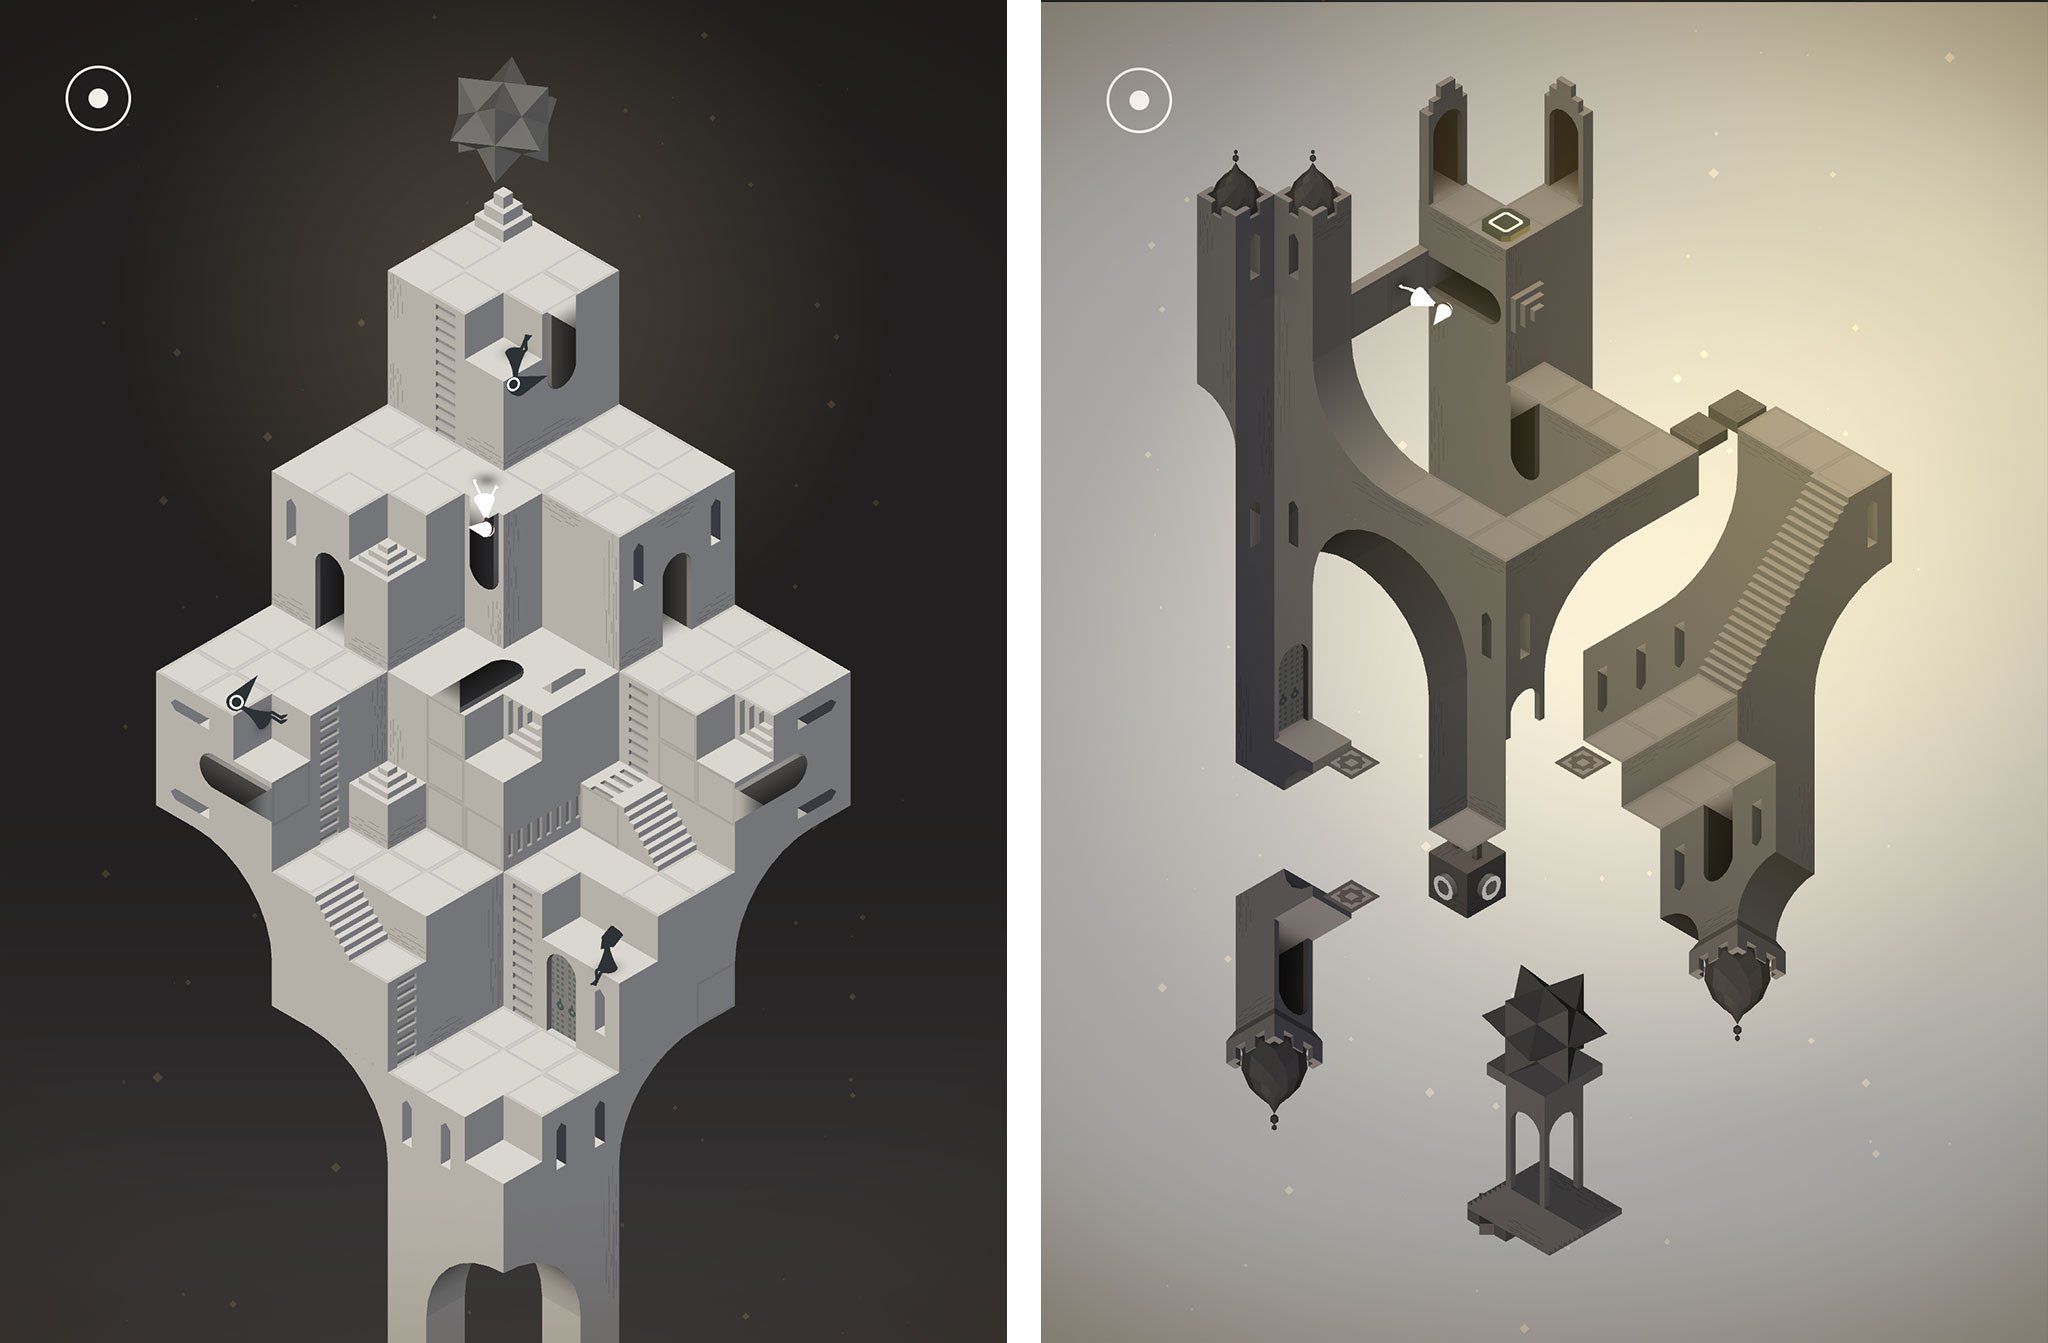
- Flip the switch directly outside of the door and then walk through the door to the left. You can then walk down and access the door in the bottom left corner of the screen.

- Flip the last remaining switch and you will be taken to the end of the level.
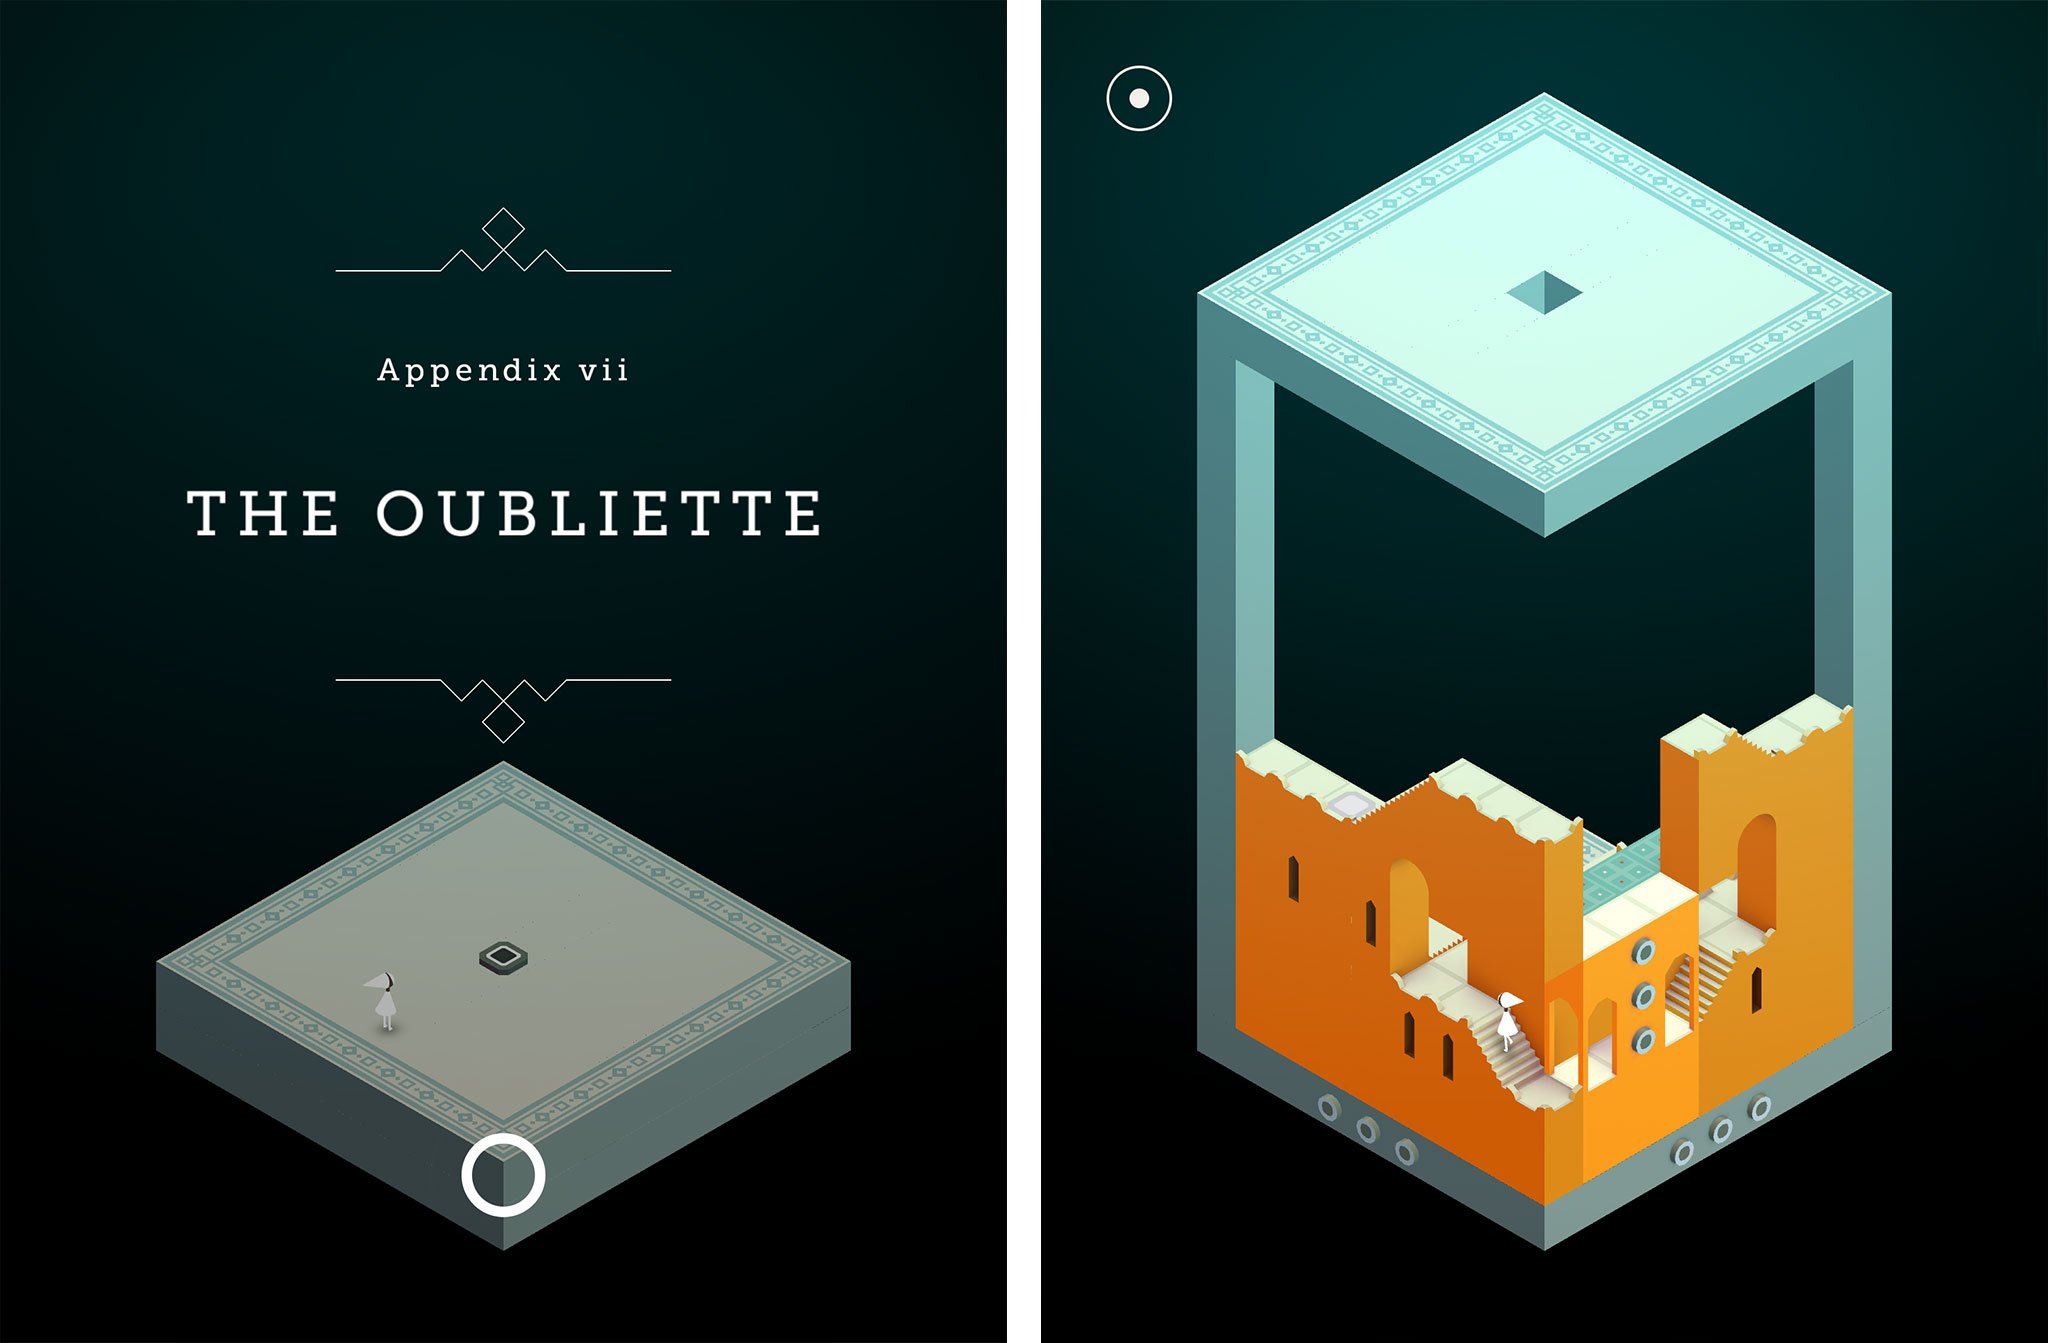
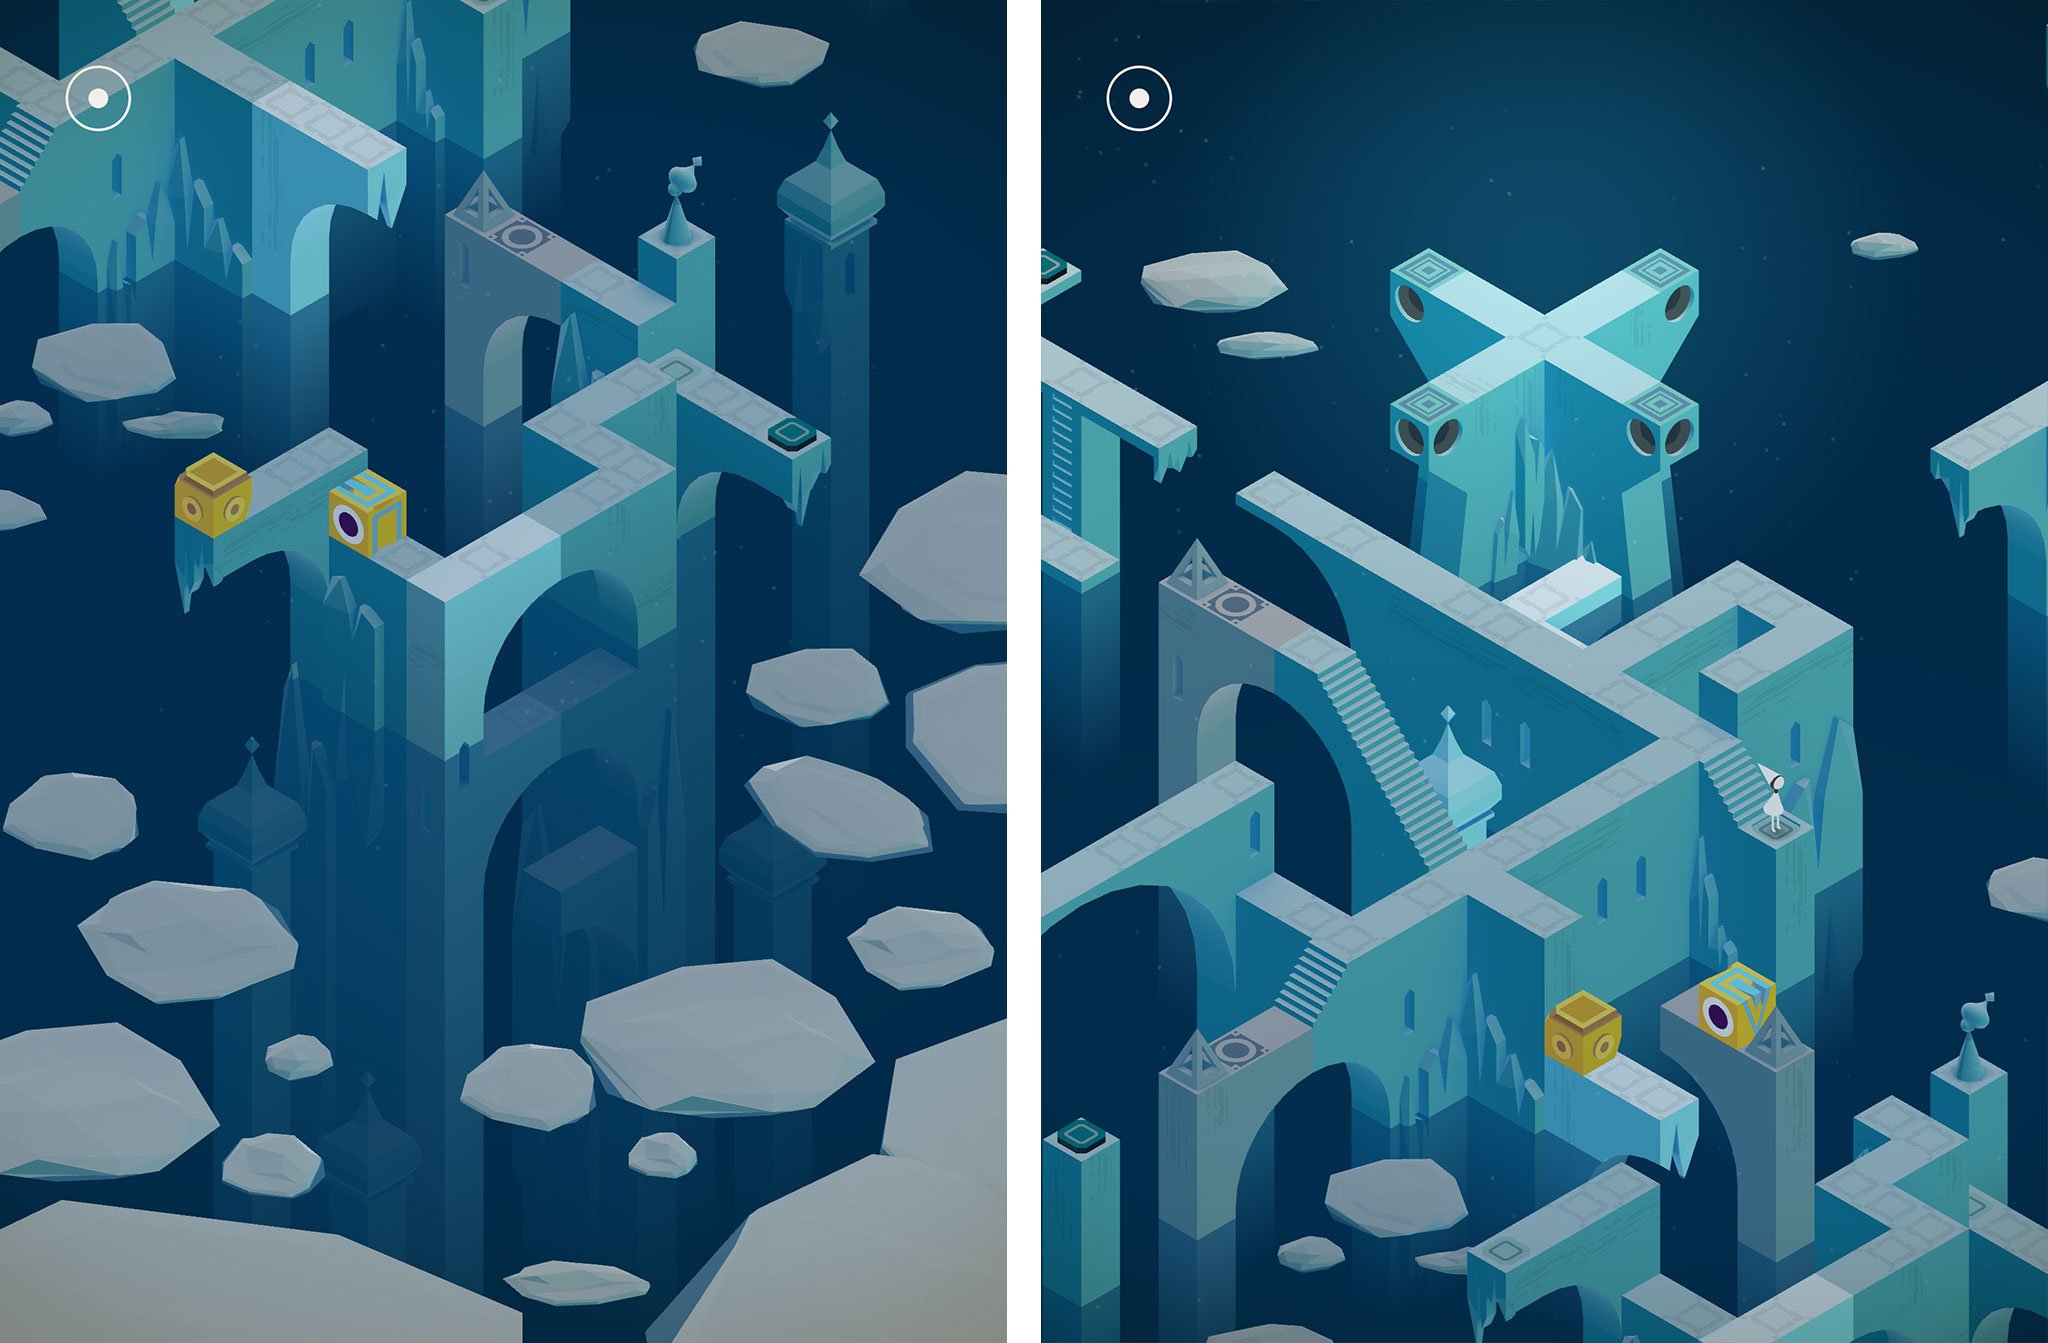
Appendix vii: The Oubliette
- After you flip the first switch, an orange landscape will appear. This section is easy enough as you simply wind your way around. The second switch will allow the entire landscape to be rotated. When Ida needs to be out of your sight, just rotate to see the rest of the course.
- The next section is a purple room and has a pole in the middle that rotates downward. Go through the door at the bottom. You will appear back in orange room once you rotate the view where you can hit its remaining switch. Rotate to the view shown in the second photo below in order to reveal Ida again. She can then reach the door at the top.
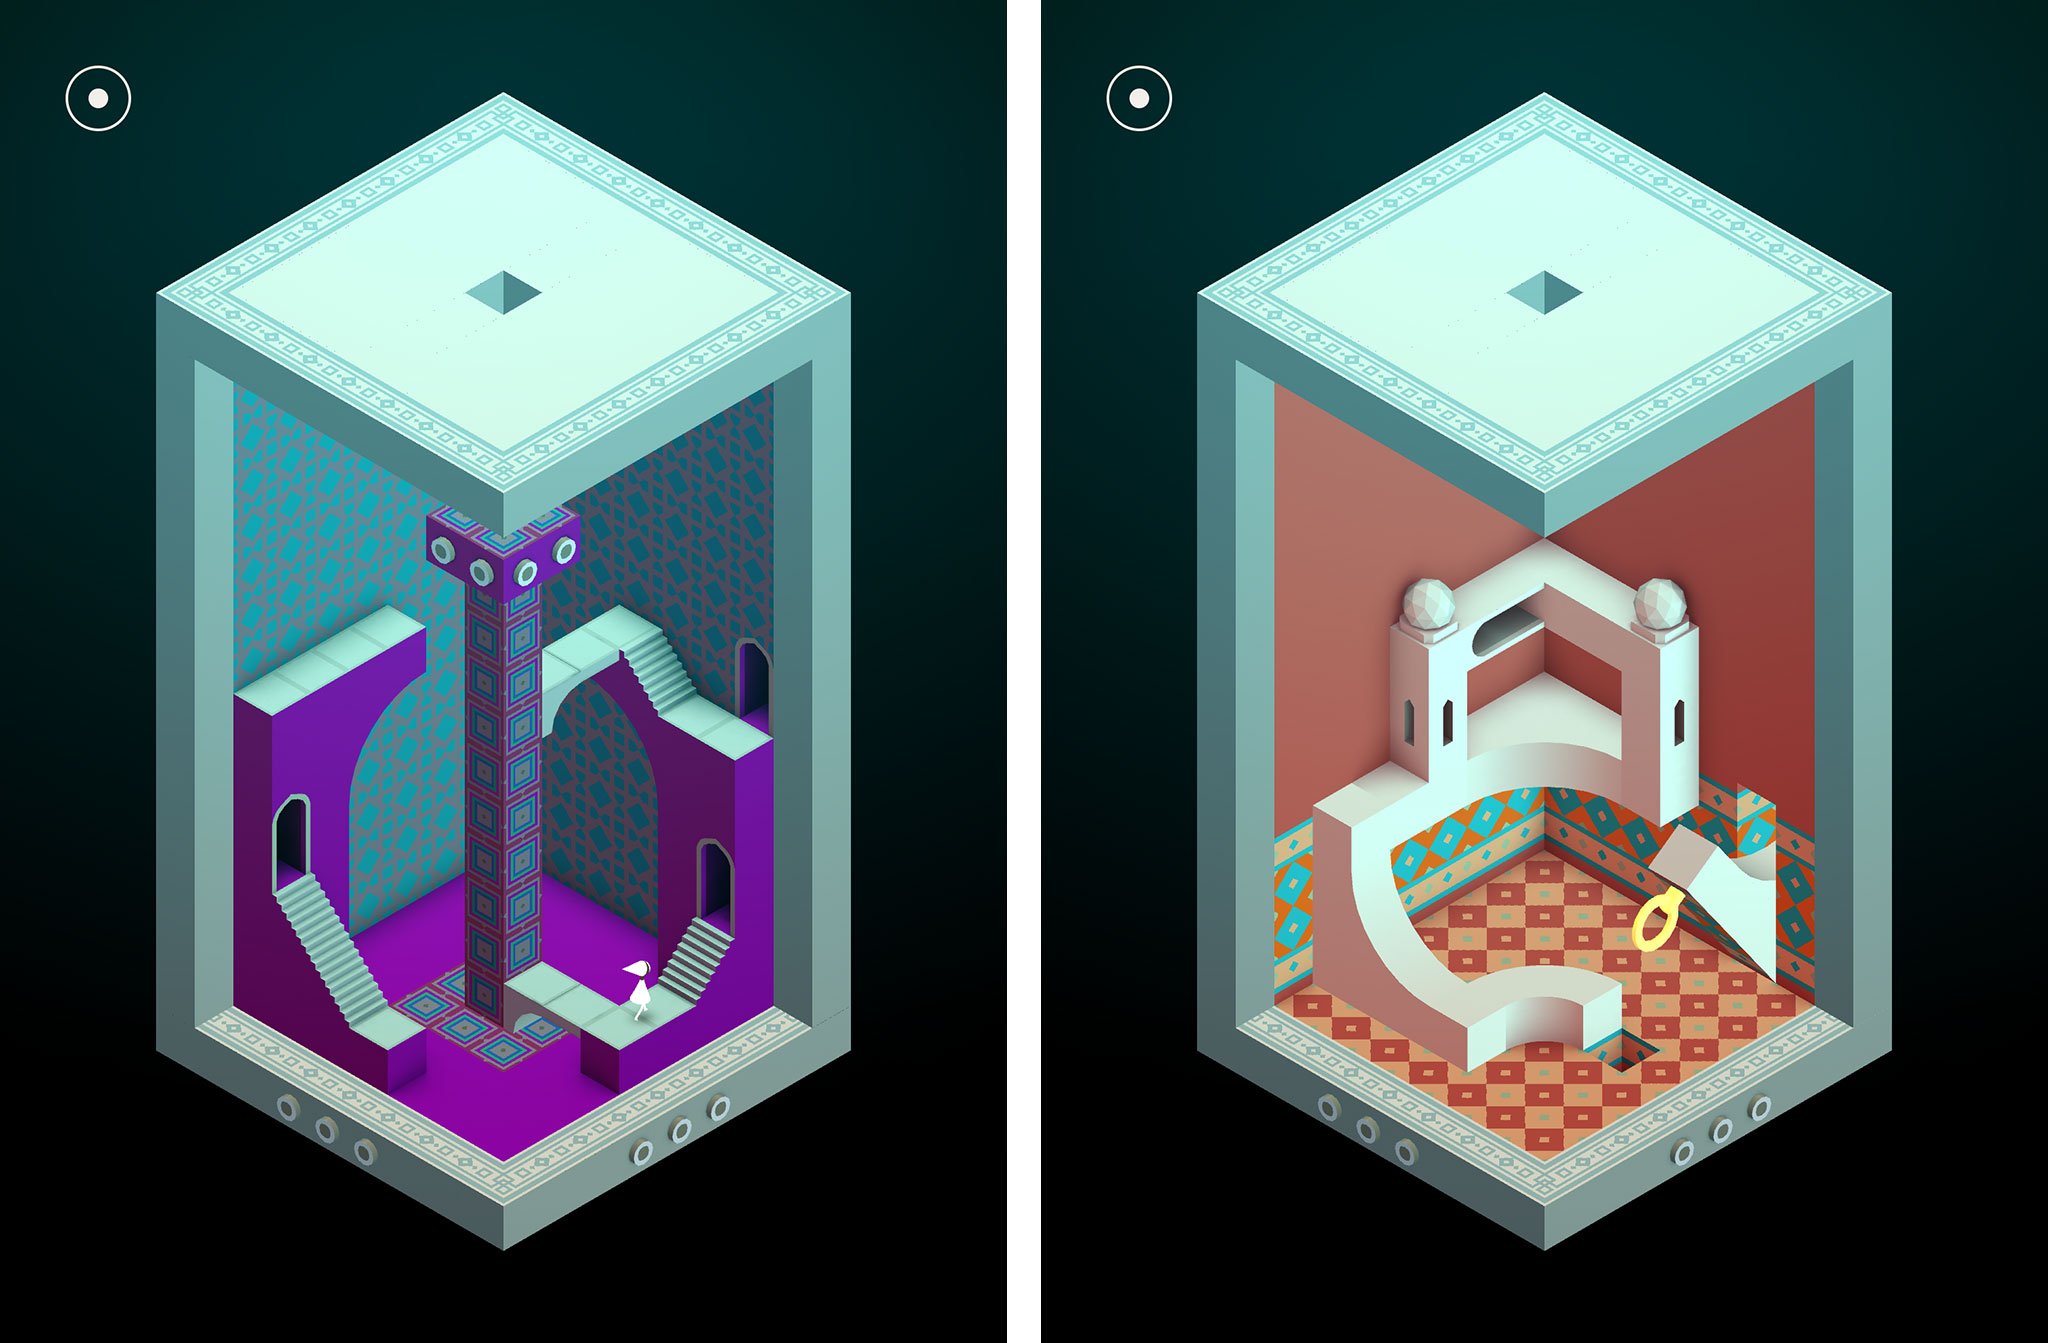
- Ida will re-appear in the purple room where you can use the poll in the center to spin her around to the top door. A new green room will appear when you rotate. Use the middle staircase to guide Ida to the next switch.
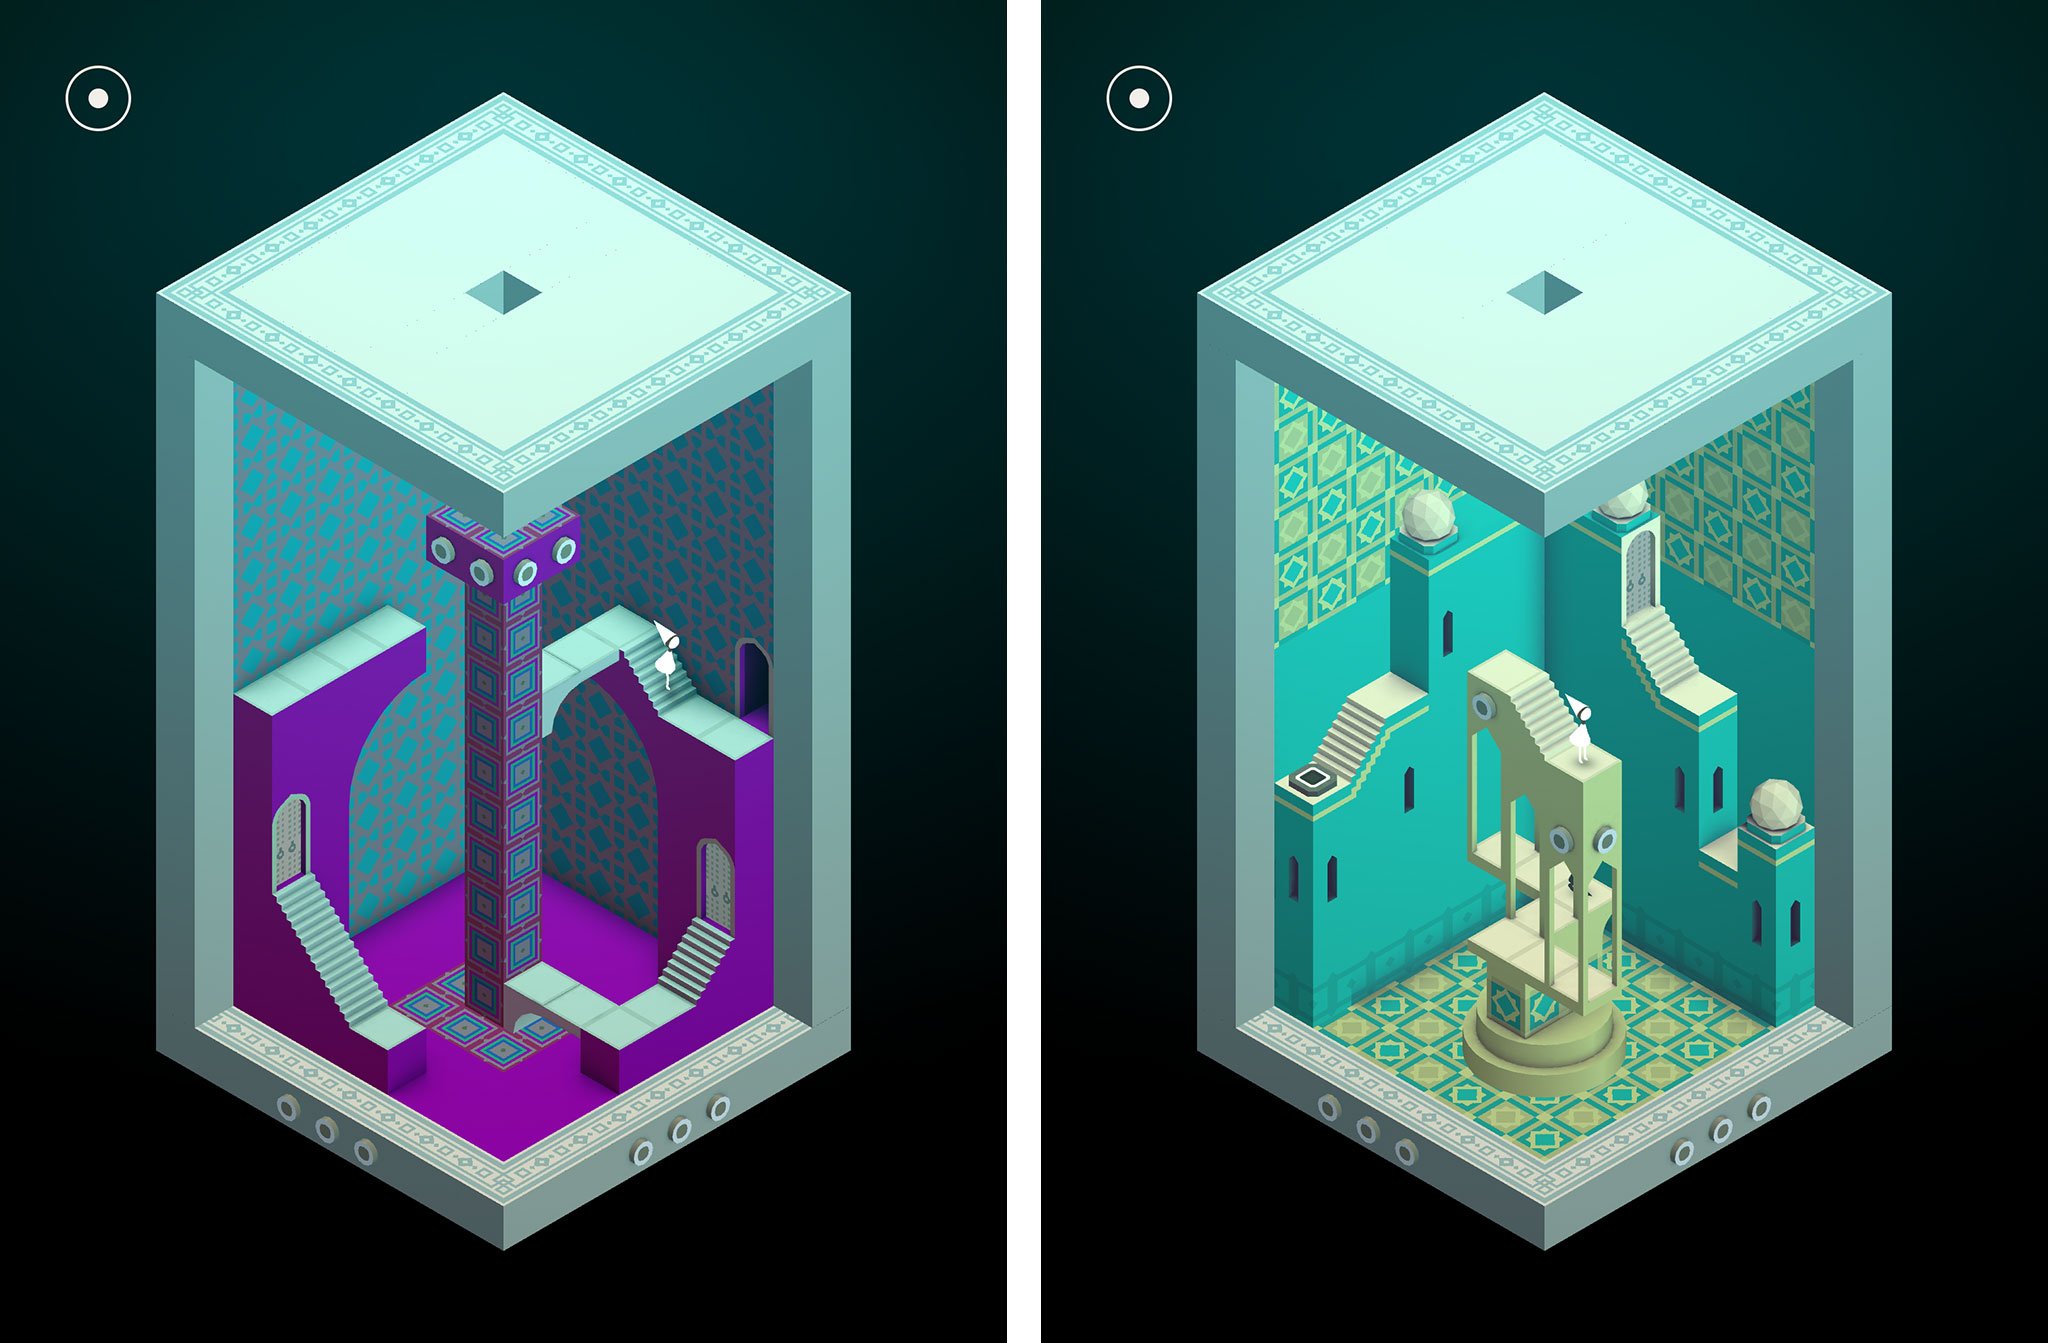
- Walk Ida onto the black platform and rotate until you can reach the next switch in a new green room. Rotate the lever to the right until the water level is as low as it will go.
- Walk back onto the black platform and continue rotating until you reach a yellow room. You can hit the switch at the bottom now. The middle platform now has the ability to be rotated. Put it in the position you see in the second photo below.
- You can now move into the door shown in the first photo below. Ida will then appear in the pink room where you can walk to the next door at the top.
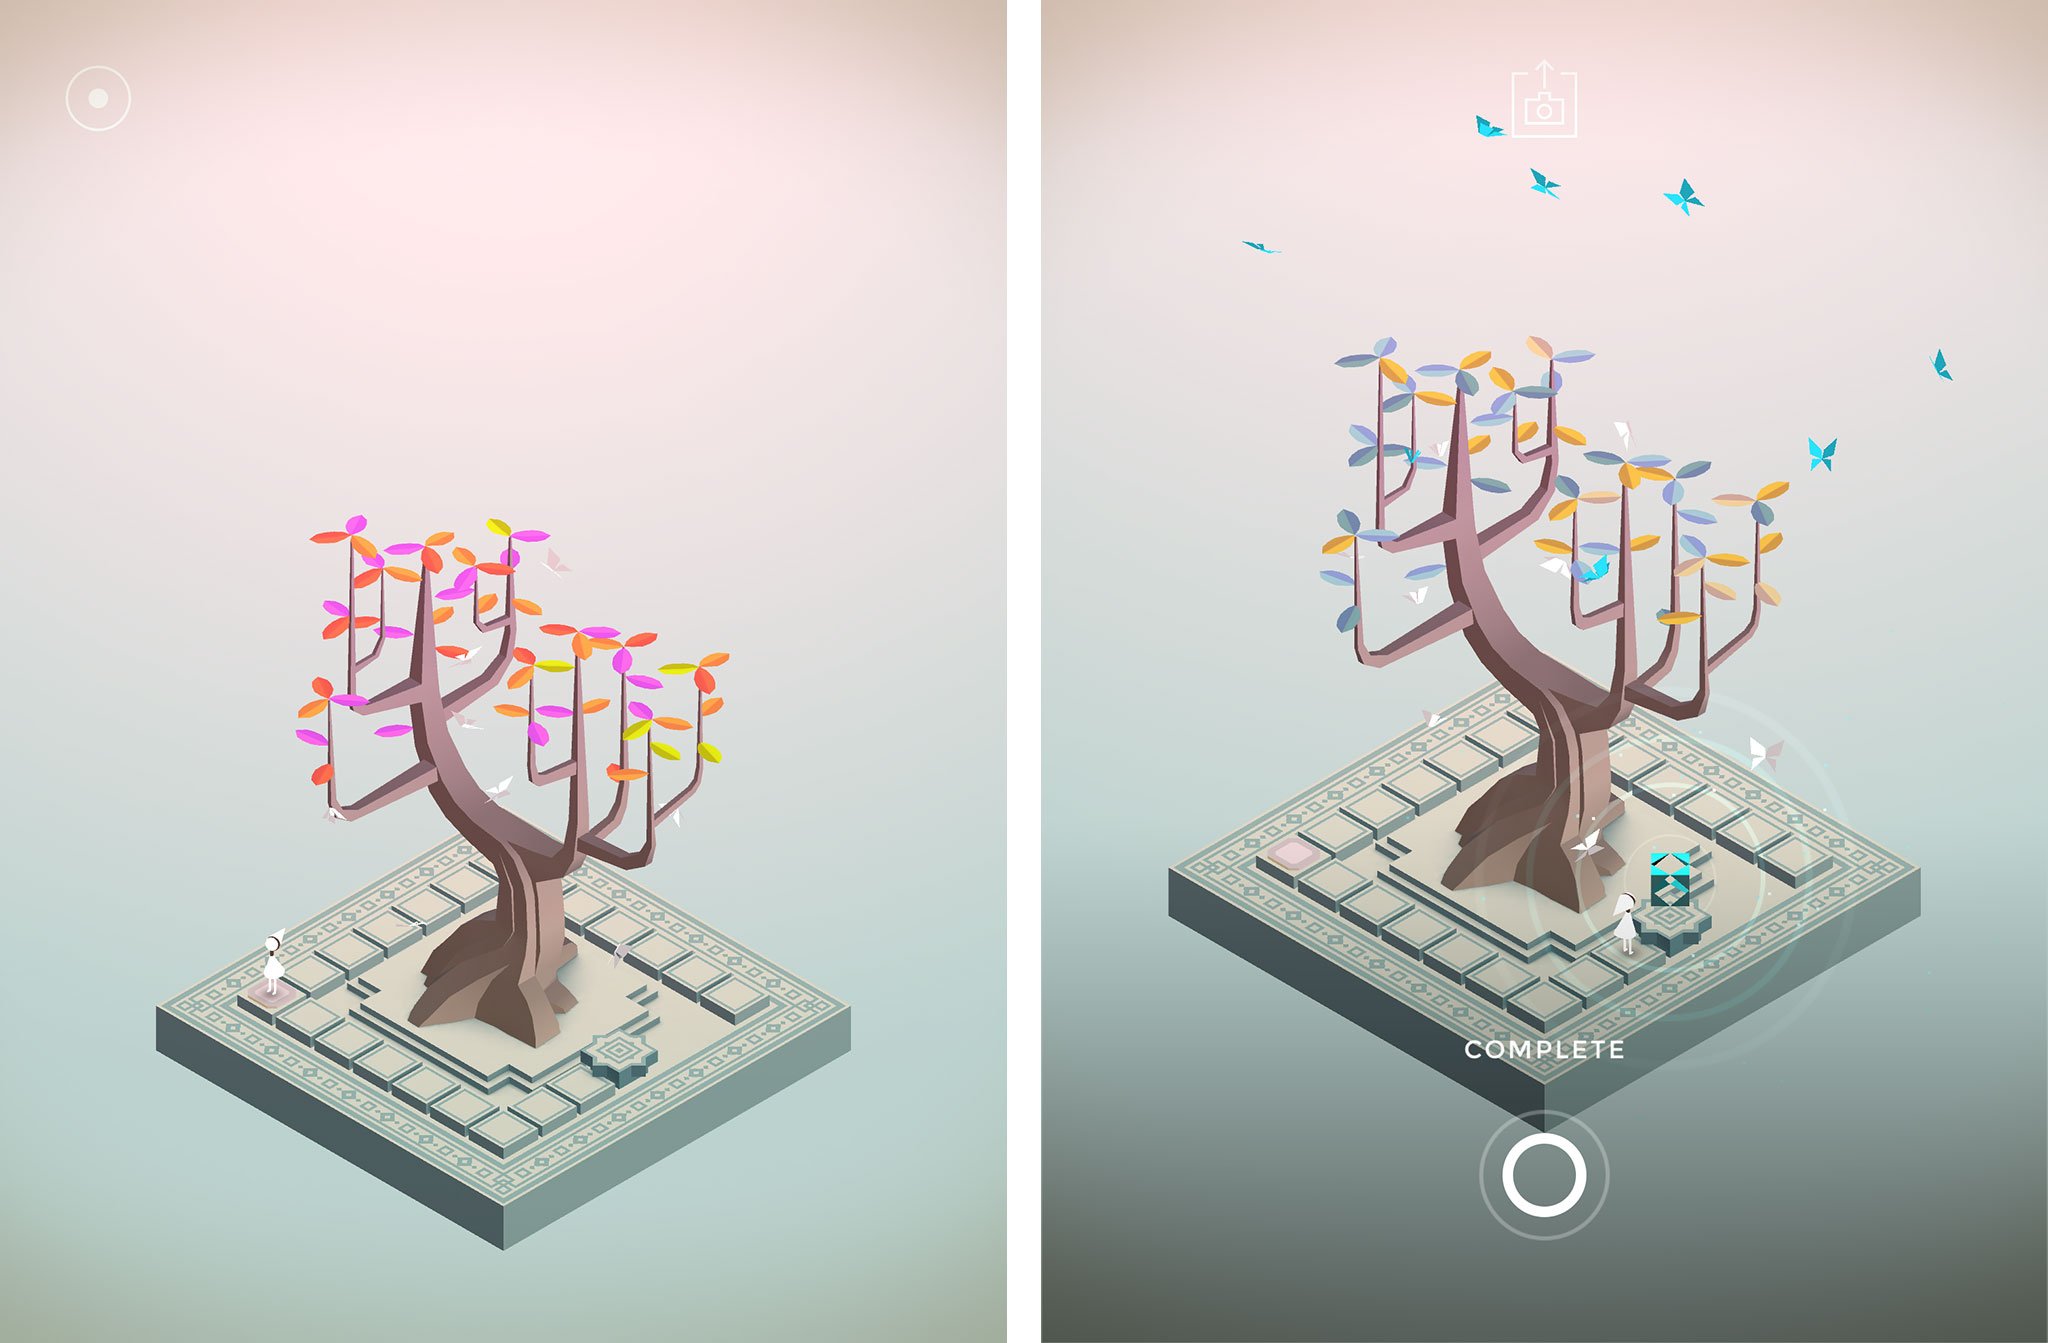
- Tap on the bottom door in the pink room and Ida will walk through it. Keep rotating to find a tree. Keep spinning until it is grown and shows Ida with a switch you can hit at the bottom.
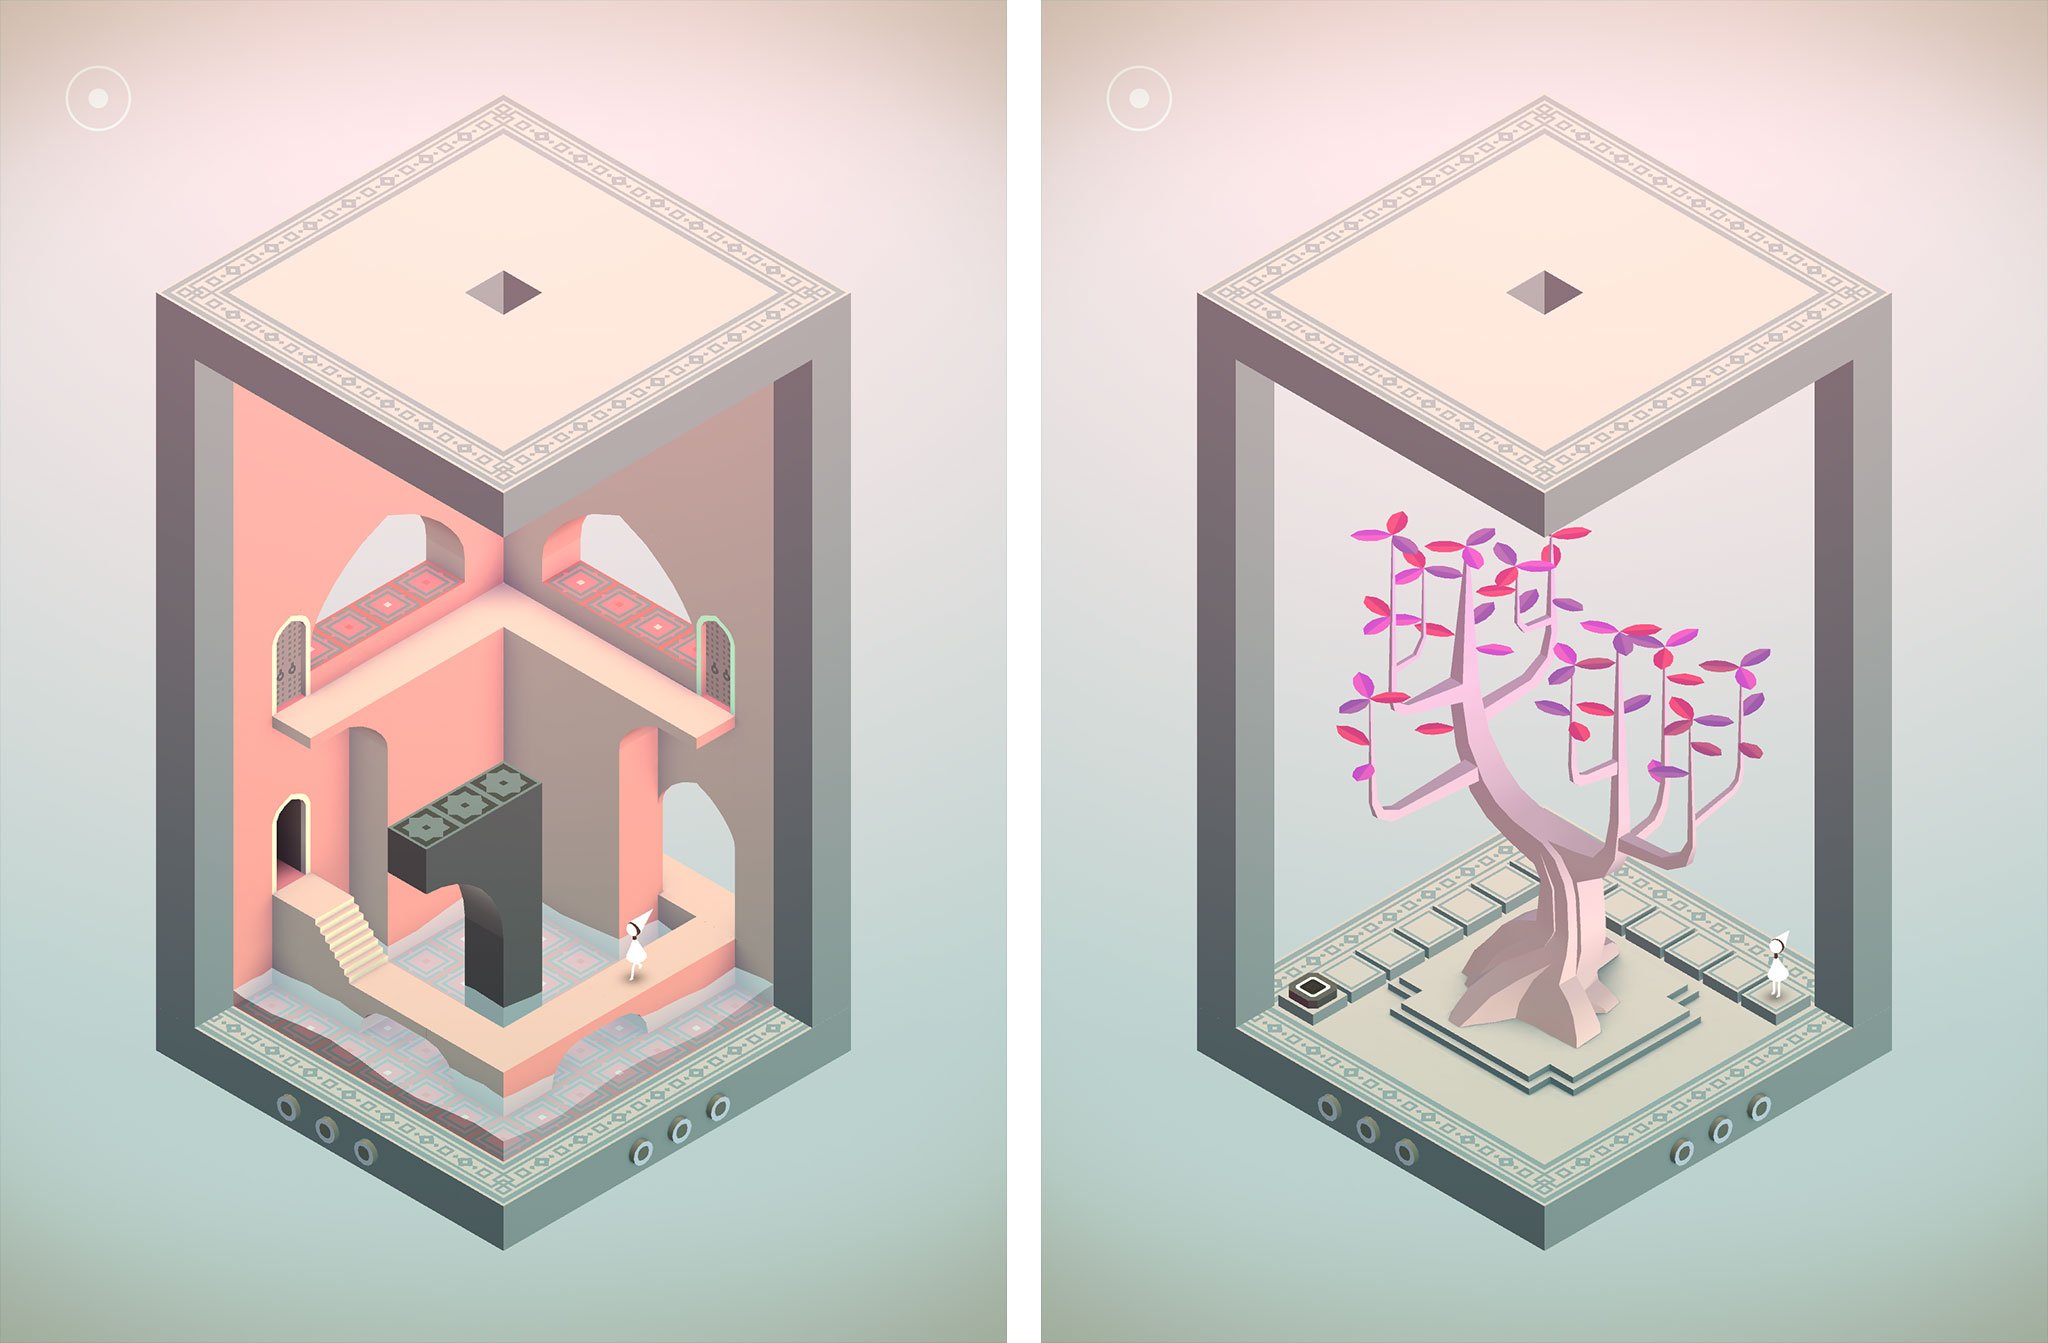
- You can then pull the top of the level downwards to reveal the end of the level.
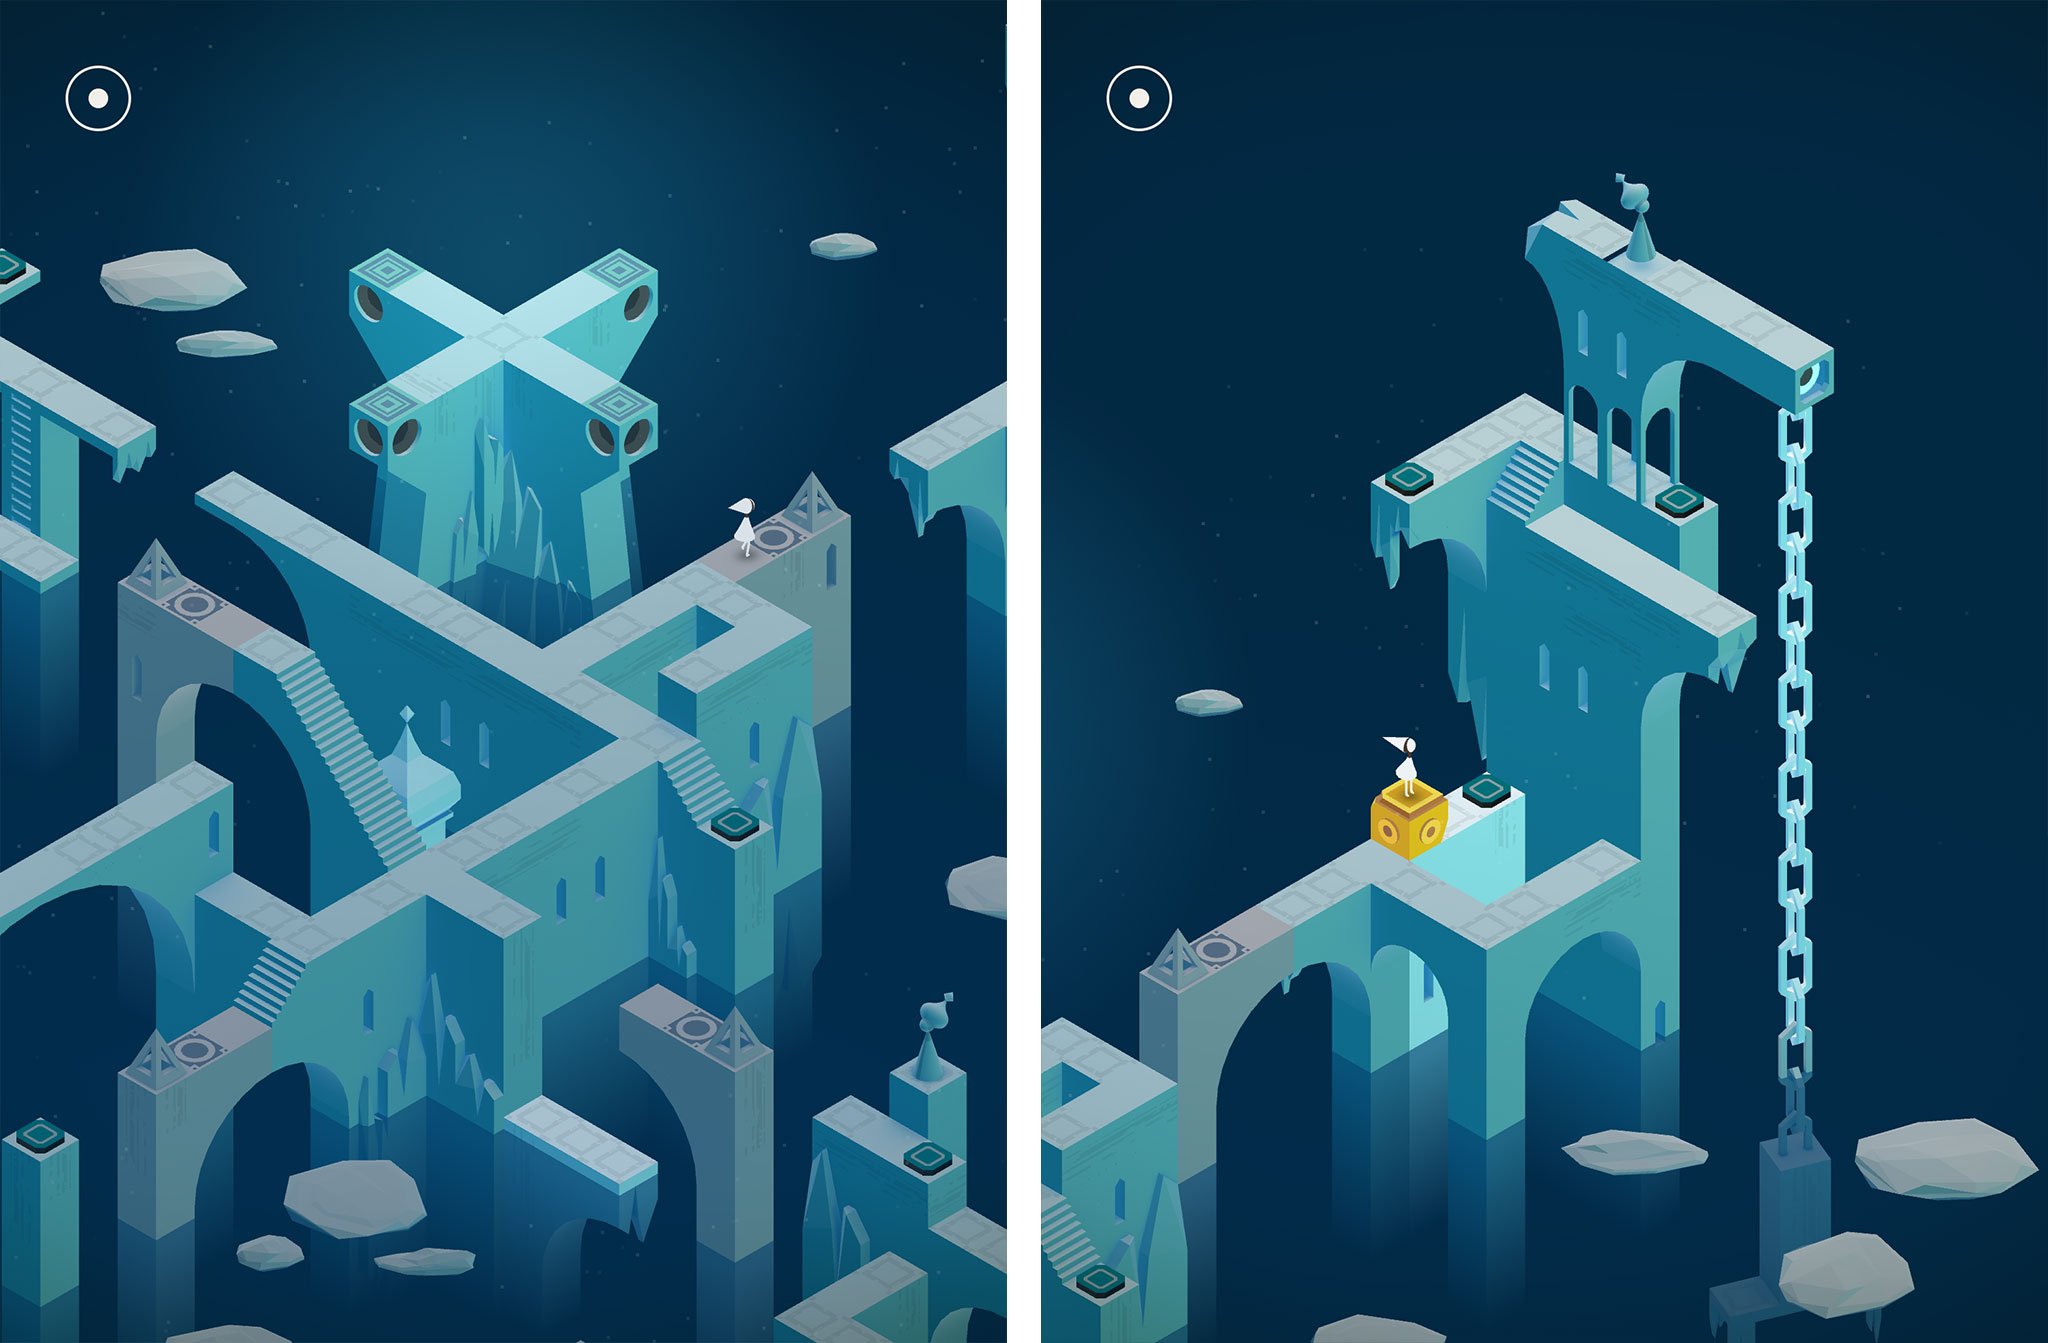
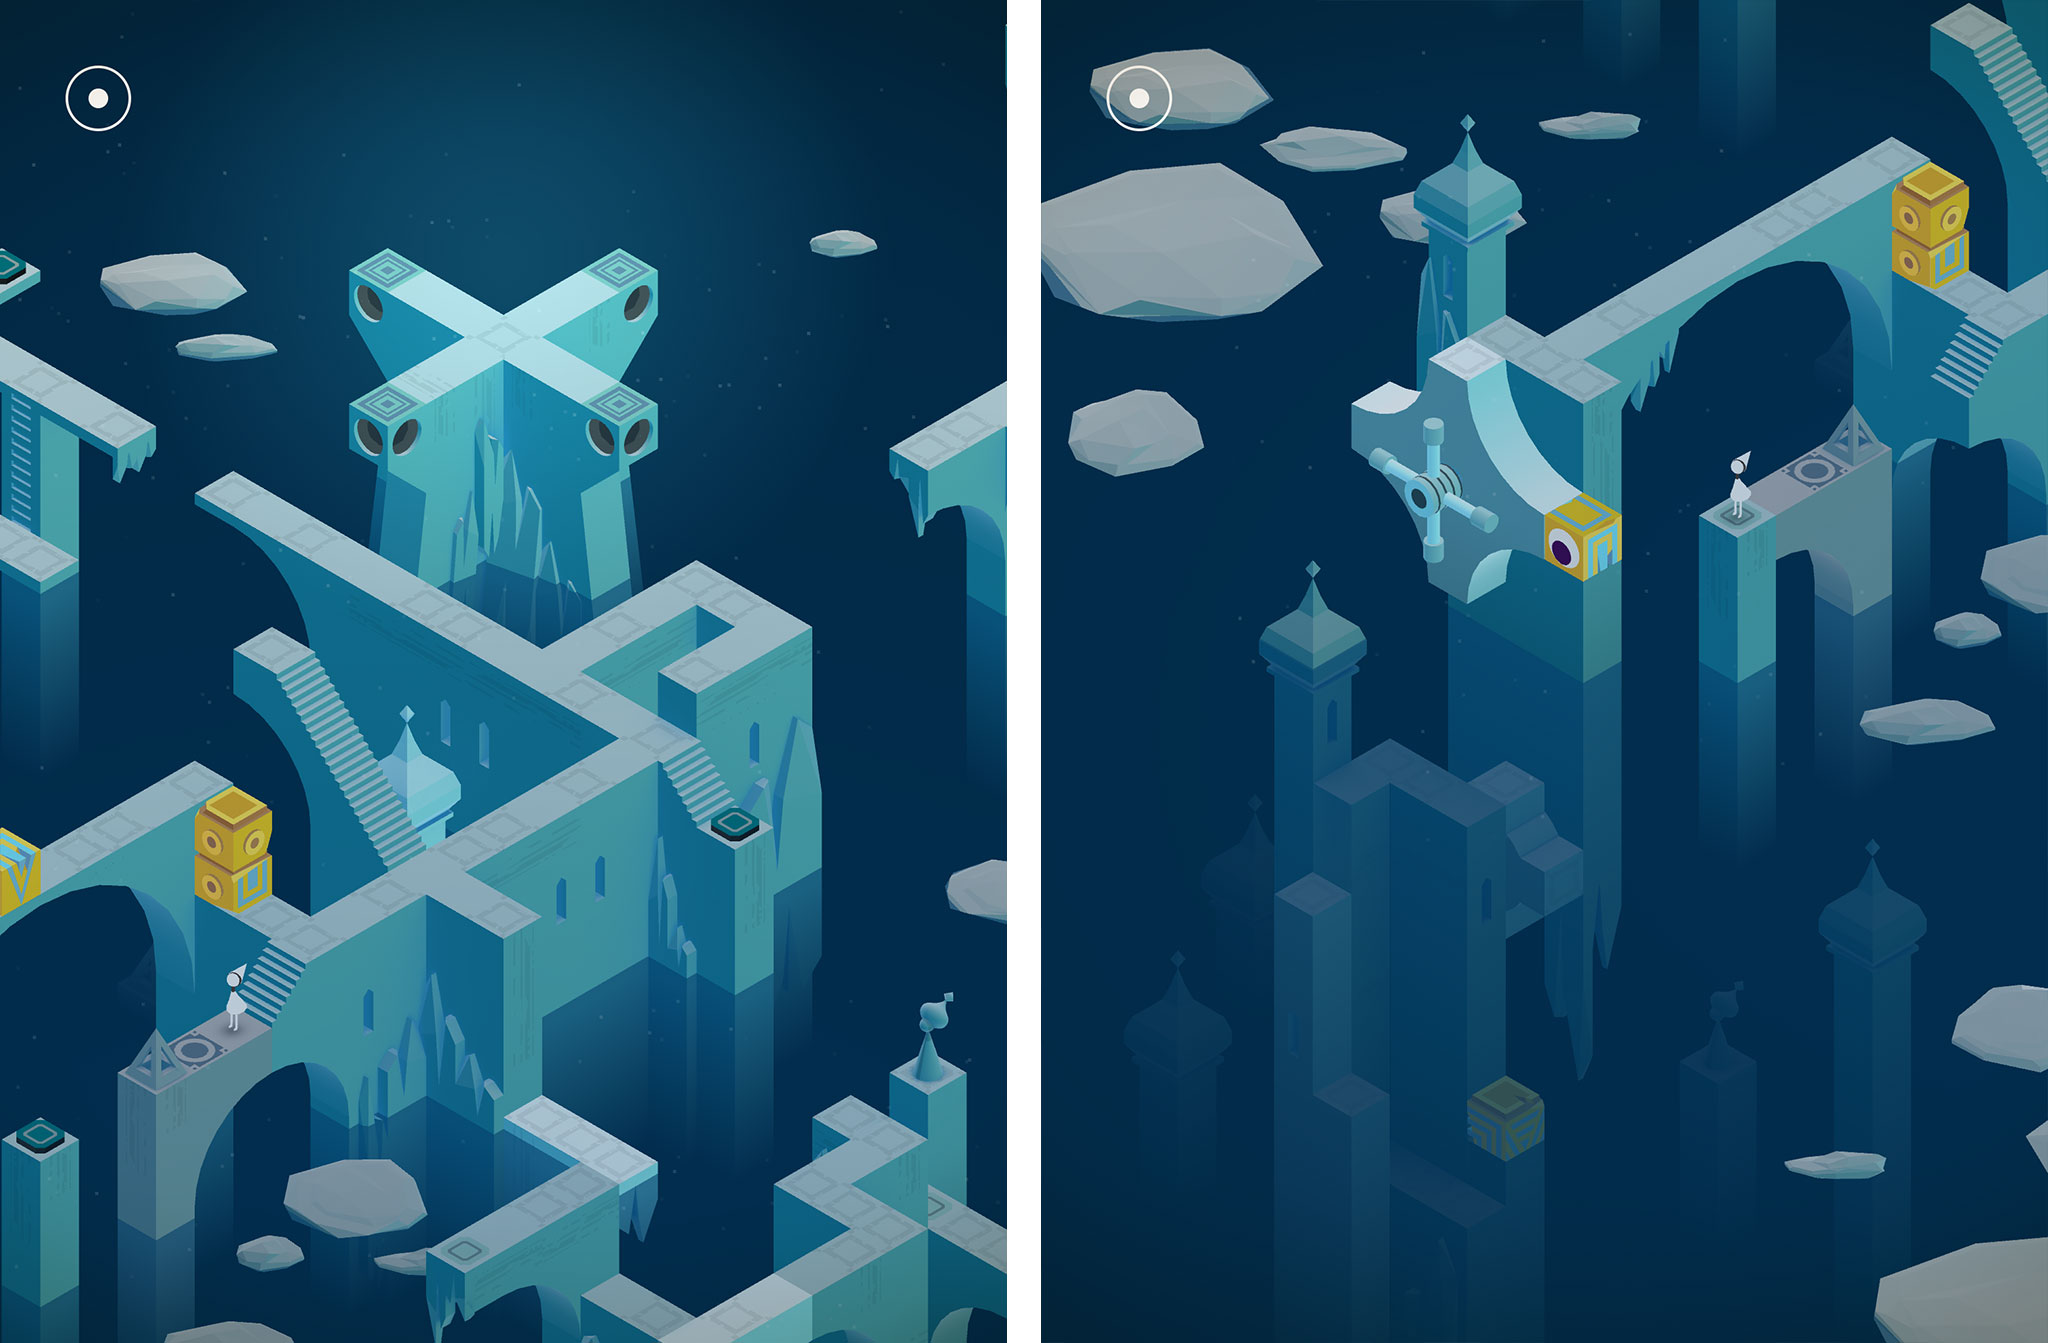
Appendix viii: Nocturne
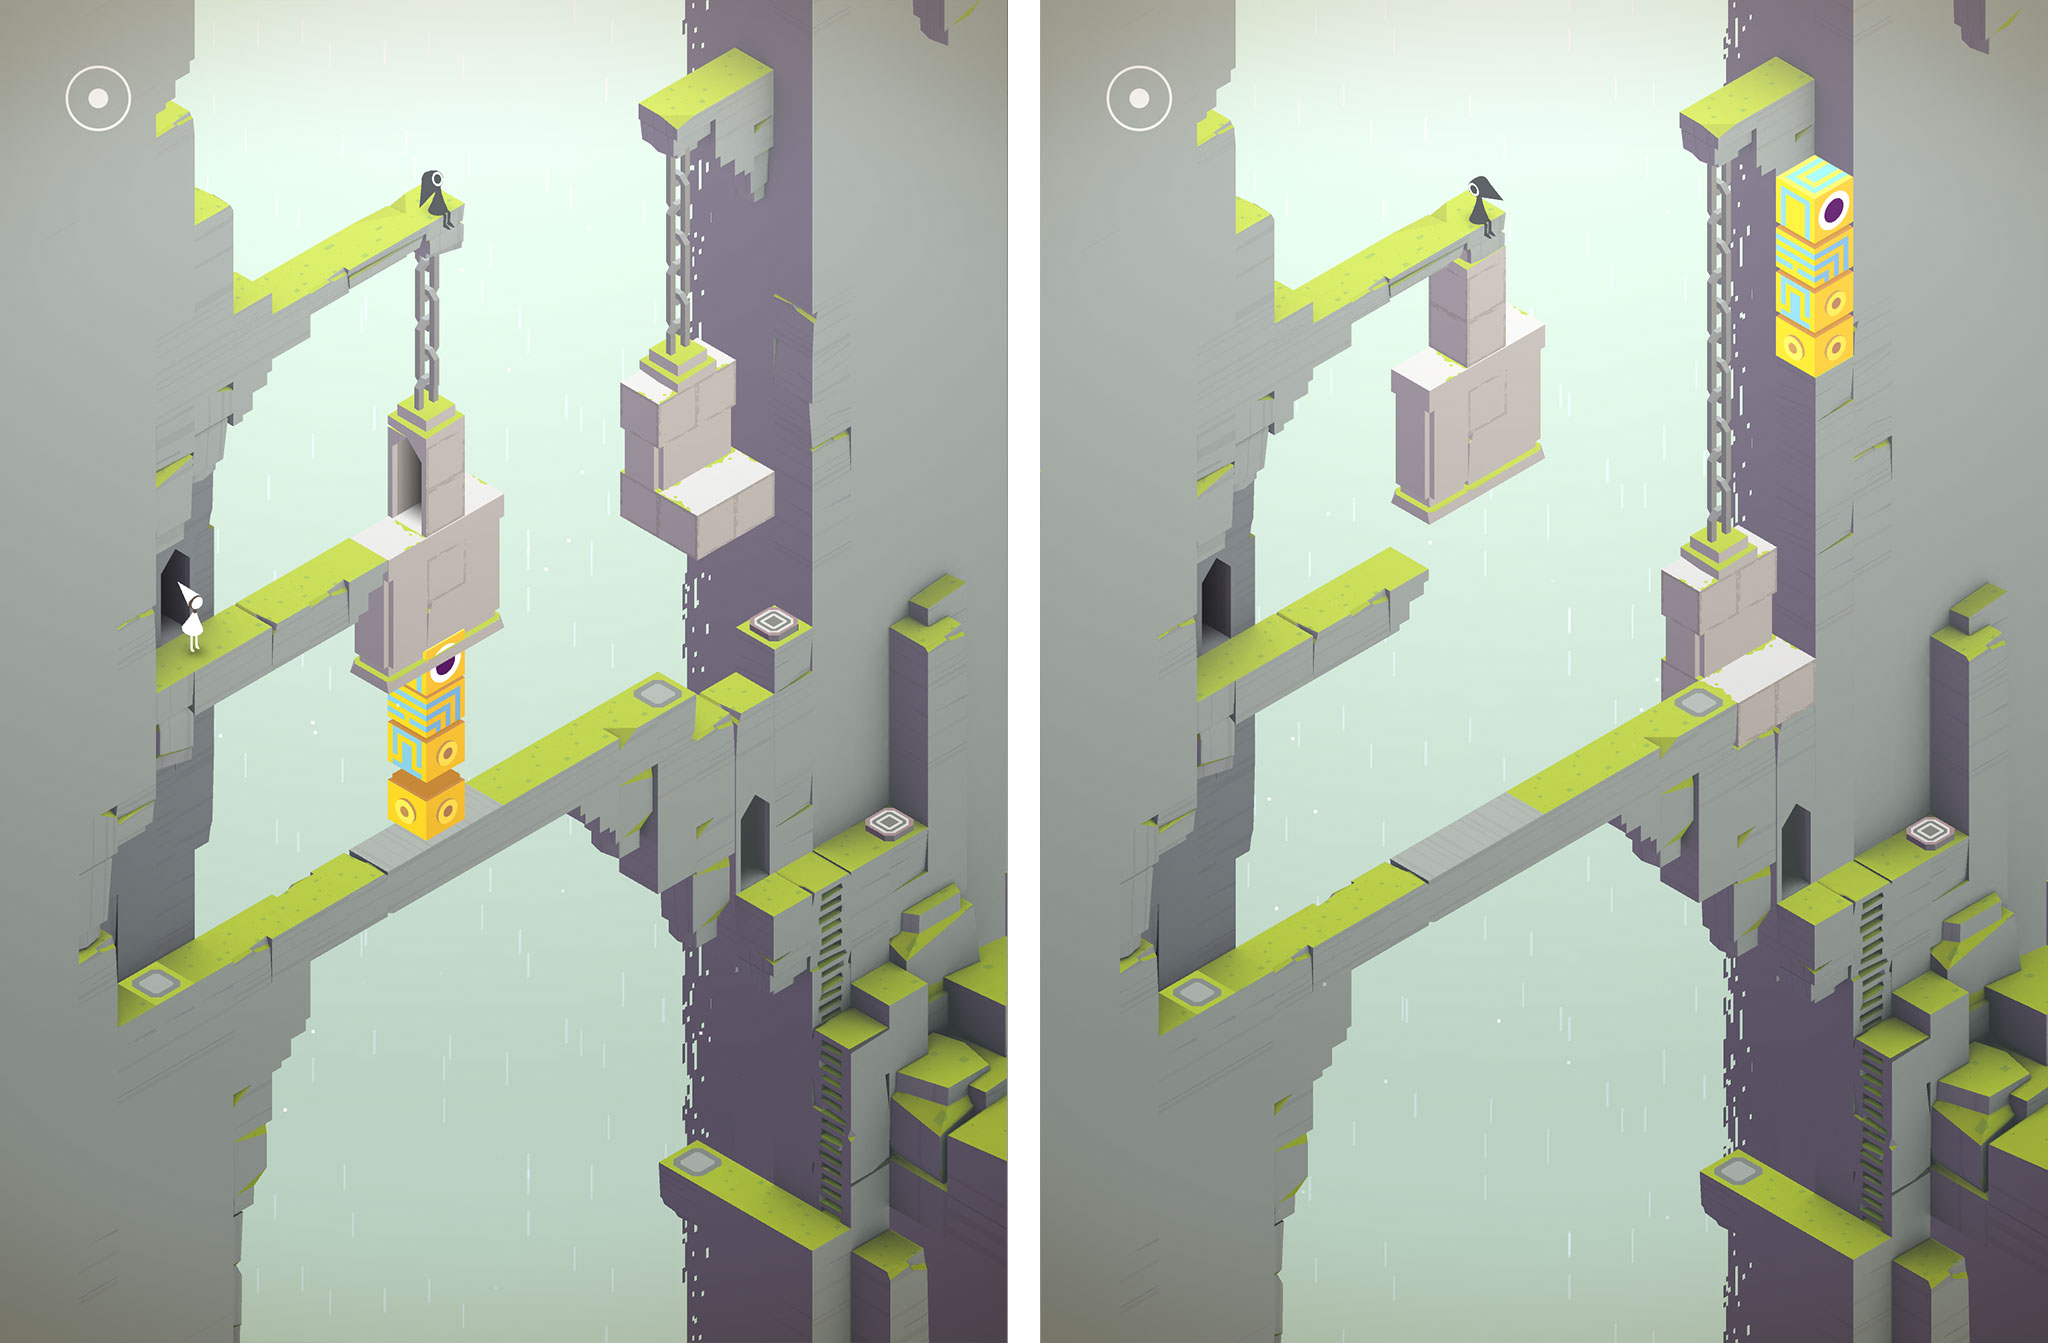
- Head over to the right side of the course to recover the first totem piece. You'll need to use the switches in order to bring it down from the top after you pull it out of the water.
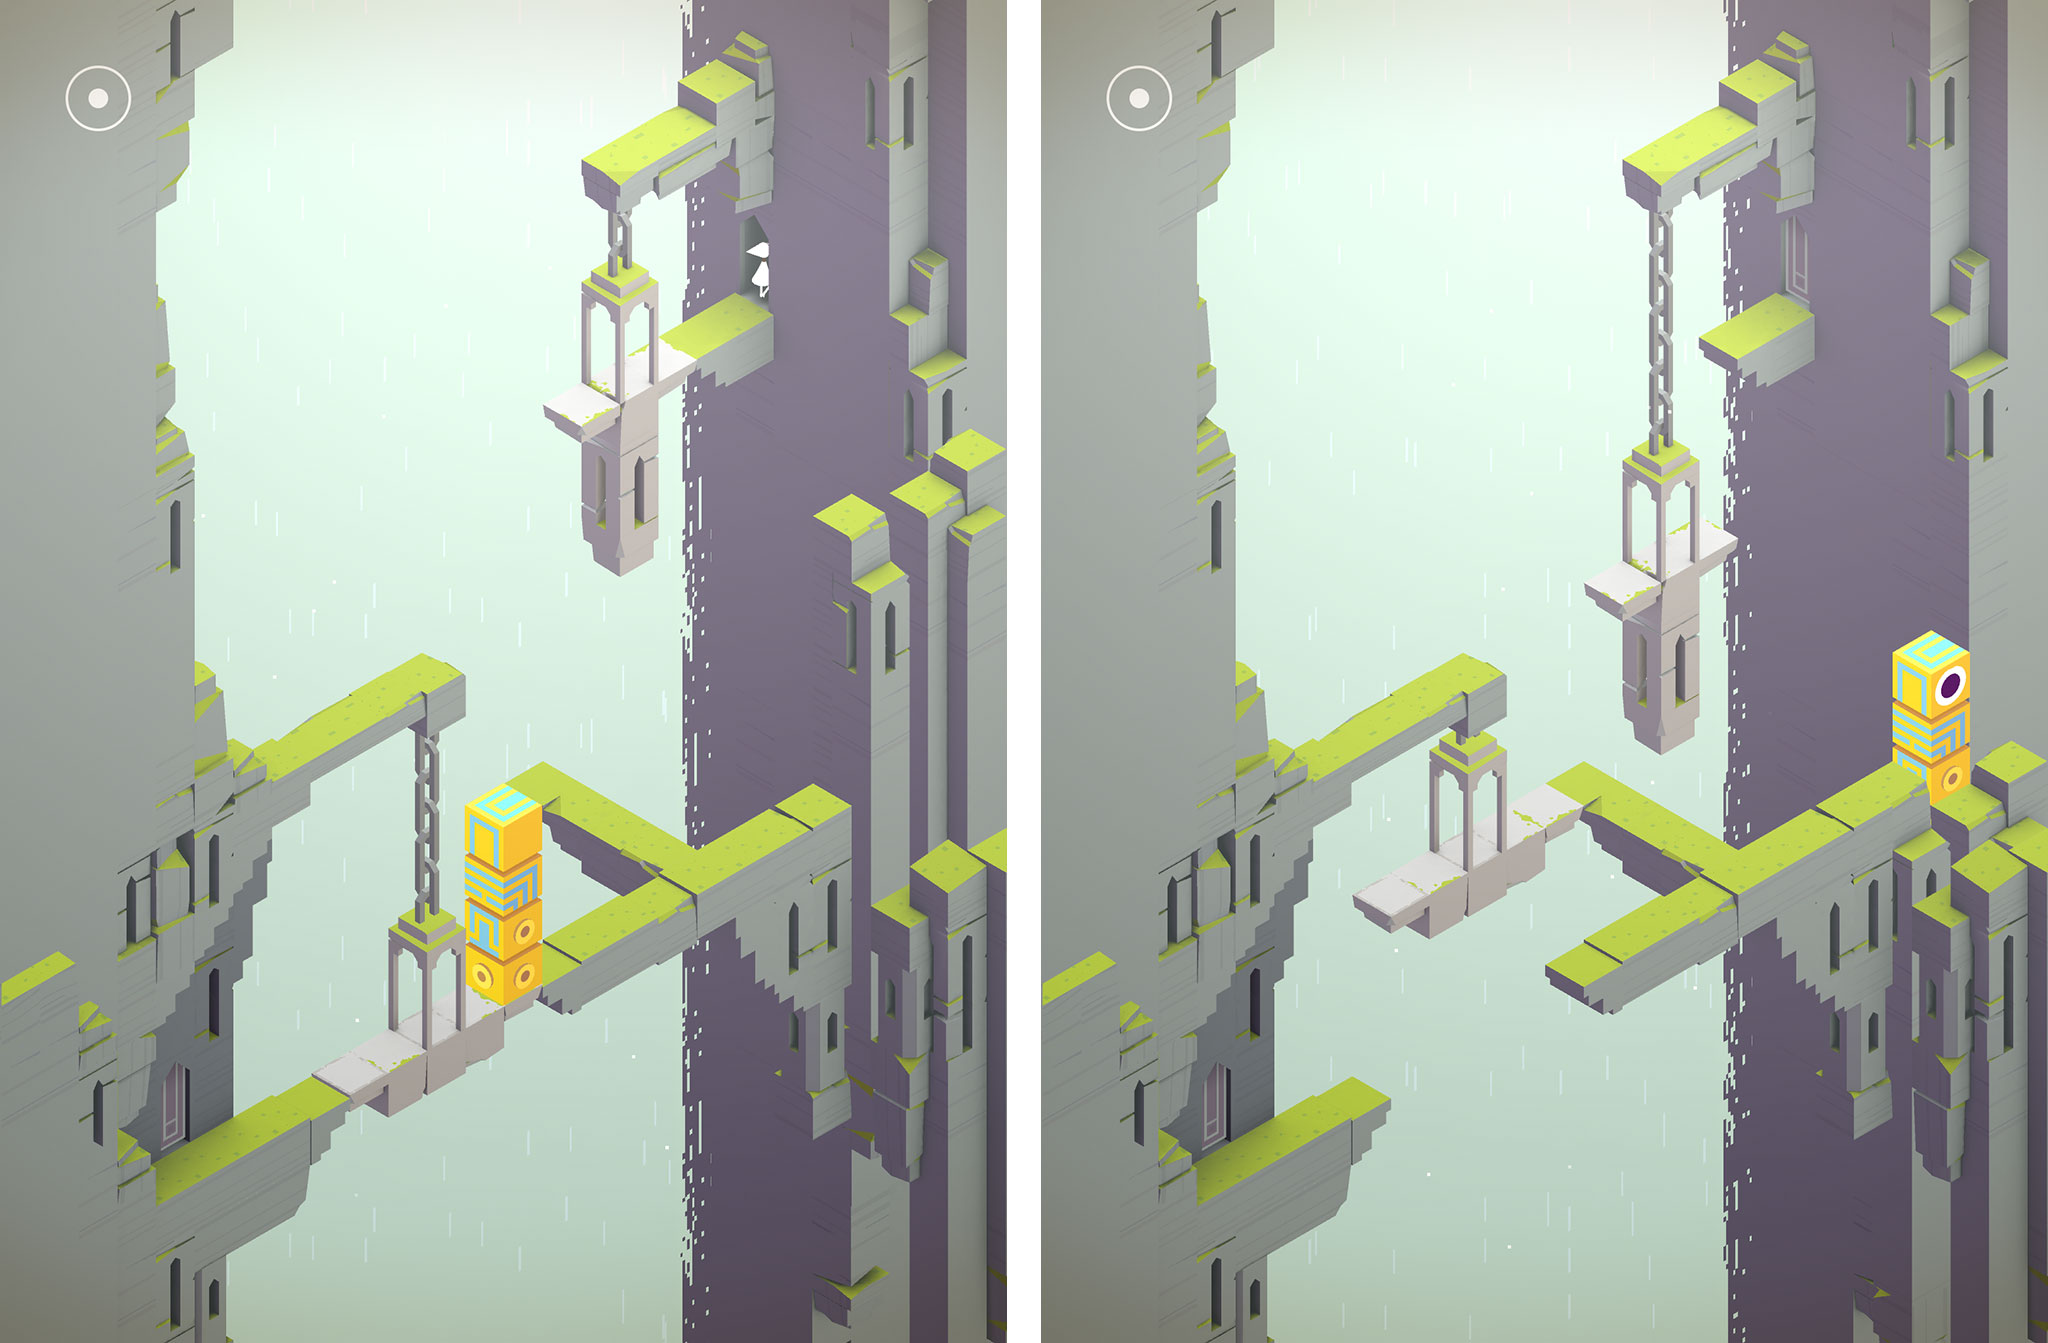
- Head back the way you came and this time head downwards to retrieve the next piece. You can use the area shown in the first photo in order to remove Idea from the top of the totem piece. You'll need to do this to be able to hit the switch shown in the second photo.
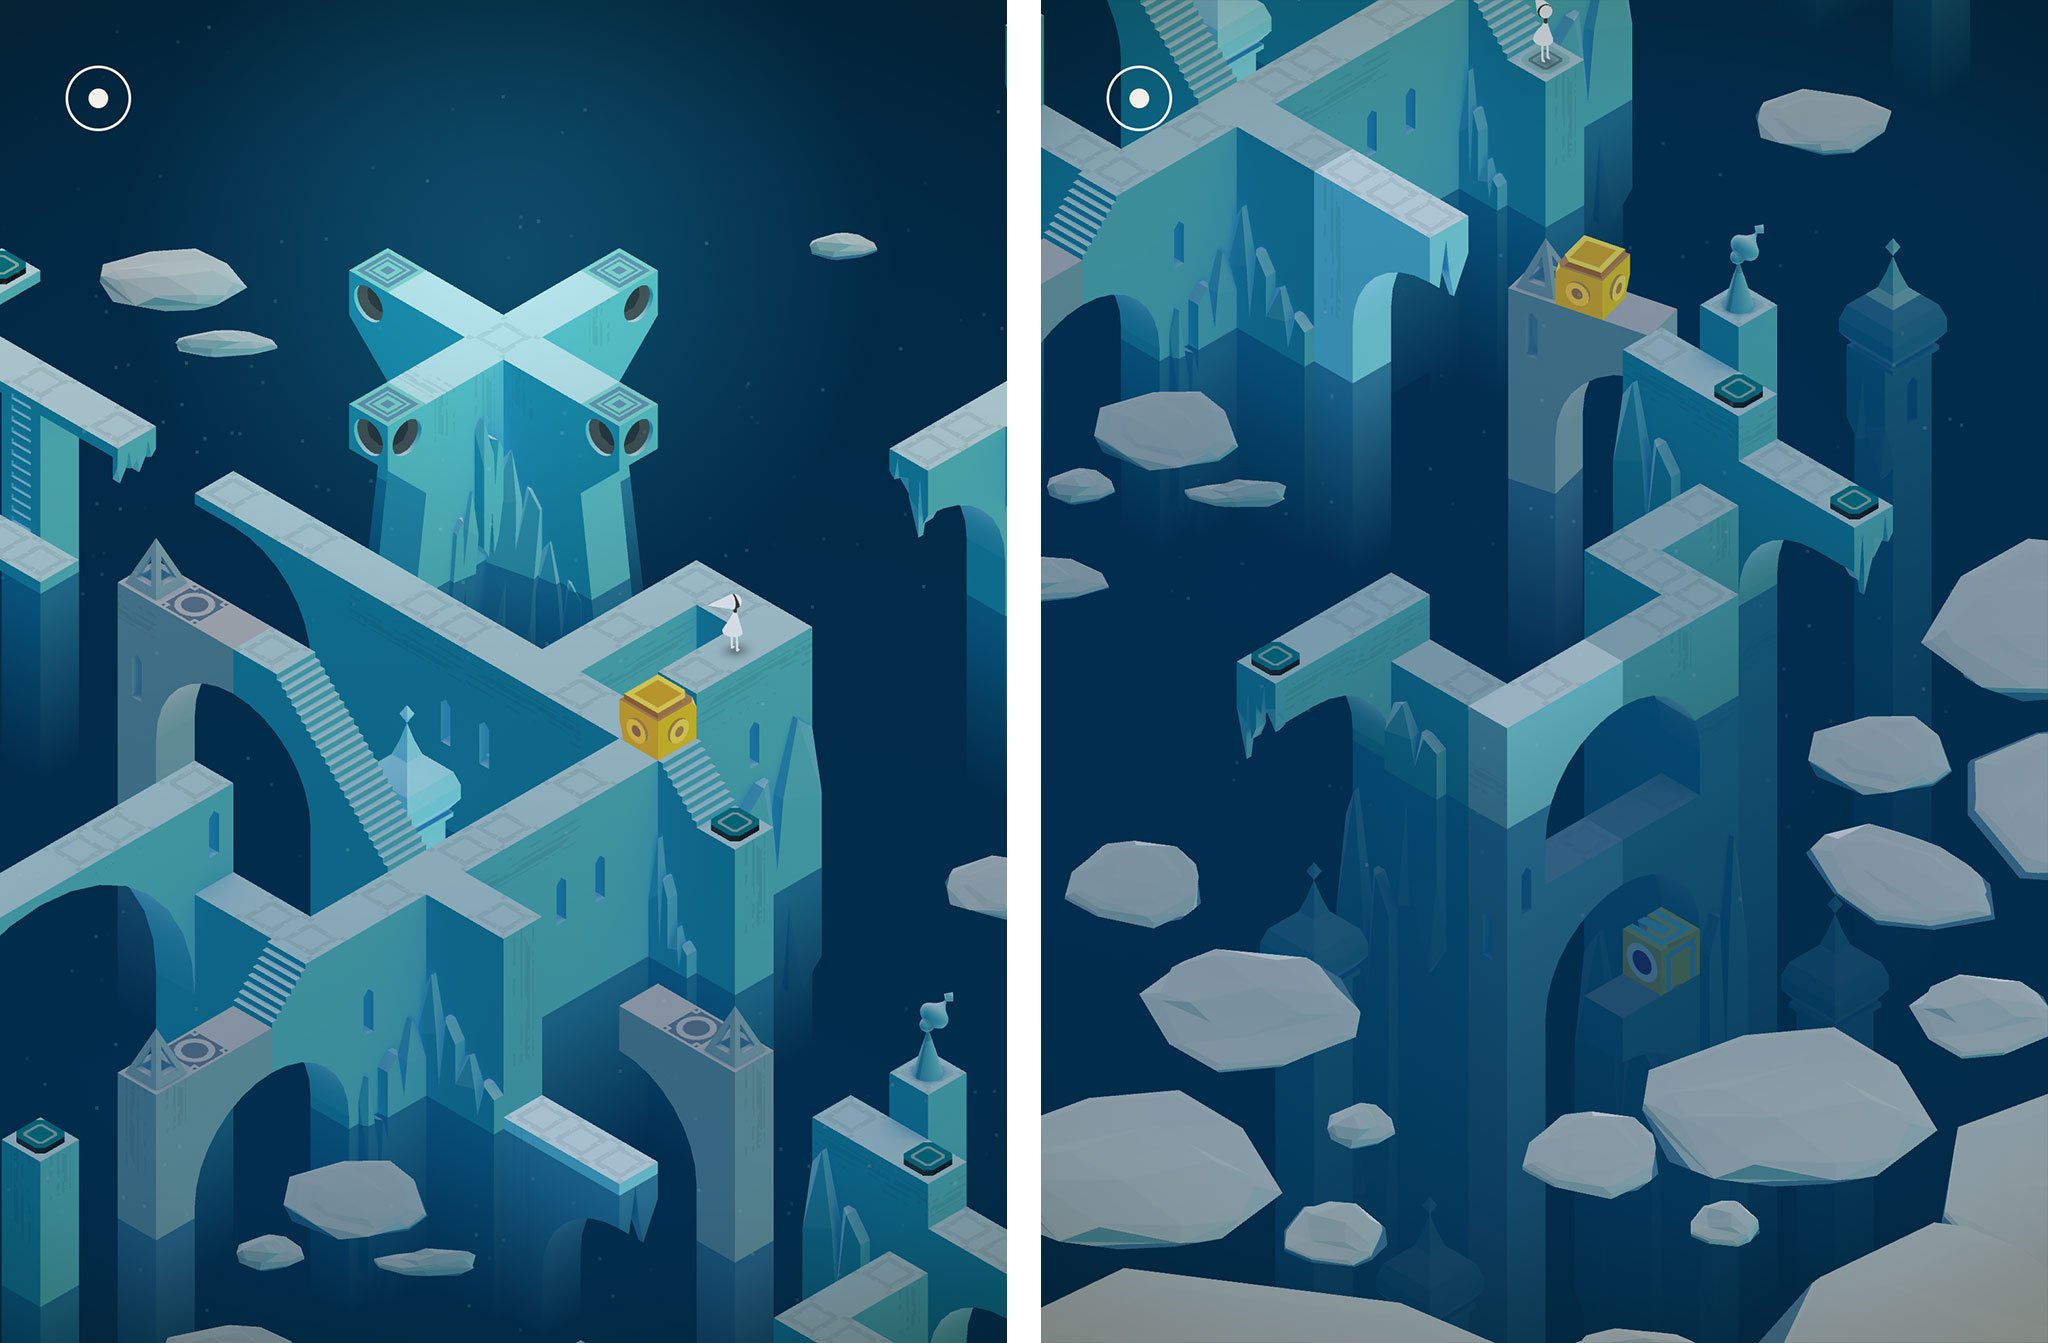
- You'll need to use the totem piece to retrieve the next piece as Ida will need to remain on the switch. Simply use a seesaw motion on and off the switch to retrieve the piece of the totem that is under the water. Once you've recovered it, stack the totems as shown in the second photo.
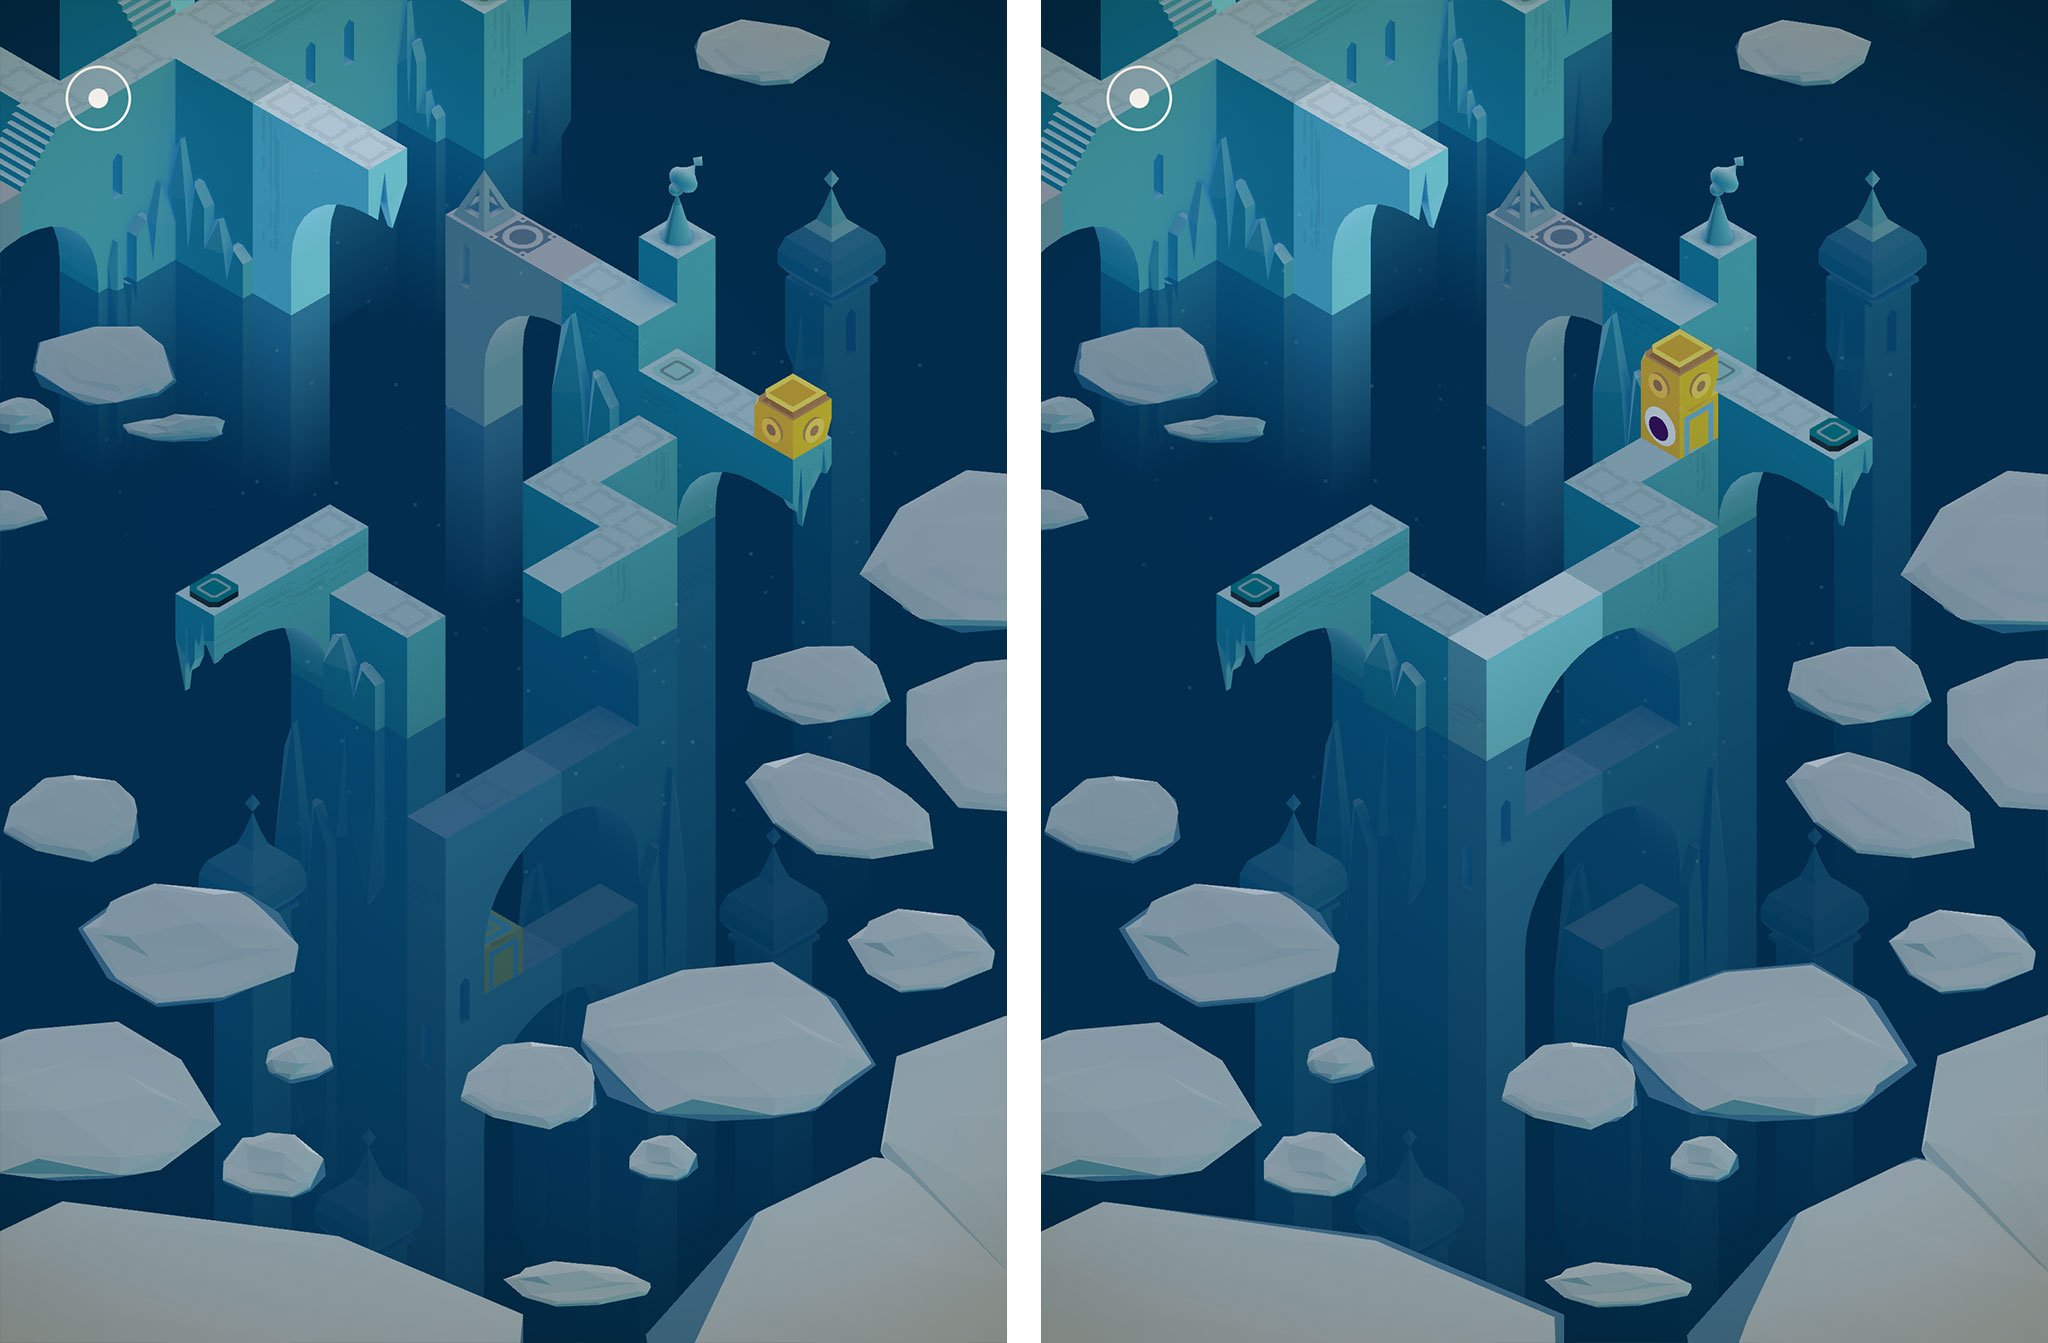
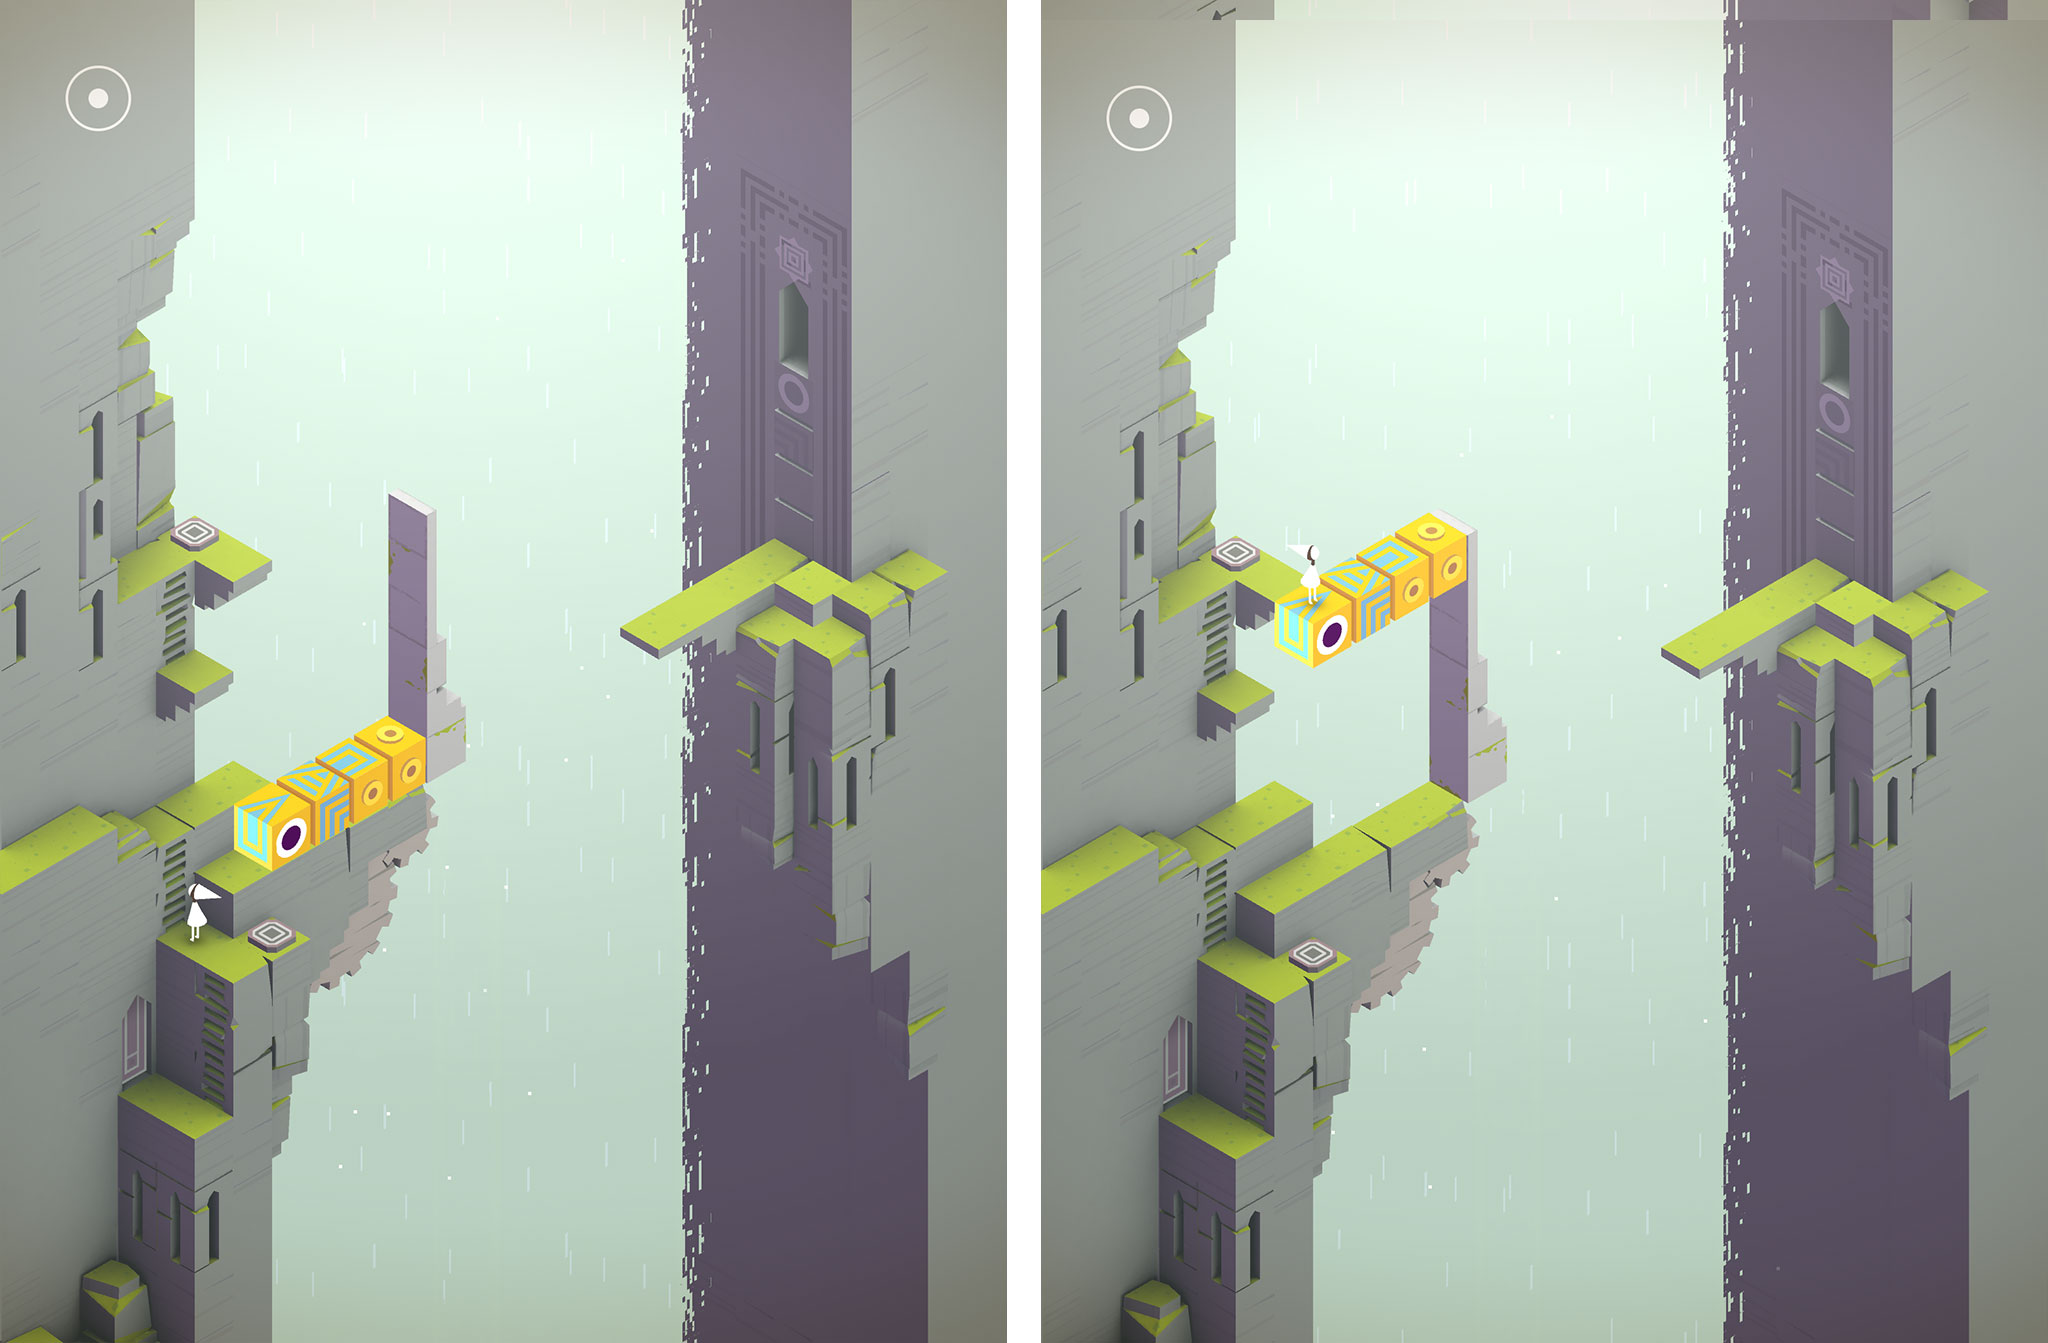
- You can then hit the next switch by sliding a piece of the totem onto it like in the first photo below. You can then return with the one totem piece back to the main area. When you take Ida off the switch you can raise up the piece you just recovered and bring it over like shown in the second photo below.
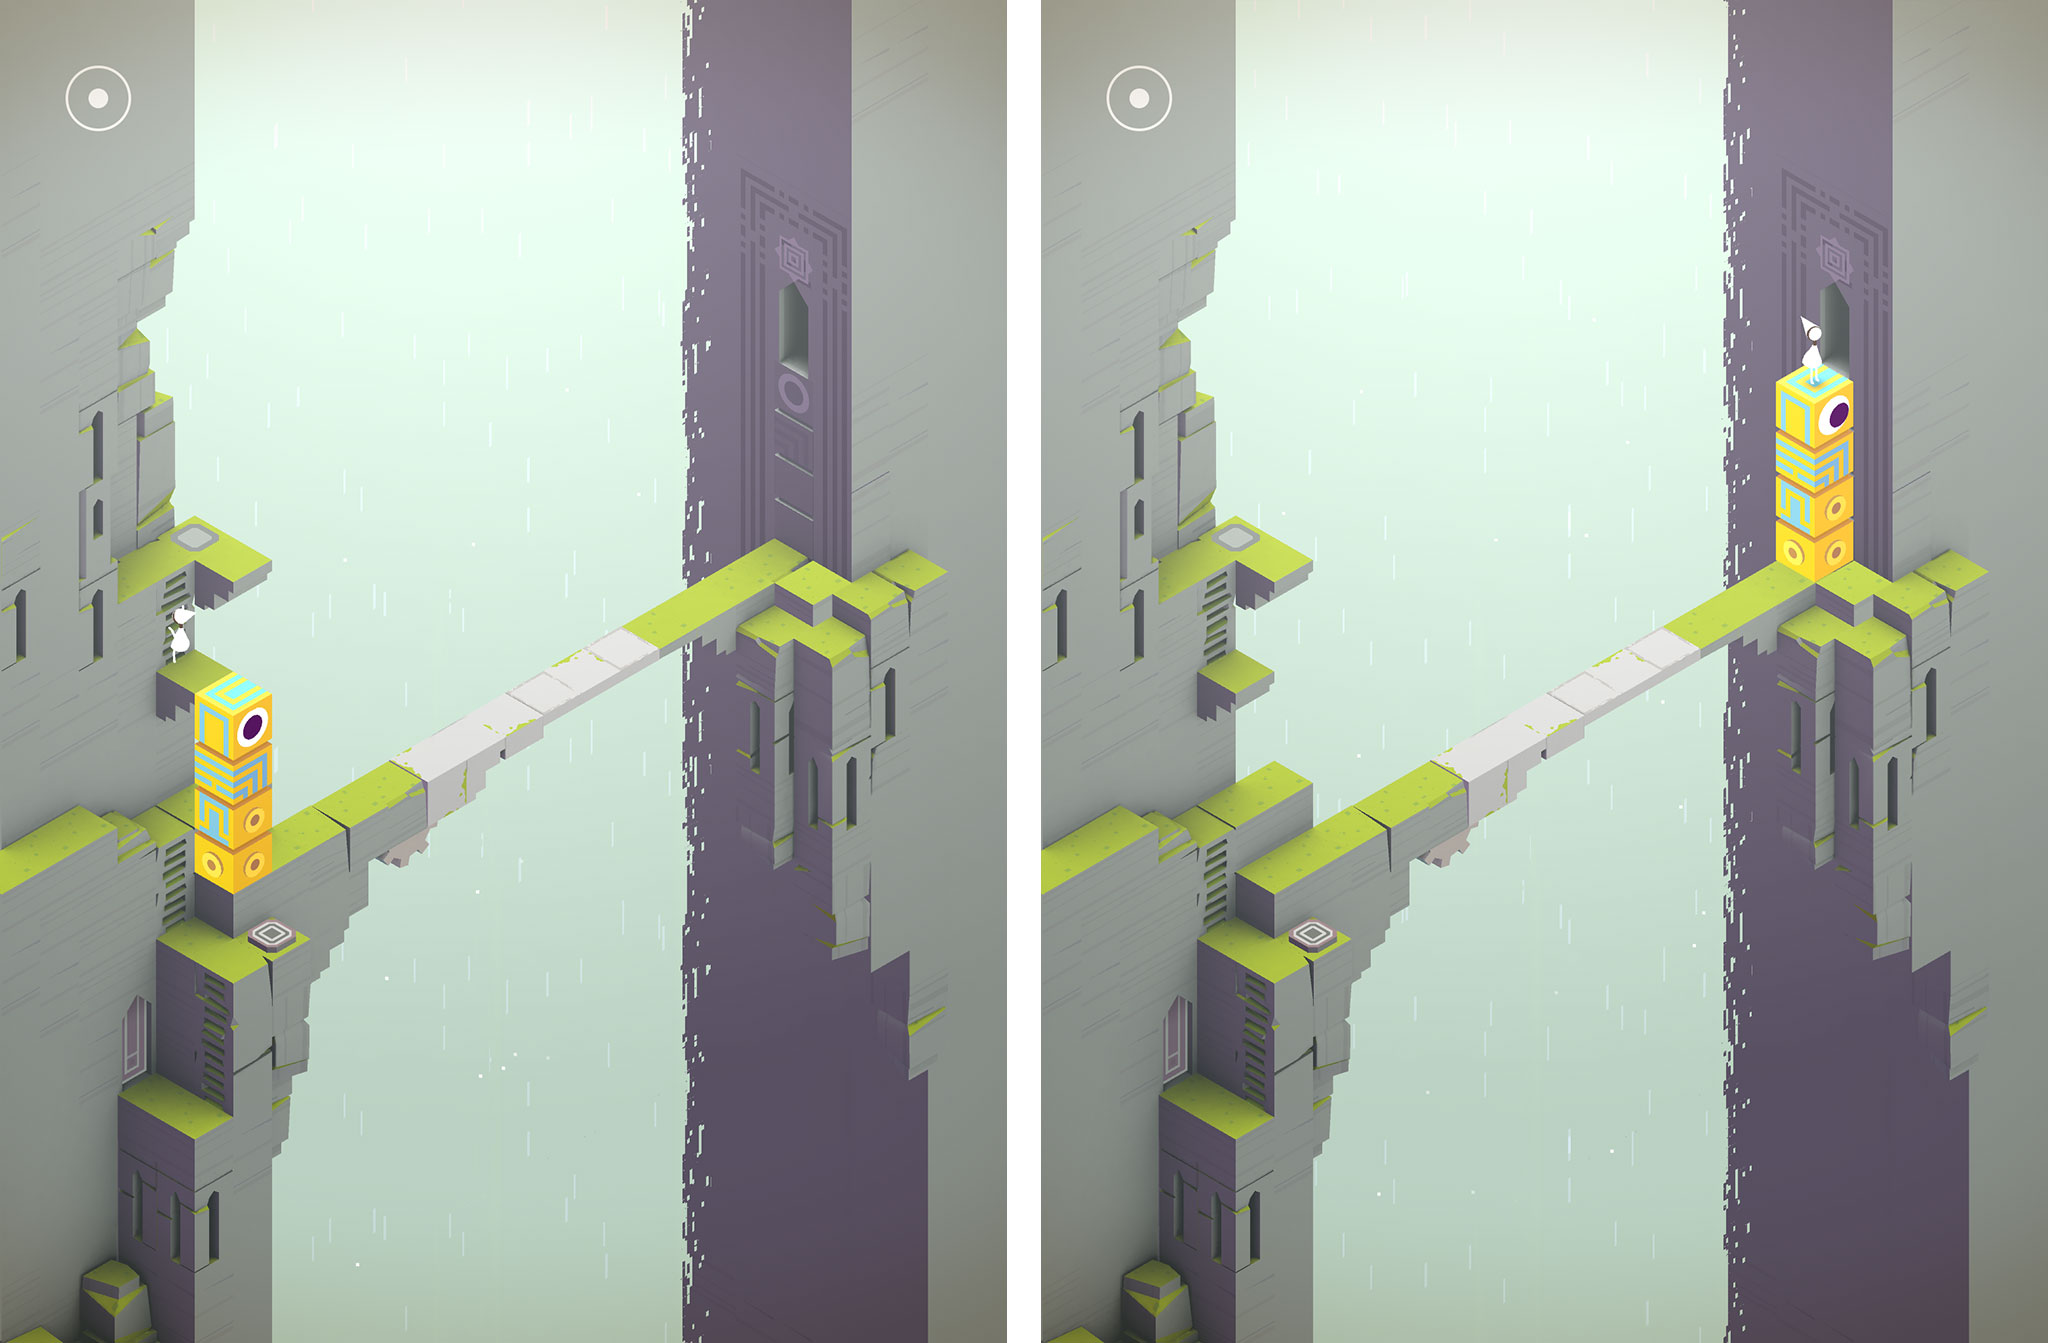
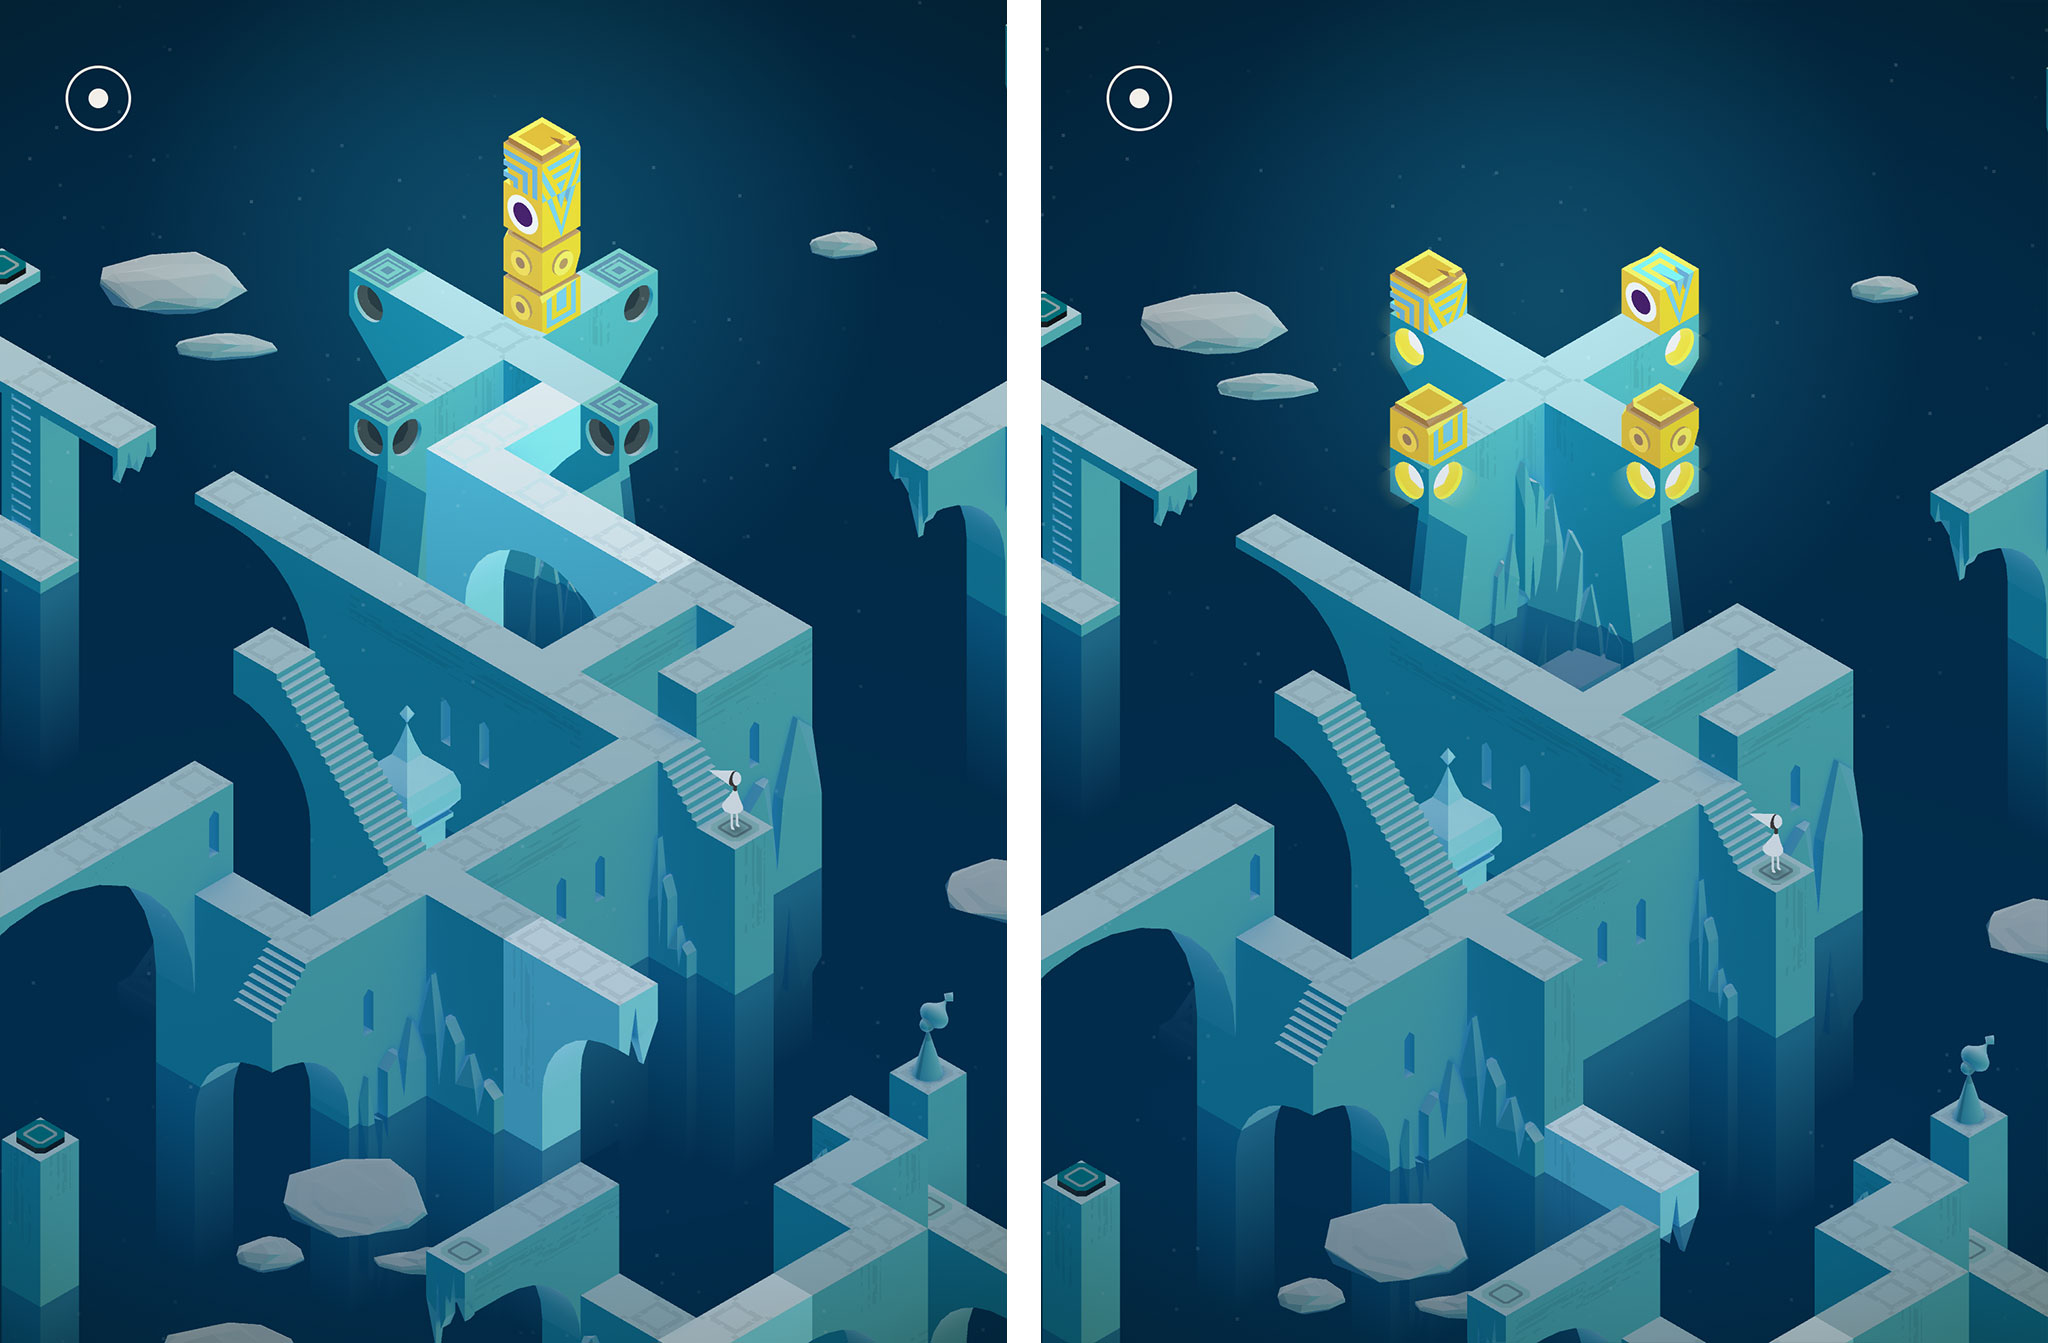
- Now head to the top of the course and position the totems like shown in the first photo below before taking Ida to the rotation platform. You can then recover the third piece. Stacking them is a bit of an optical illusion as shown in the second photo below. Just take Ida back down the stairs first or she will be in the way.

- Now bring the totem stacked three high to the position shown in the photo below. You can slide the first piece off as far as you can as shown in the first photo. Now place Ida on the rotation block and hit the next switch. A lever will appear and you can position the totem piece as shown in the second photo below.
- You can now slide the totem piece off to the right and down below the water to help retrieve the final piece. Use the lever to guide your way. You can then stack the totem four high. Have Ida hit the switch in the first photo below and guide the totem to the platform with four arms. Here you'll need to use optical illusions to disassemble the totem and place one piece on each corner.
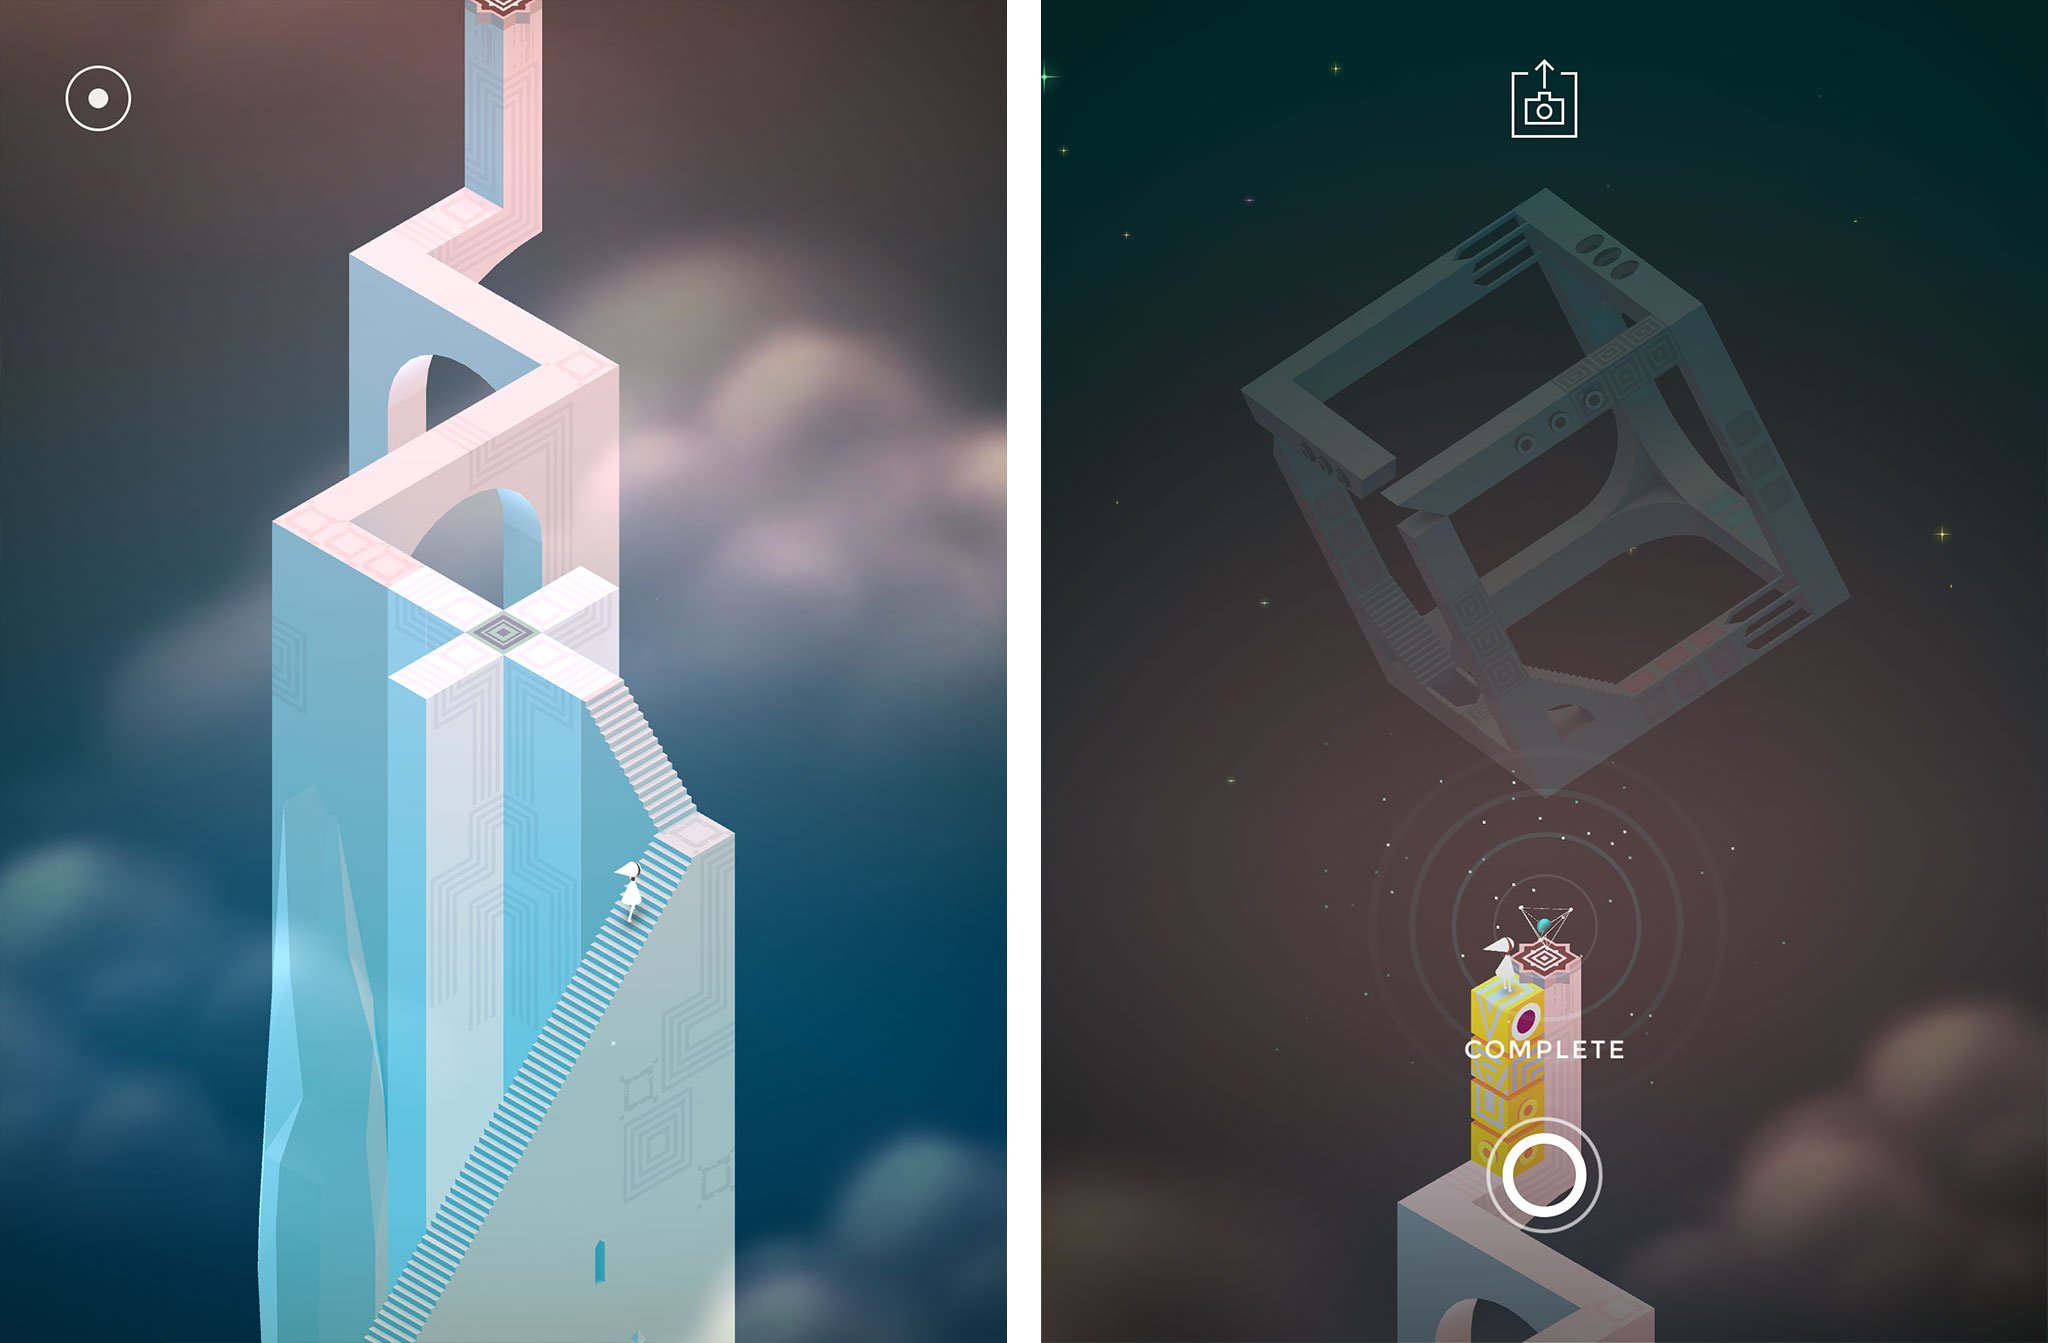
- In the next section, keep climbing with Ida until you can't climb any further. Guide the totem to the top in order to complete the level.
- Angry Birds Go!: Top 10 tips, tricks, and cheats!
- Bejeweled Blitz: Top 8 tips, hints, and cheats to get your highest scores ever!
- Boom Beach: Top 10 tips and tricks to defeating the Blackguards without spending tons of real cash!
- Candy Crush: Top 10 tips, tricks, and cheats!
- Candy Crush Saga: Another 10 killer help, hints, and guide to extra lives!
- Card Wars - Adventure Time: 5 tips, hints, and cheats to be the cool guy
- Clash of Clans: Top 6 tips, hints, and cheats!
- Clumsy Ninja: Top 10 tips, tricks, and cheats to train harder and level up faster!
- Cut the Rope 2: Top 10 tips, tricks, and cheats to help Om Nom beat levels and find his candy faster!
- Despicable Me: Minion Rush tips, tricks, and cheats
- Disco Zoo: Top 10 tips and tricks to help you grow your zoo as fast as possible!
- Duet Game: Top 10 tips and tricks!
- Dwarven Den: Top 10 tips, hints, and cheats to blazing a path to buried treasure!
- Family Guy: The Quest for Stuff: Top 10 tips and tricks you need to know!
- Farm Heroes Saga: Top 10 tips, hints, and cheats
- FarmVille 2 Country Escape: Top 10 tips, hints, and cheats!
- Flappy Bird: Top 5 tips, hints, and cheats
- Hay day: Top 6 tips, tricks, and cheats to save cash and grow your farm fast!
- The Hobbit: Kingdoms of Middle Earth: Top 5 tips and tricks for building an empire and forging alliances
- Minecraft Pocket Edition: Top 10 tips, hints, and cheats!
- Mini Ninjas: Top 10 tips, hints, and cheats to getting your best run possible!
- Monument Valley: Top 10 tips and tricks to help guide Ida on her journey
- Pet Rescue Saga: Top 10 tips, hints, and cheats!
- Plants vs. Zombies 2: Top 10 tips, hints, and cheats to pass levels faster
- Plague Inc.: Top 5 tips, tricks and cheats
- Real Racing 3: Top 10 tips, hints, and cheats for better cars and faster upgrades!
- The Simpsons: Tapped Out: Top 8 tips, hints, and cheats for donuts, cash, and XP!
- Slayin: Top 5 tips, tricks, and cheats
- Smash Hit: Top 10 tips, hints, and cheats to help you achieve your best distance yet!
- Tiny Death Star: Top 10 tips, hints, and cheats to crush the rebellion faster!
- Tiny Wings: Top 10 tips, hints, and cheats to help you fly higher and nest up faster!
- 2048: Top 7 tips, hints, and cheats to stack your way to a higher score!
from iMore - The #1 iPhone, iPad, and iPod touch blog http://feedproxy.google.com/~r/TheIphoneBlog/~3/BPRH0NGwmbY/story01.htm
via IFTTT
No comments:
Post a Comment